1968 Whaler
May 2018
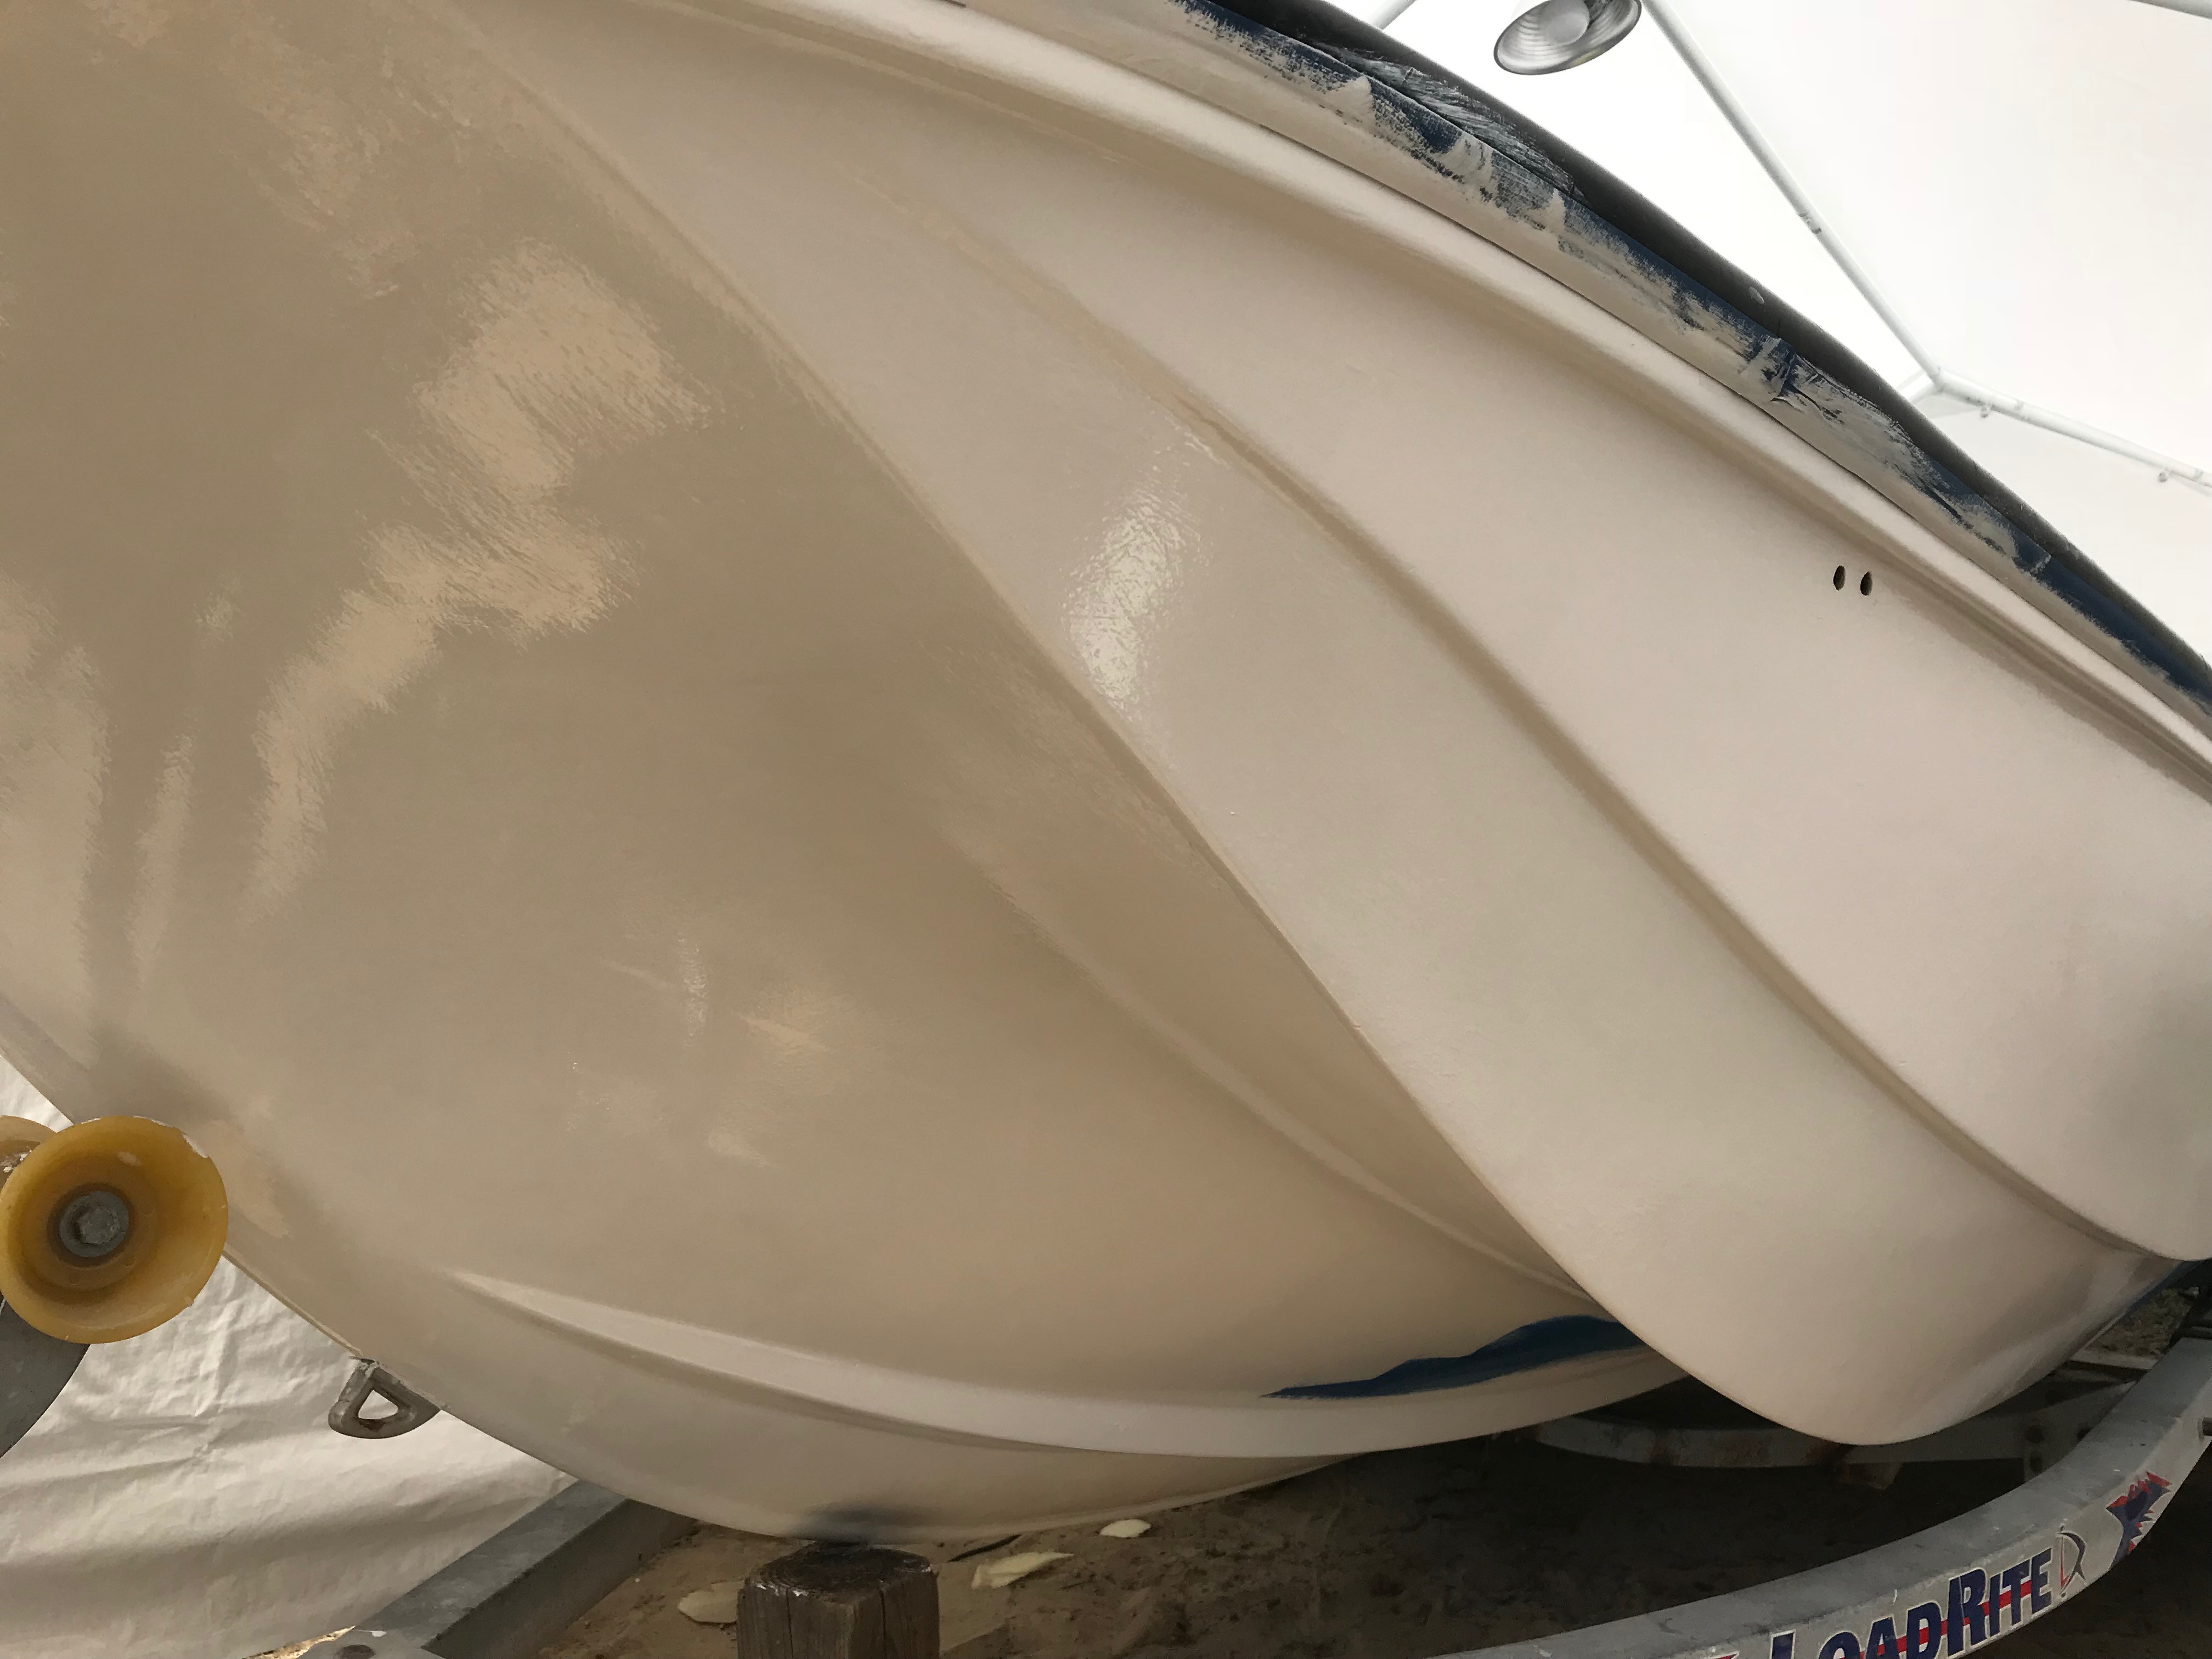
01: If I Were A Painter
Huge level of ambition this weekend. Weather was perfect again. 220 grit sanded the hull, acetone clean then tack cloth. First coat of final topside, off-white, Thank you Jamestown Distributors and Total Boat products.
02: As Seen On TV
Yup, I used it. The rigging tunnel was re glassed and sealed. Water test it for leaks, she was good. I wasn’t 100% sure about it though. Sprayed Flexi-seal to seal it then wrapped seams in Flexi Tape. Done.

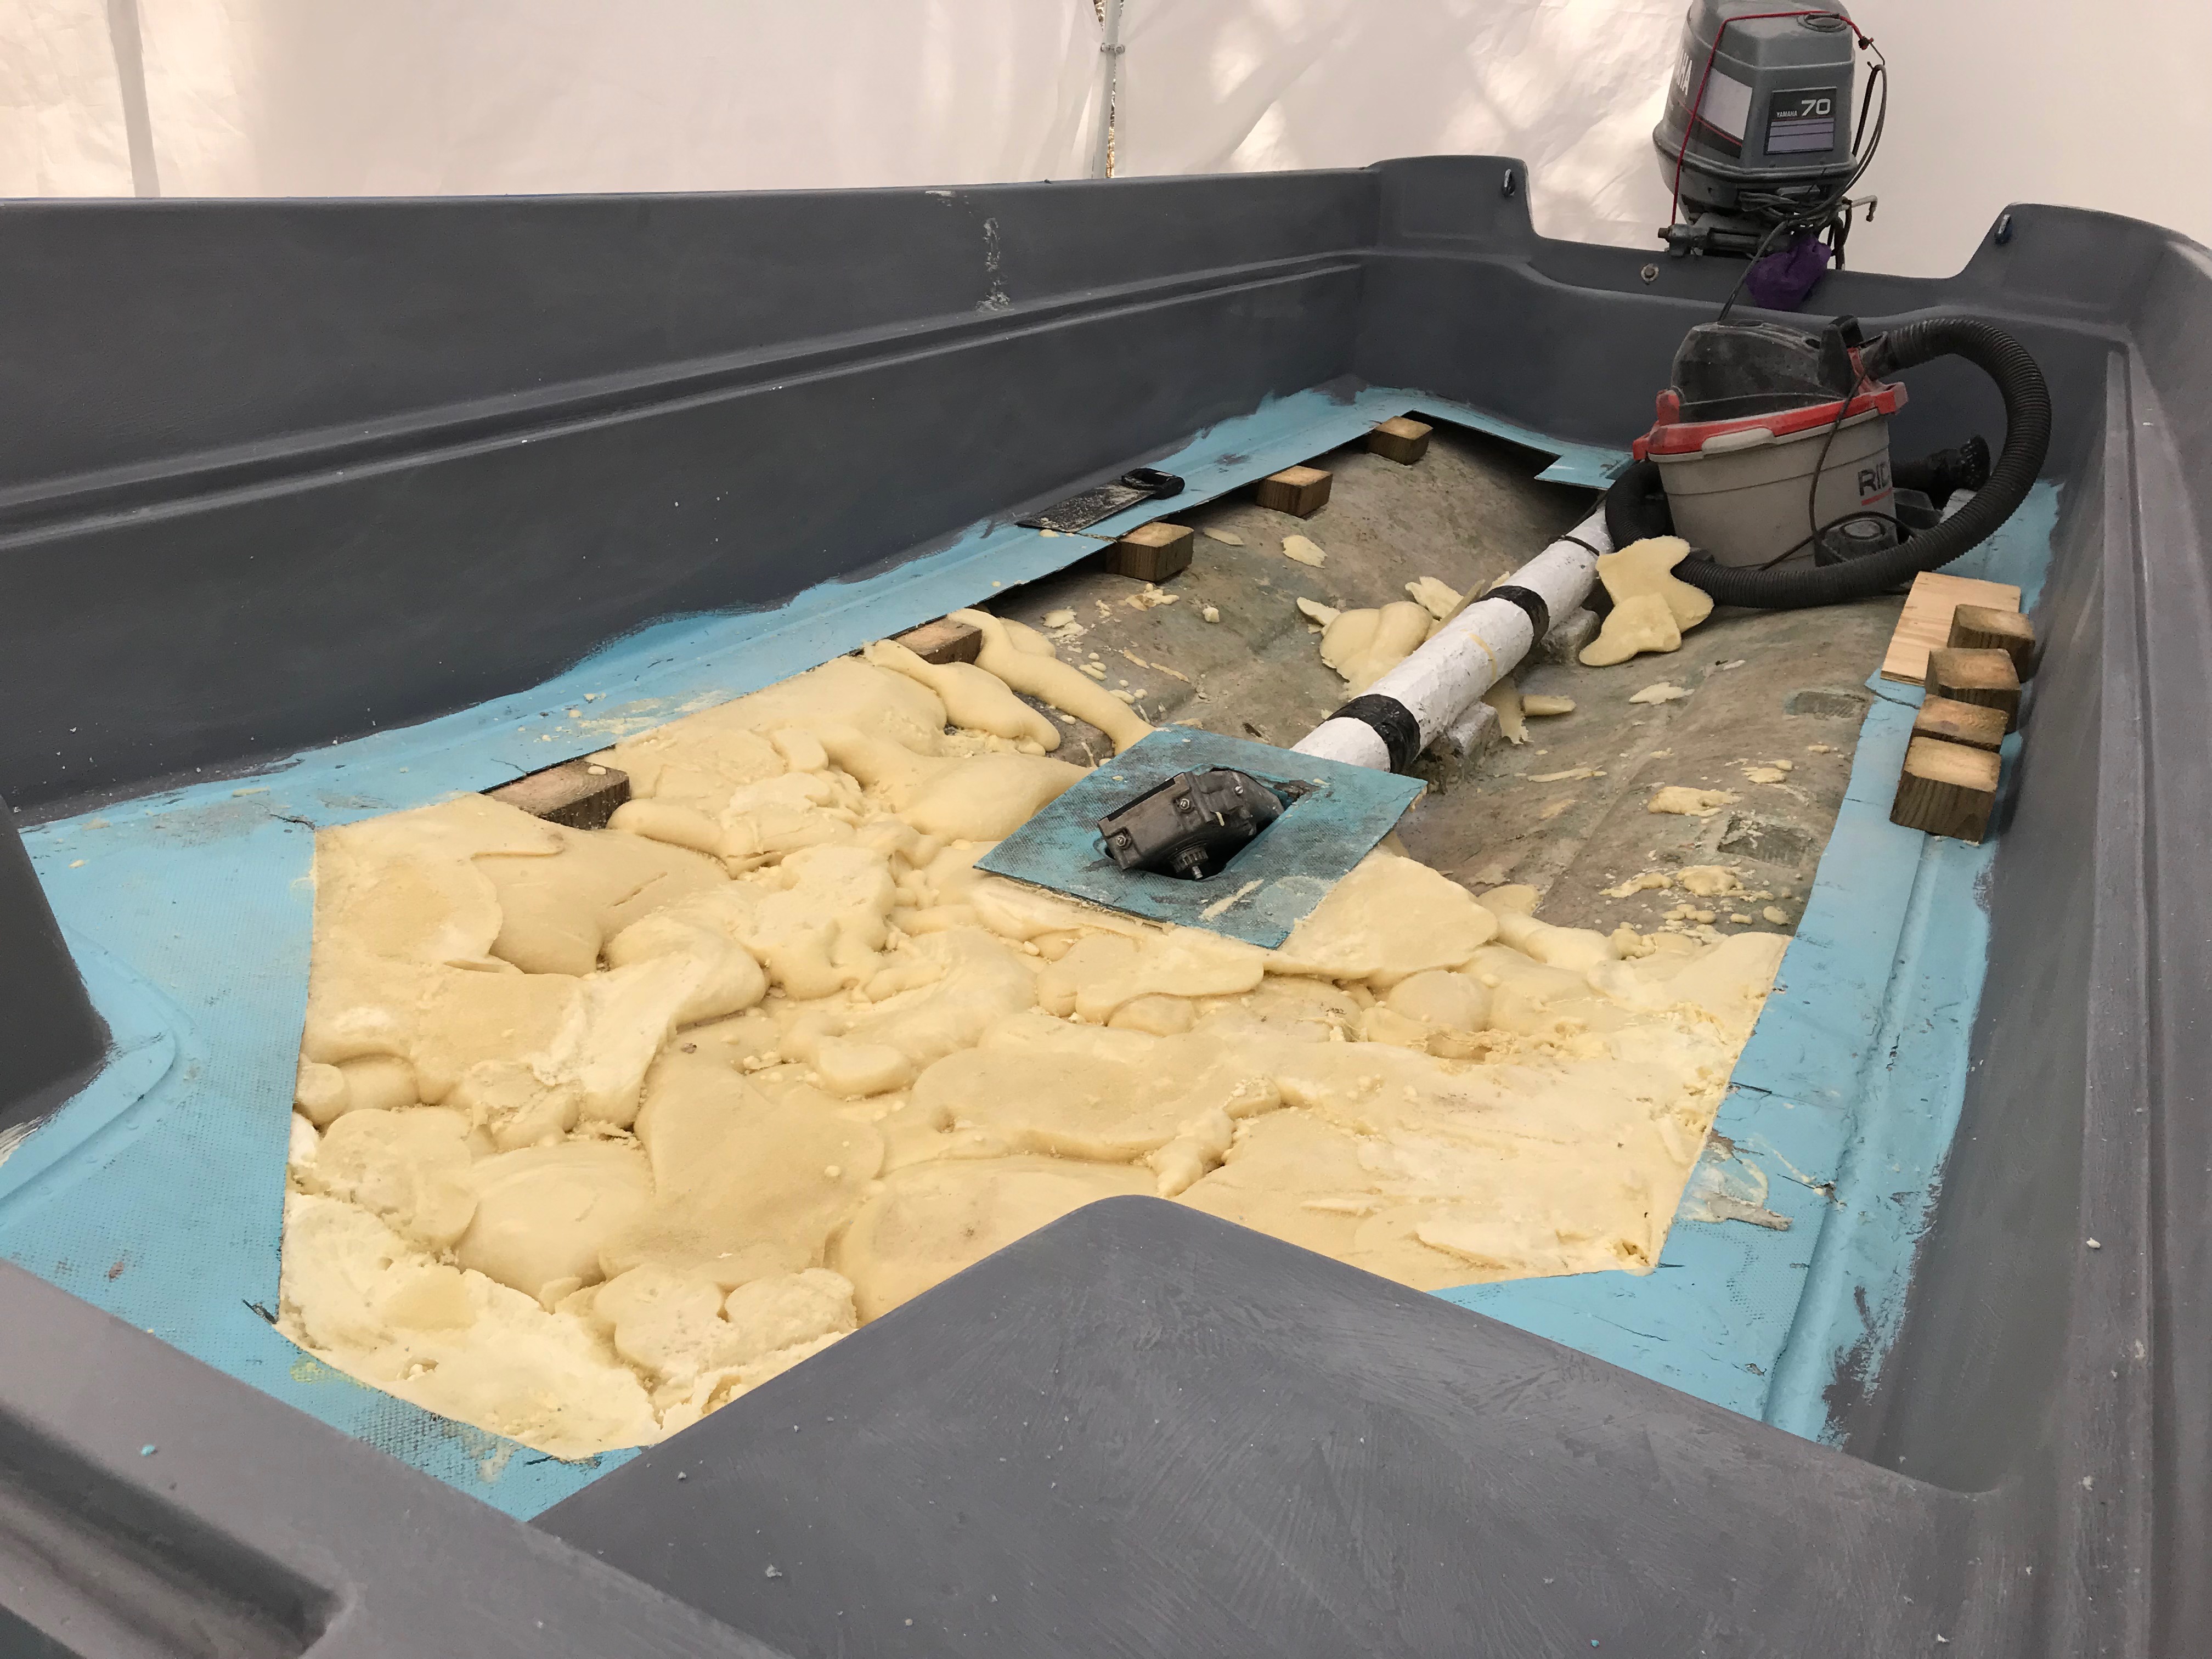
03: If I Were A Sculptor
Perfect foaming weather. My first attempt at this kind of foaming. This is not your Fathers foam project. Decided to do multiple small batches and pours to control the rise and density. After about a bazillion pours I am about 95% done with bow section. Still need to fill in some gaps and sculpt it to form. Once that is done the deck gets epoxyed down section by section. This foam is rock solid. Put all of my 185lbs on it… literally walked all over it, never made dent. SOLID! I anticipate skipping on the surface of the water at WOT.
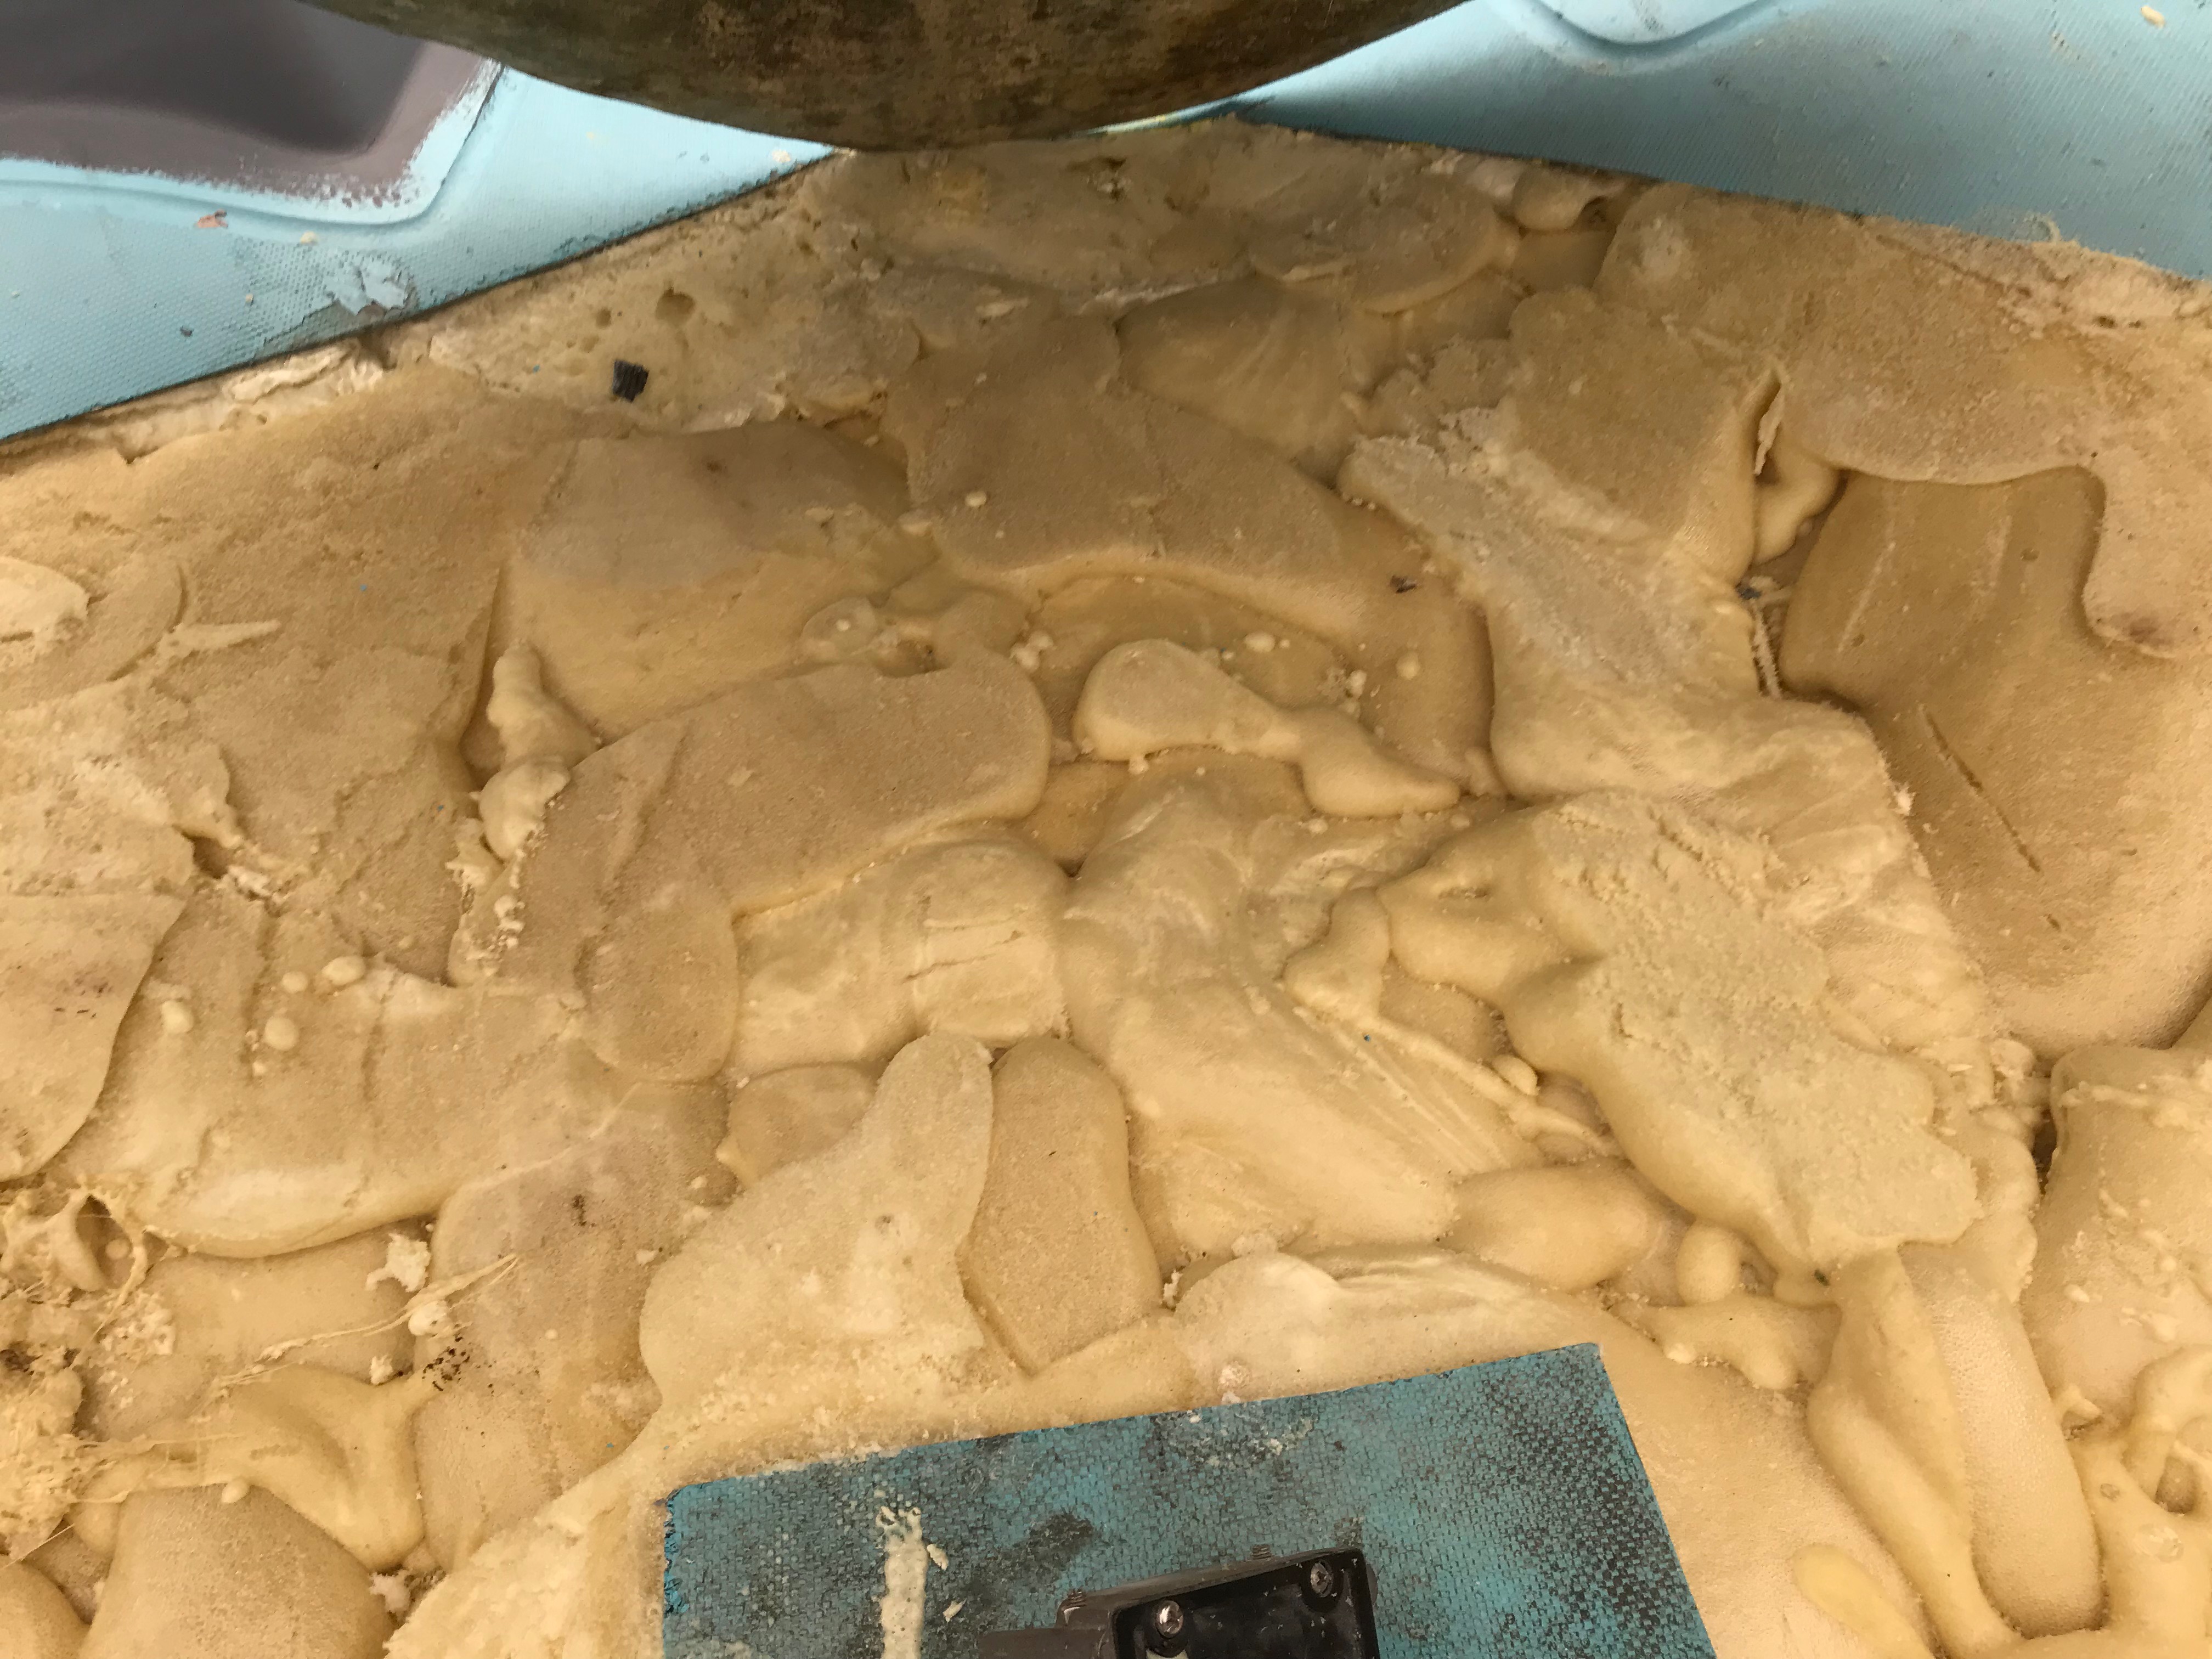
03: If I Were A Sculptor
Closer view of foam. Funky looking. Layers of sealed rock solid foam…. and no water!!!!
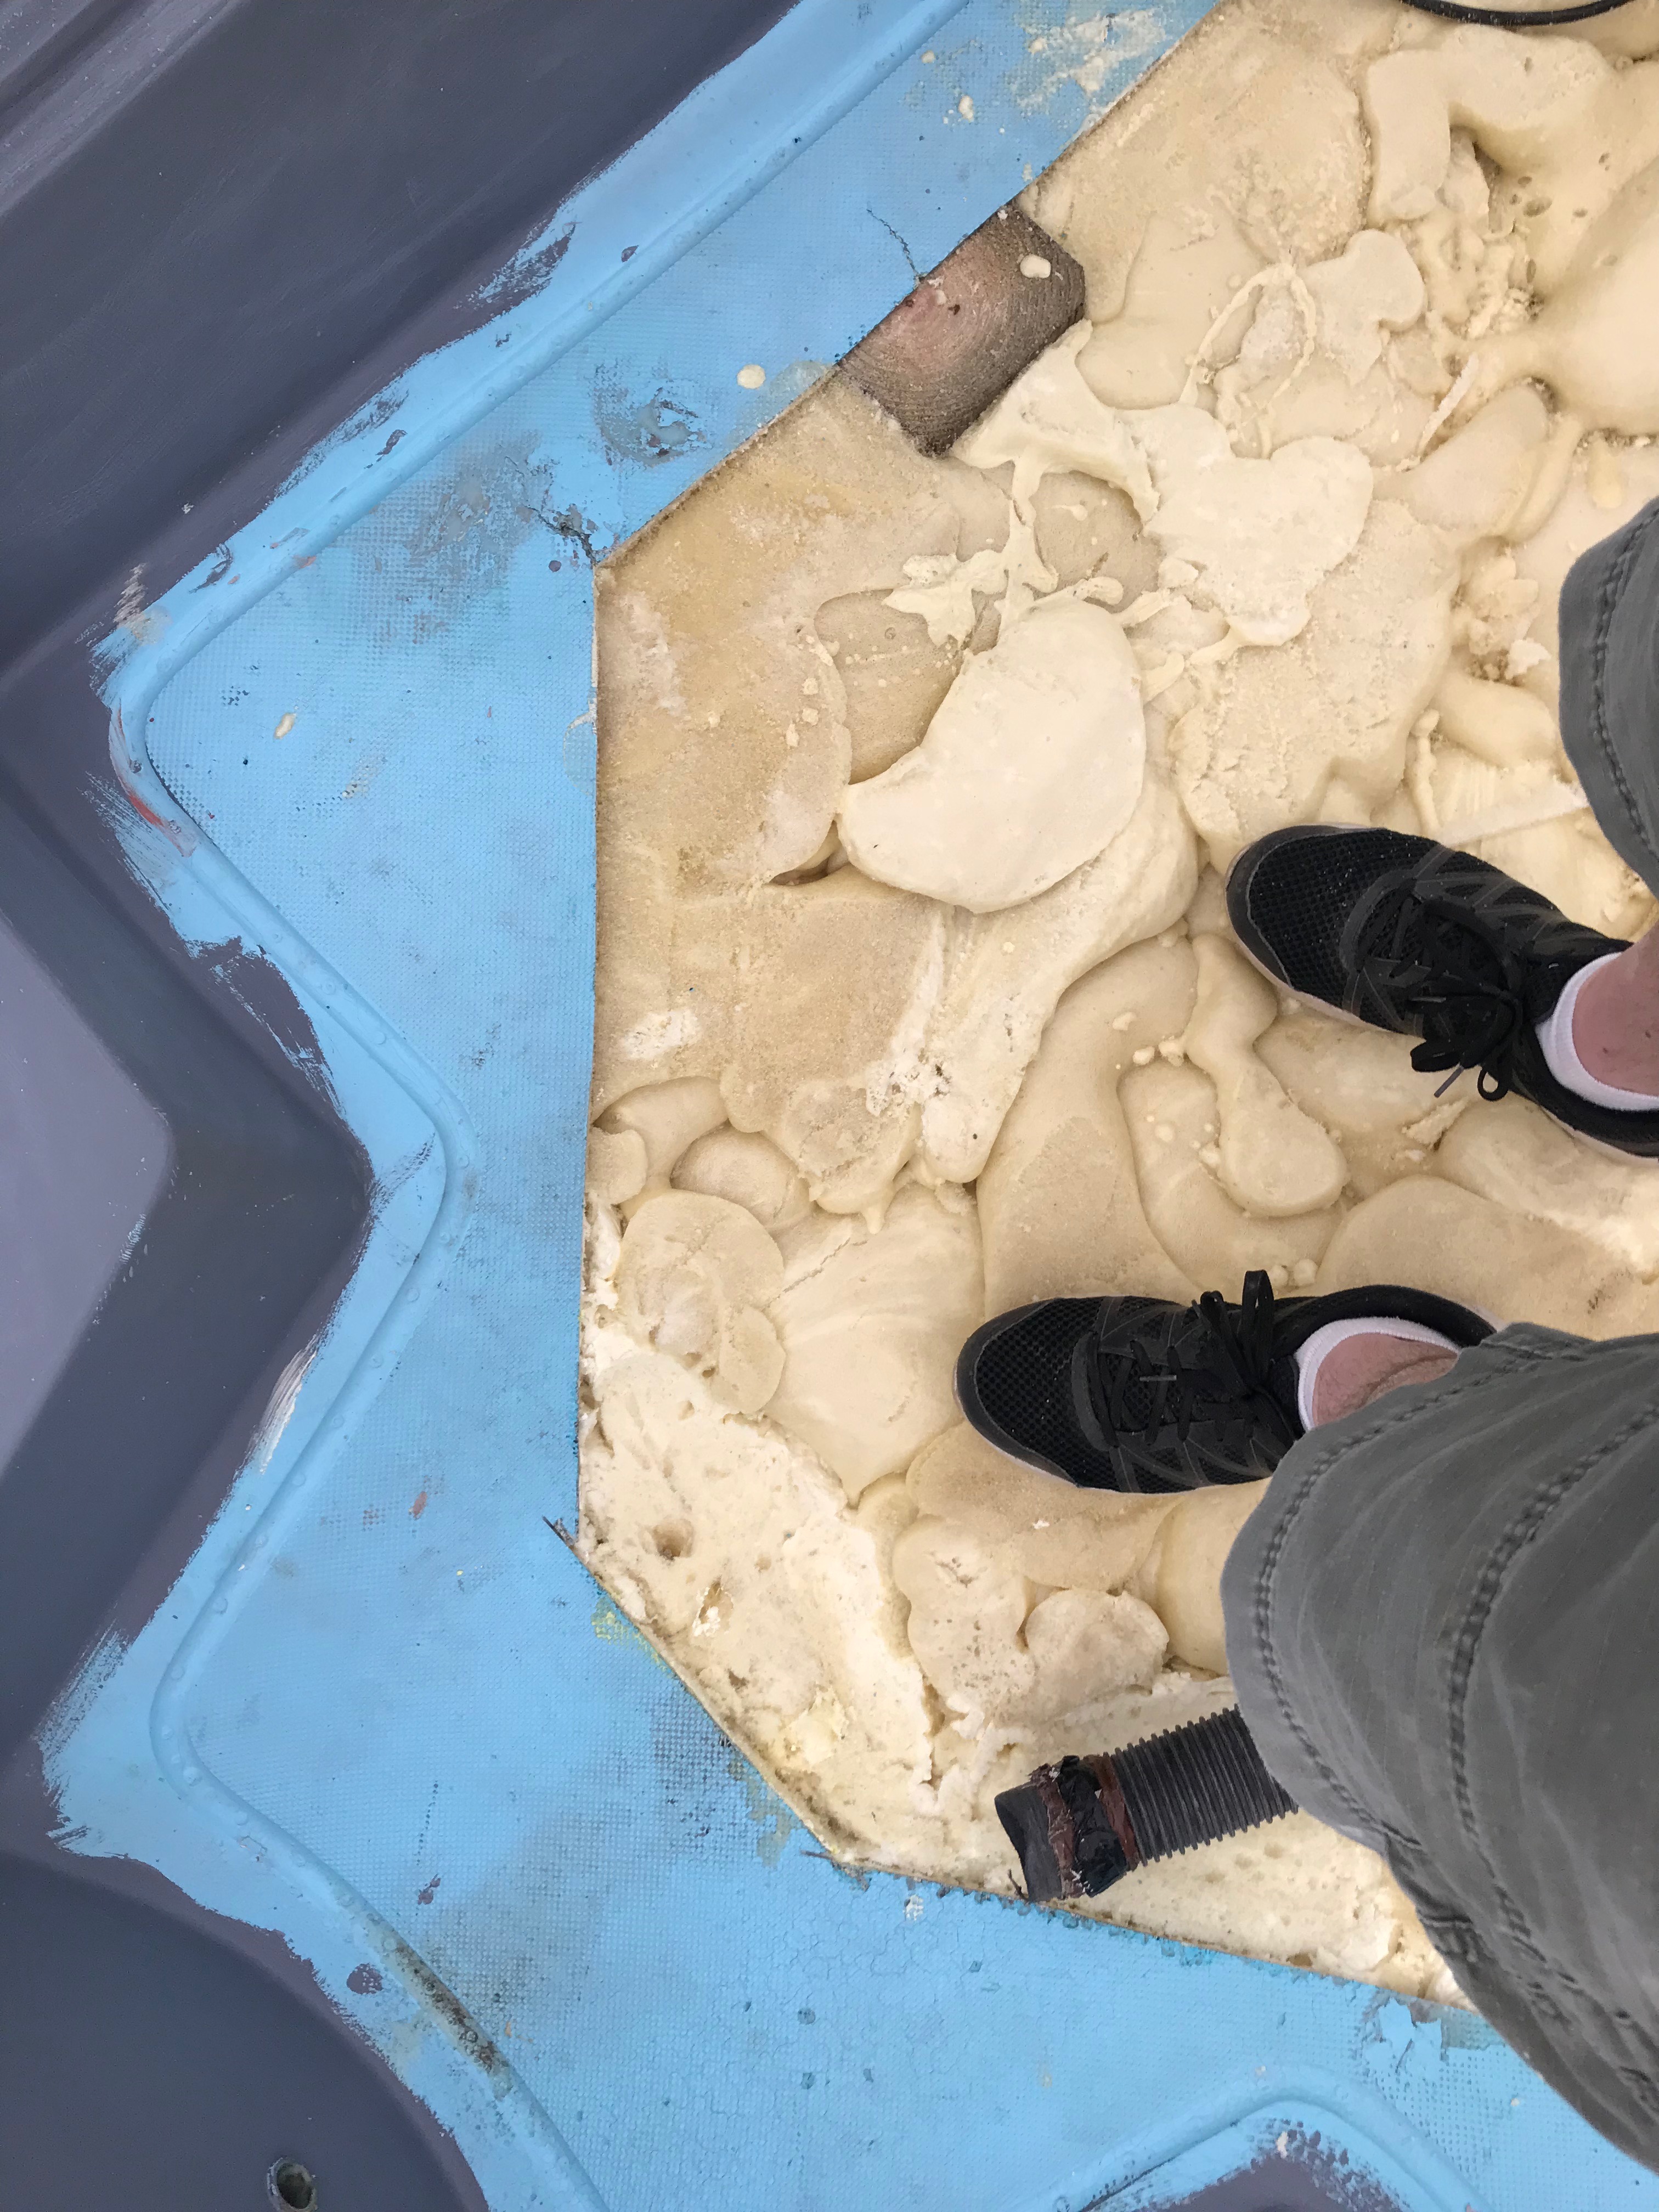
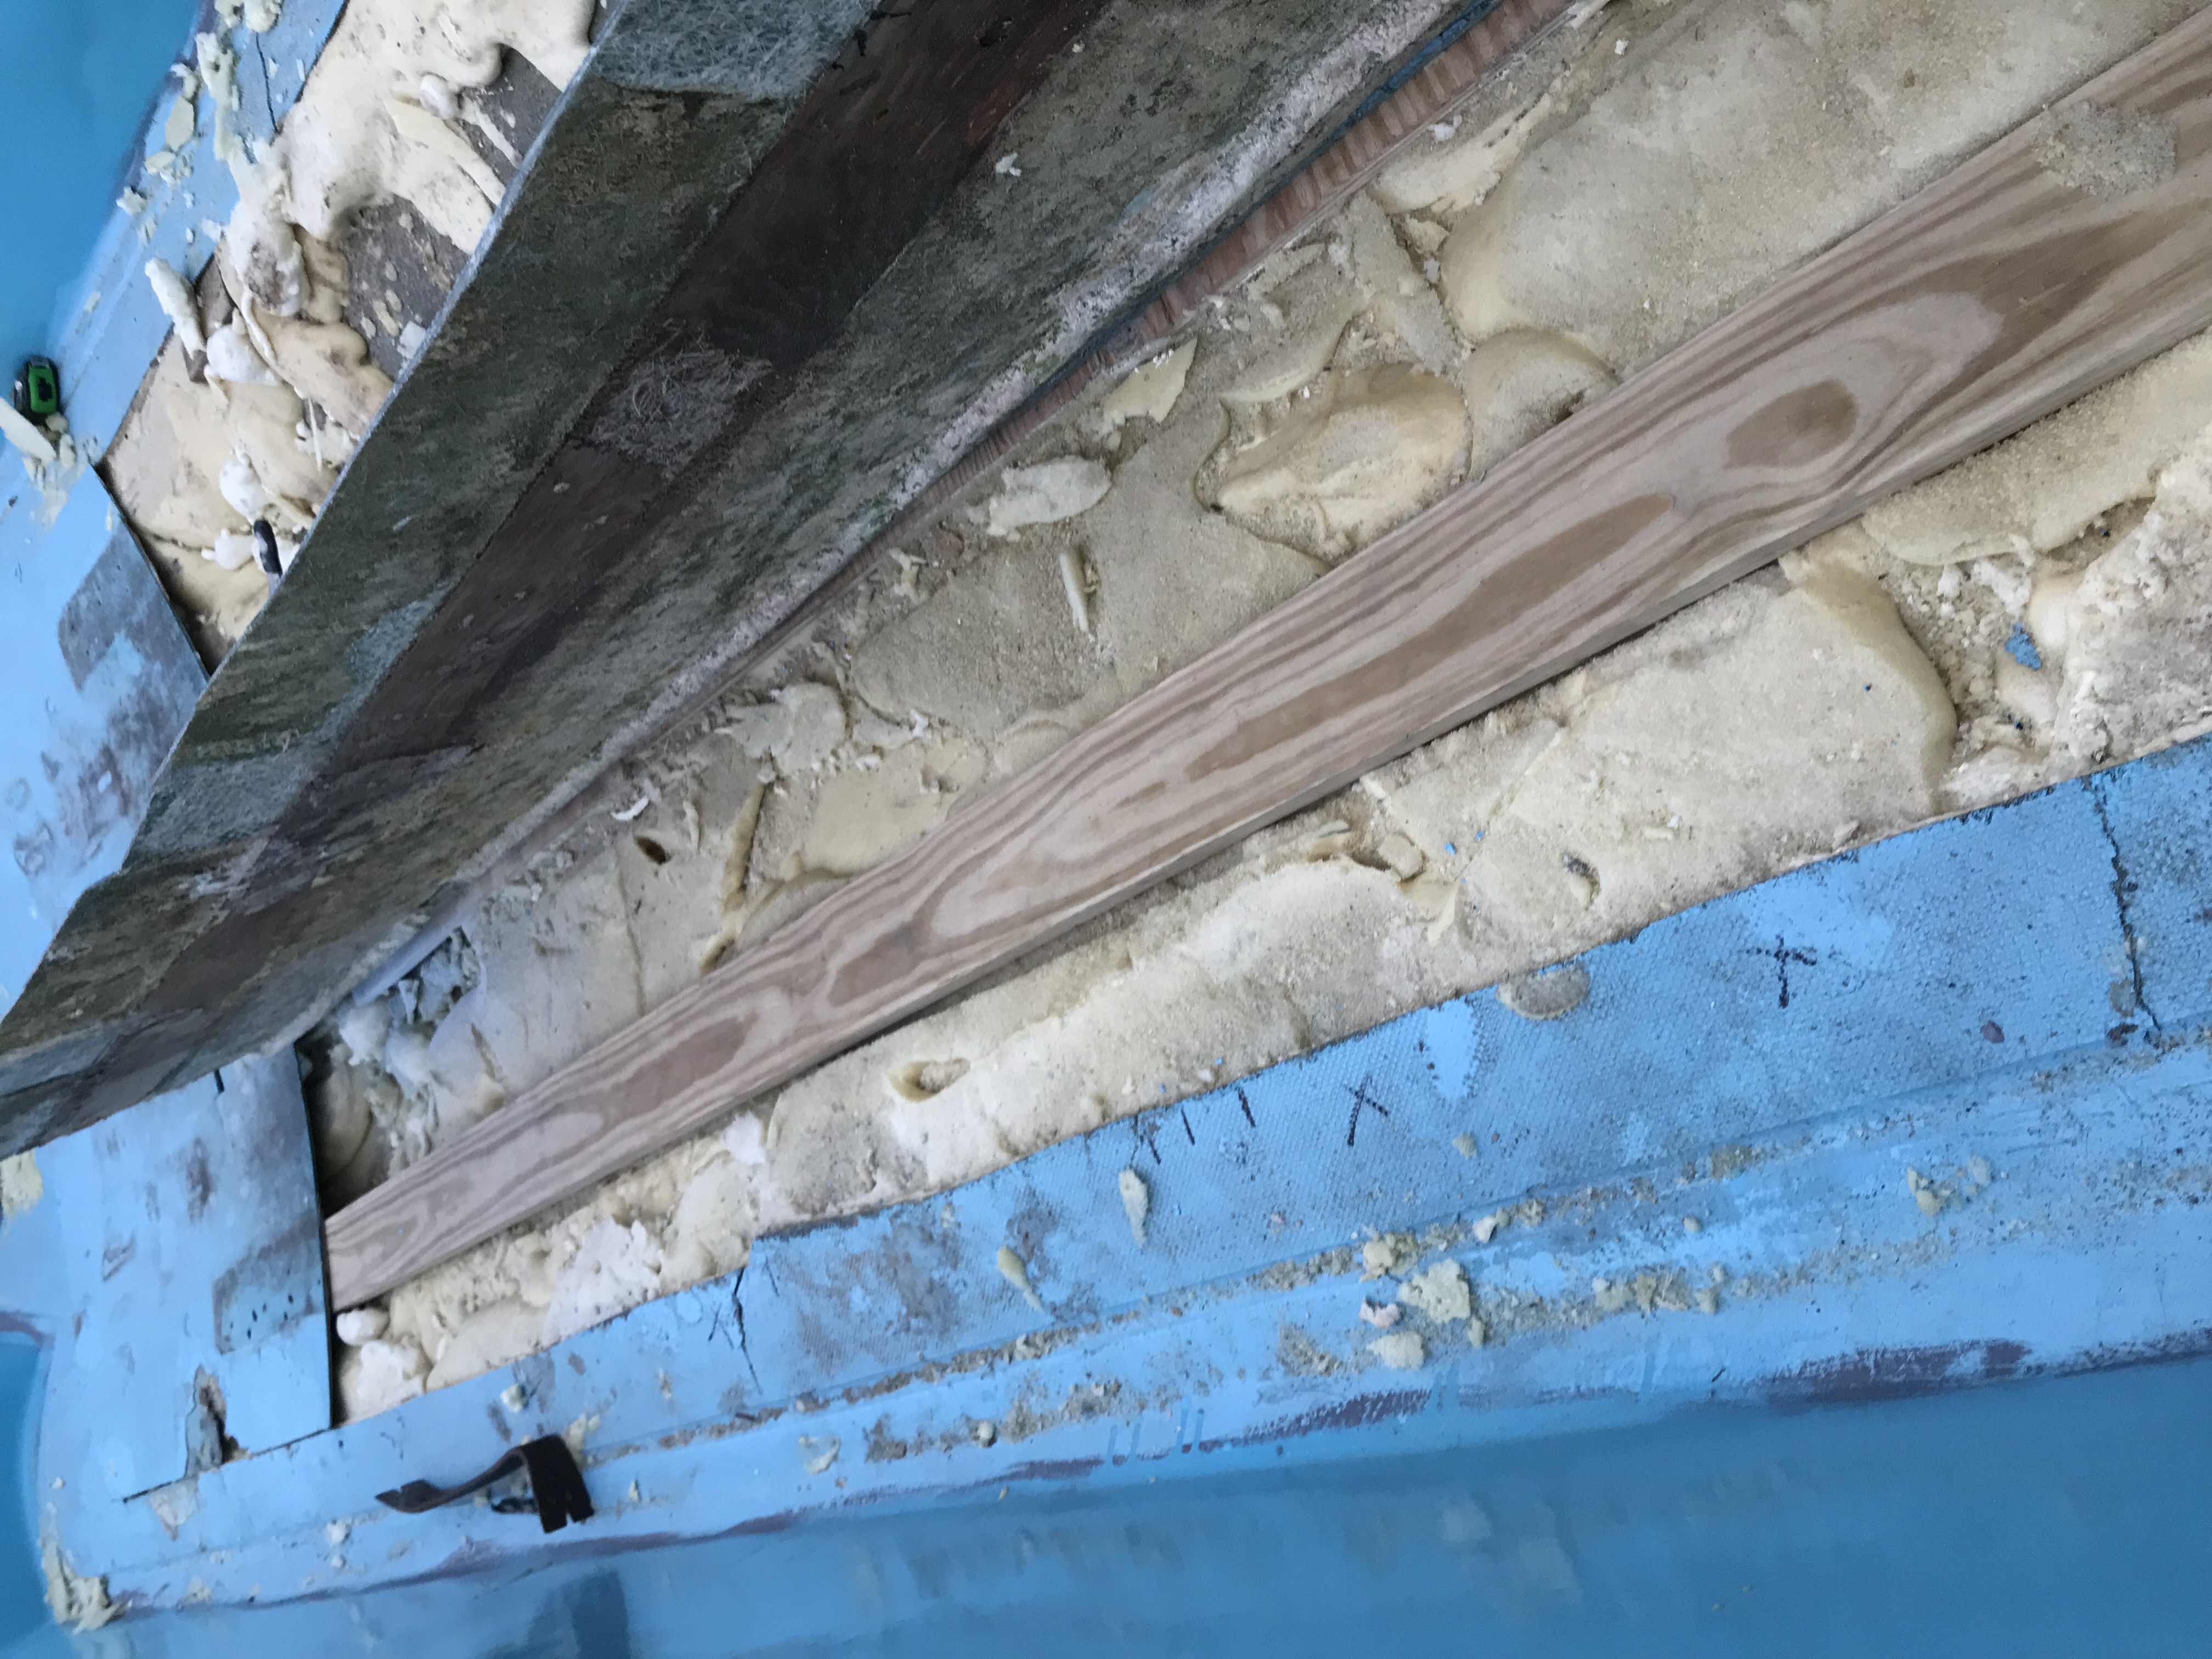
04: This is Some Strong Stuff
4lb density foam. Amazing strength. Cuts like butter yet doesn’t even budge when standing on it.
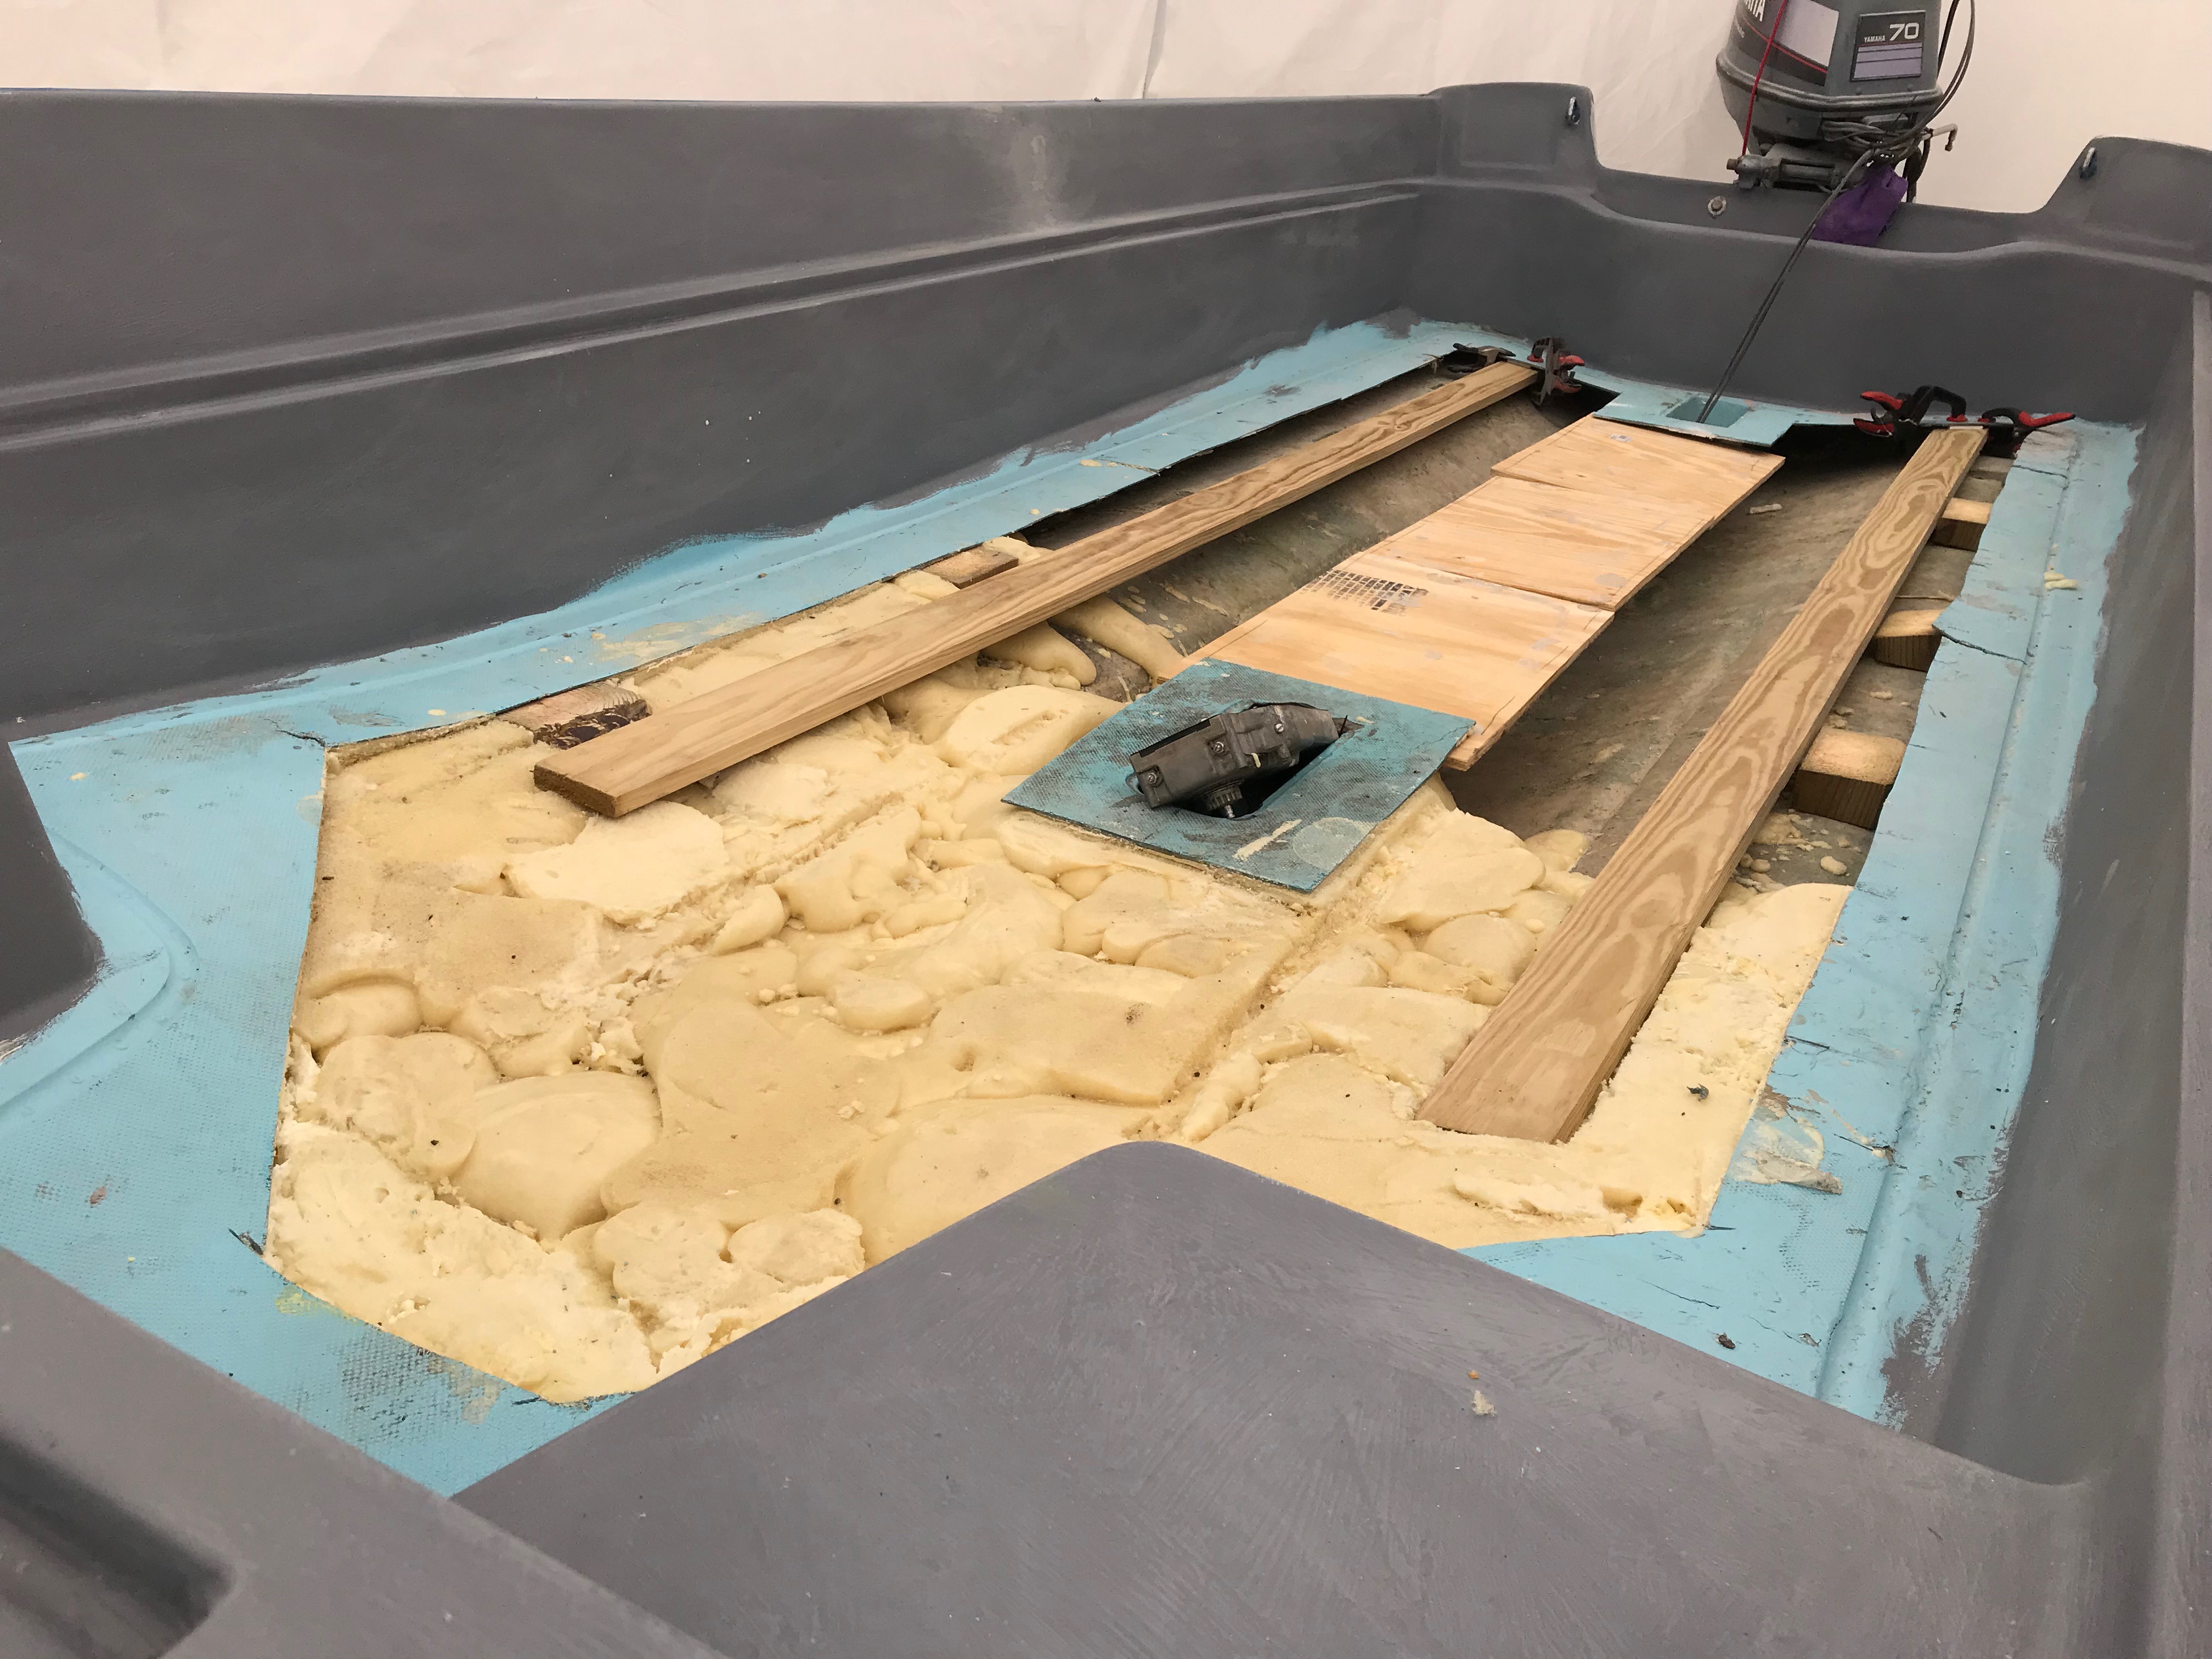
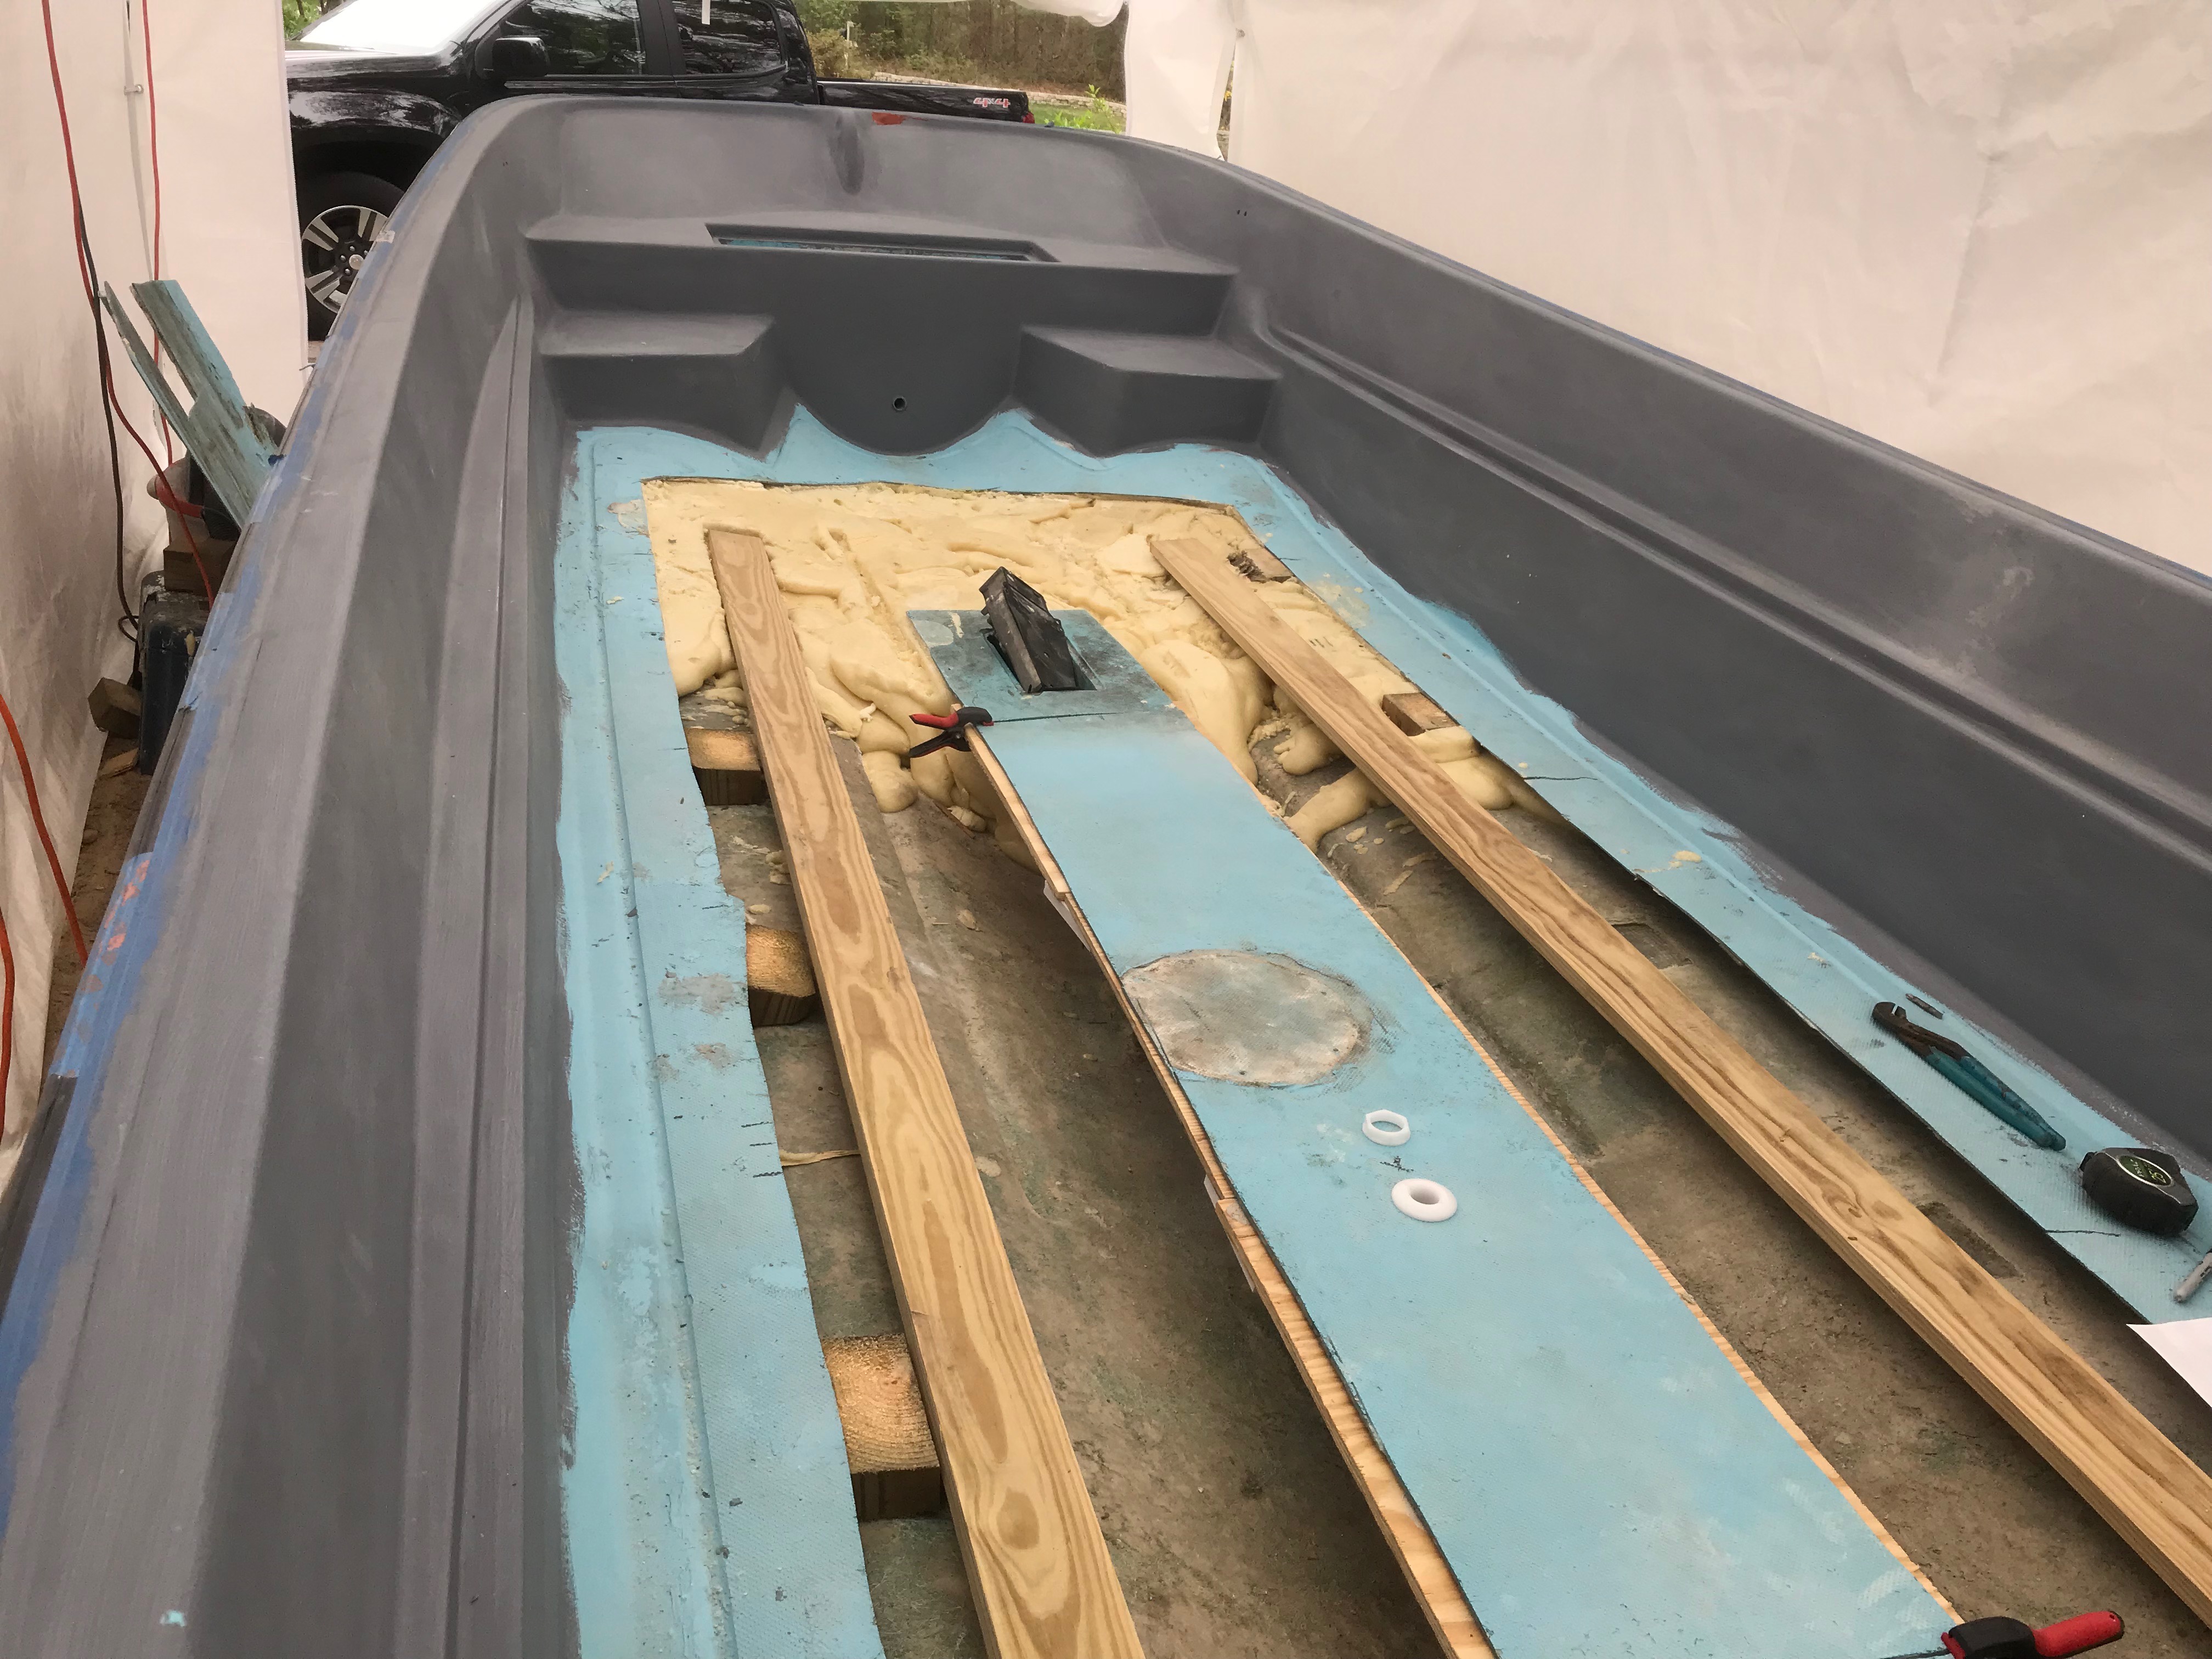
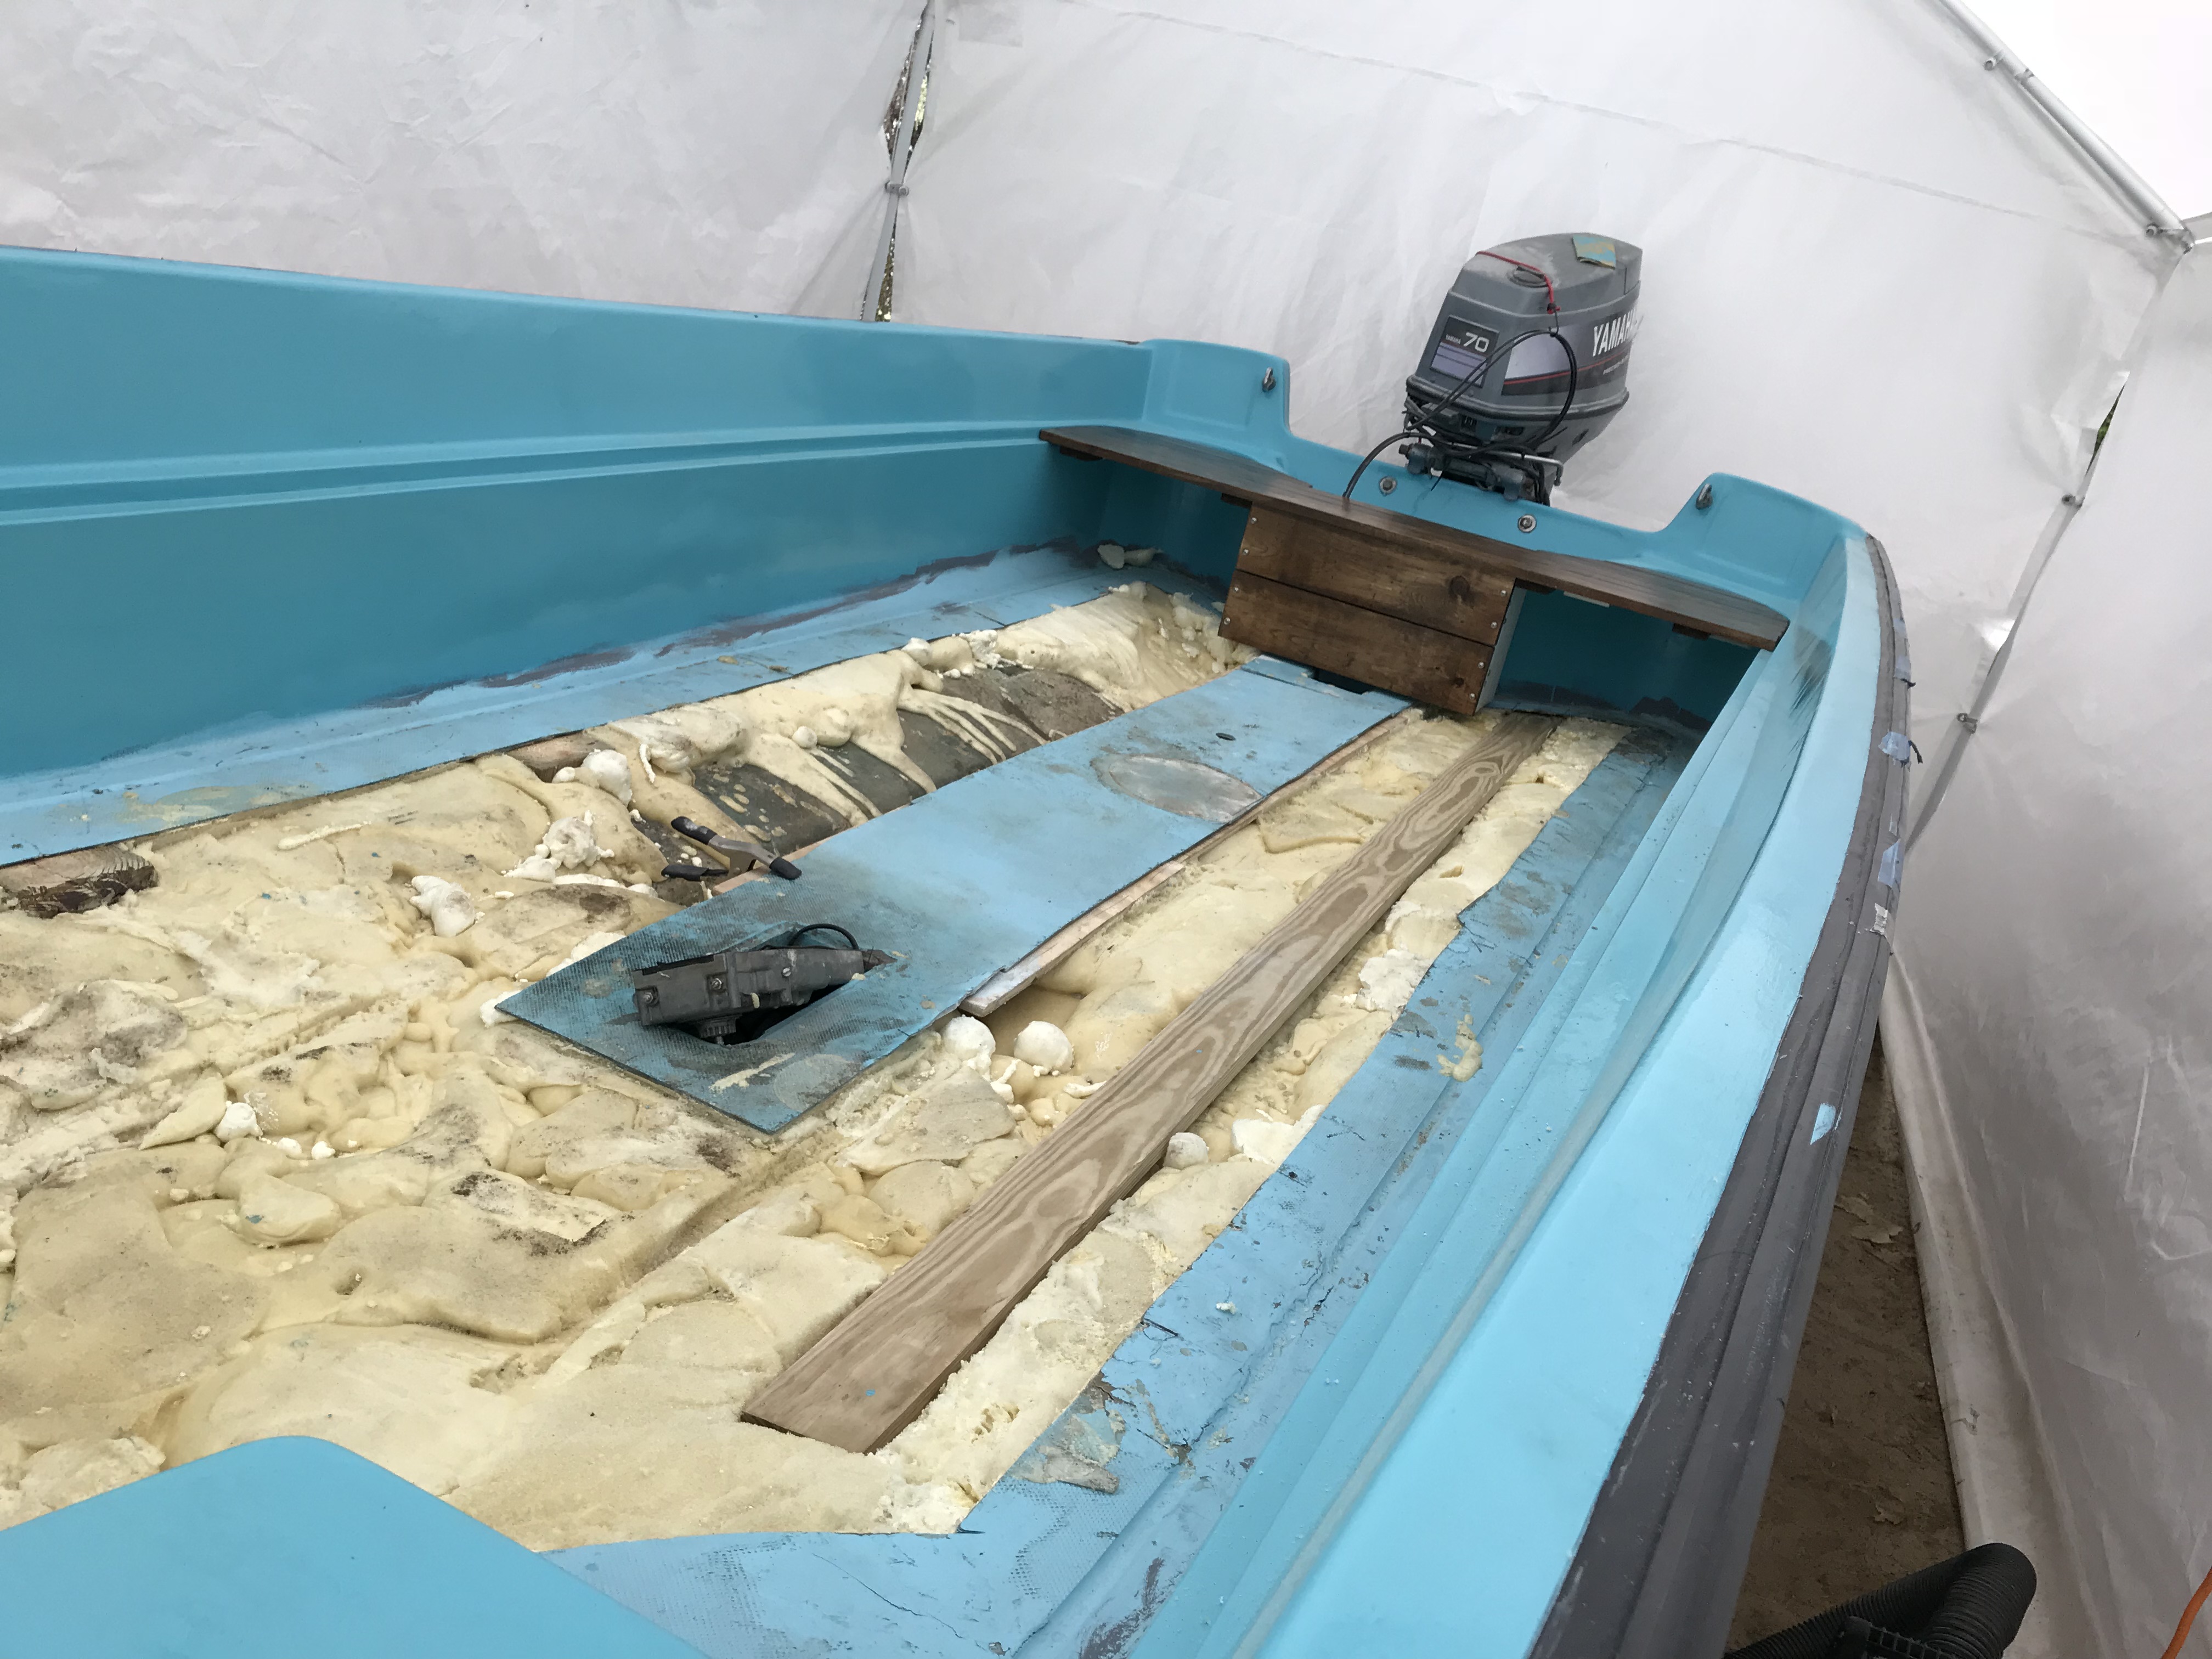
05: Setting Up The Structure
Obviously have to duplicate the support structure that I removed. Going a few better on this step. A bit thicker pressure treated planks and double wide plywood support over the rigging tunnel. The new 18 gallon gas tank is going under the RPS, figured I would add the support for it. Had to sculpt grooves in the foam to marry the deck contours. Sits nice and flat. All the gaps in the foam get filled with peanut butter (resin mash) so the bond between deck and foam will cover all the surface of the deck. A few sandbags as weight while the resin dries.
06: Planning Ahead
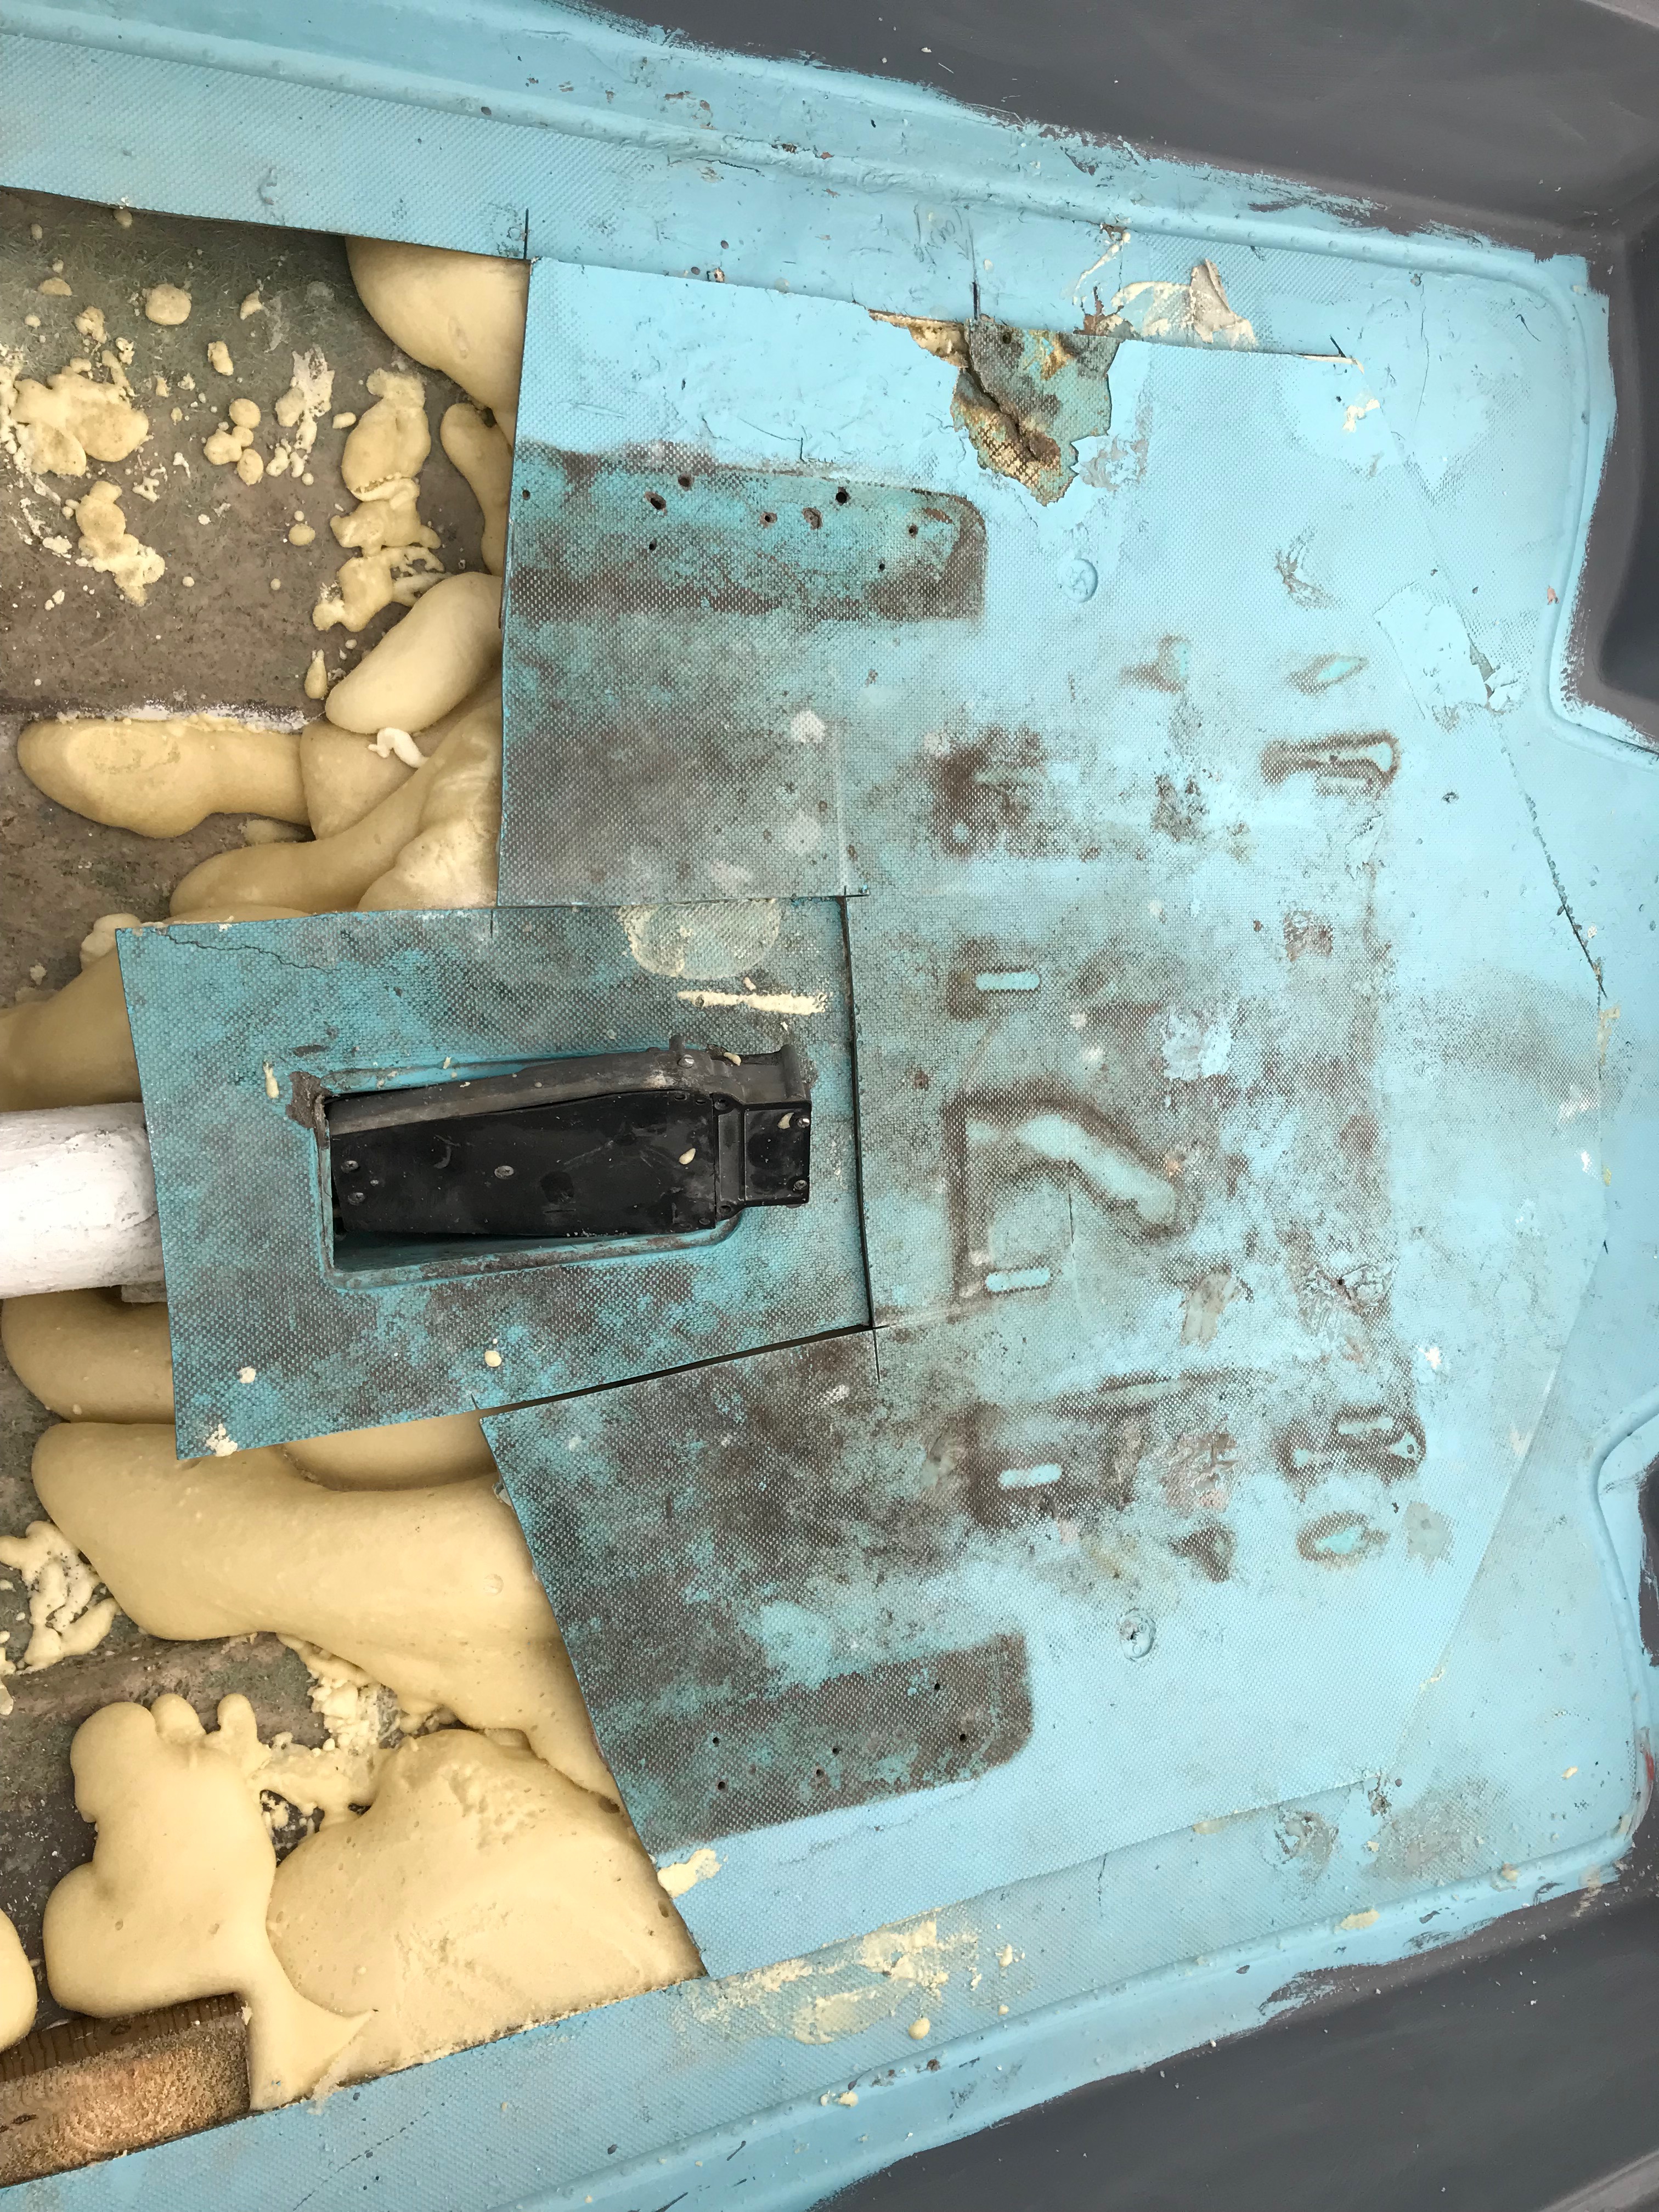
While its all open and easier to do, drilled and tapped my new fuel line access. Sits right behind the gas tank. Perfect. Everything gets sealed with 5200. Once I get the boards just right and foam the nooks and crannies, I’m going to foam right around the wood supports so that everything is one solid piece of structure.
07: What a Journey
Certainly had a vision in October 2107, but wow, what a feeling. Sitting the old beat up deck back down on clean dry foam… nice. Got some serious fiberglassing to do on the deck, that’s for sure. A full deck redo with 17 oz biaxial cloth using slow cure resin should do it.

08: It's Official
Might have jumped a step or two… maybe. 2 more final coats on hull this weekend. It’s done. Waiting on foam and weather to warm up. Will be applying blue bottom paint later down the road as well, meanwhile I had to do it. It’s official.
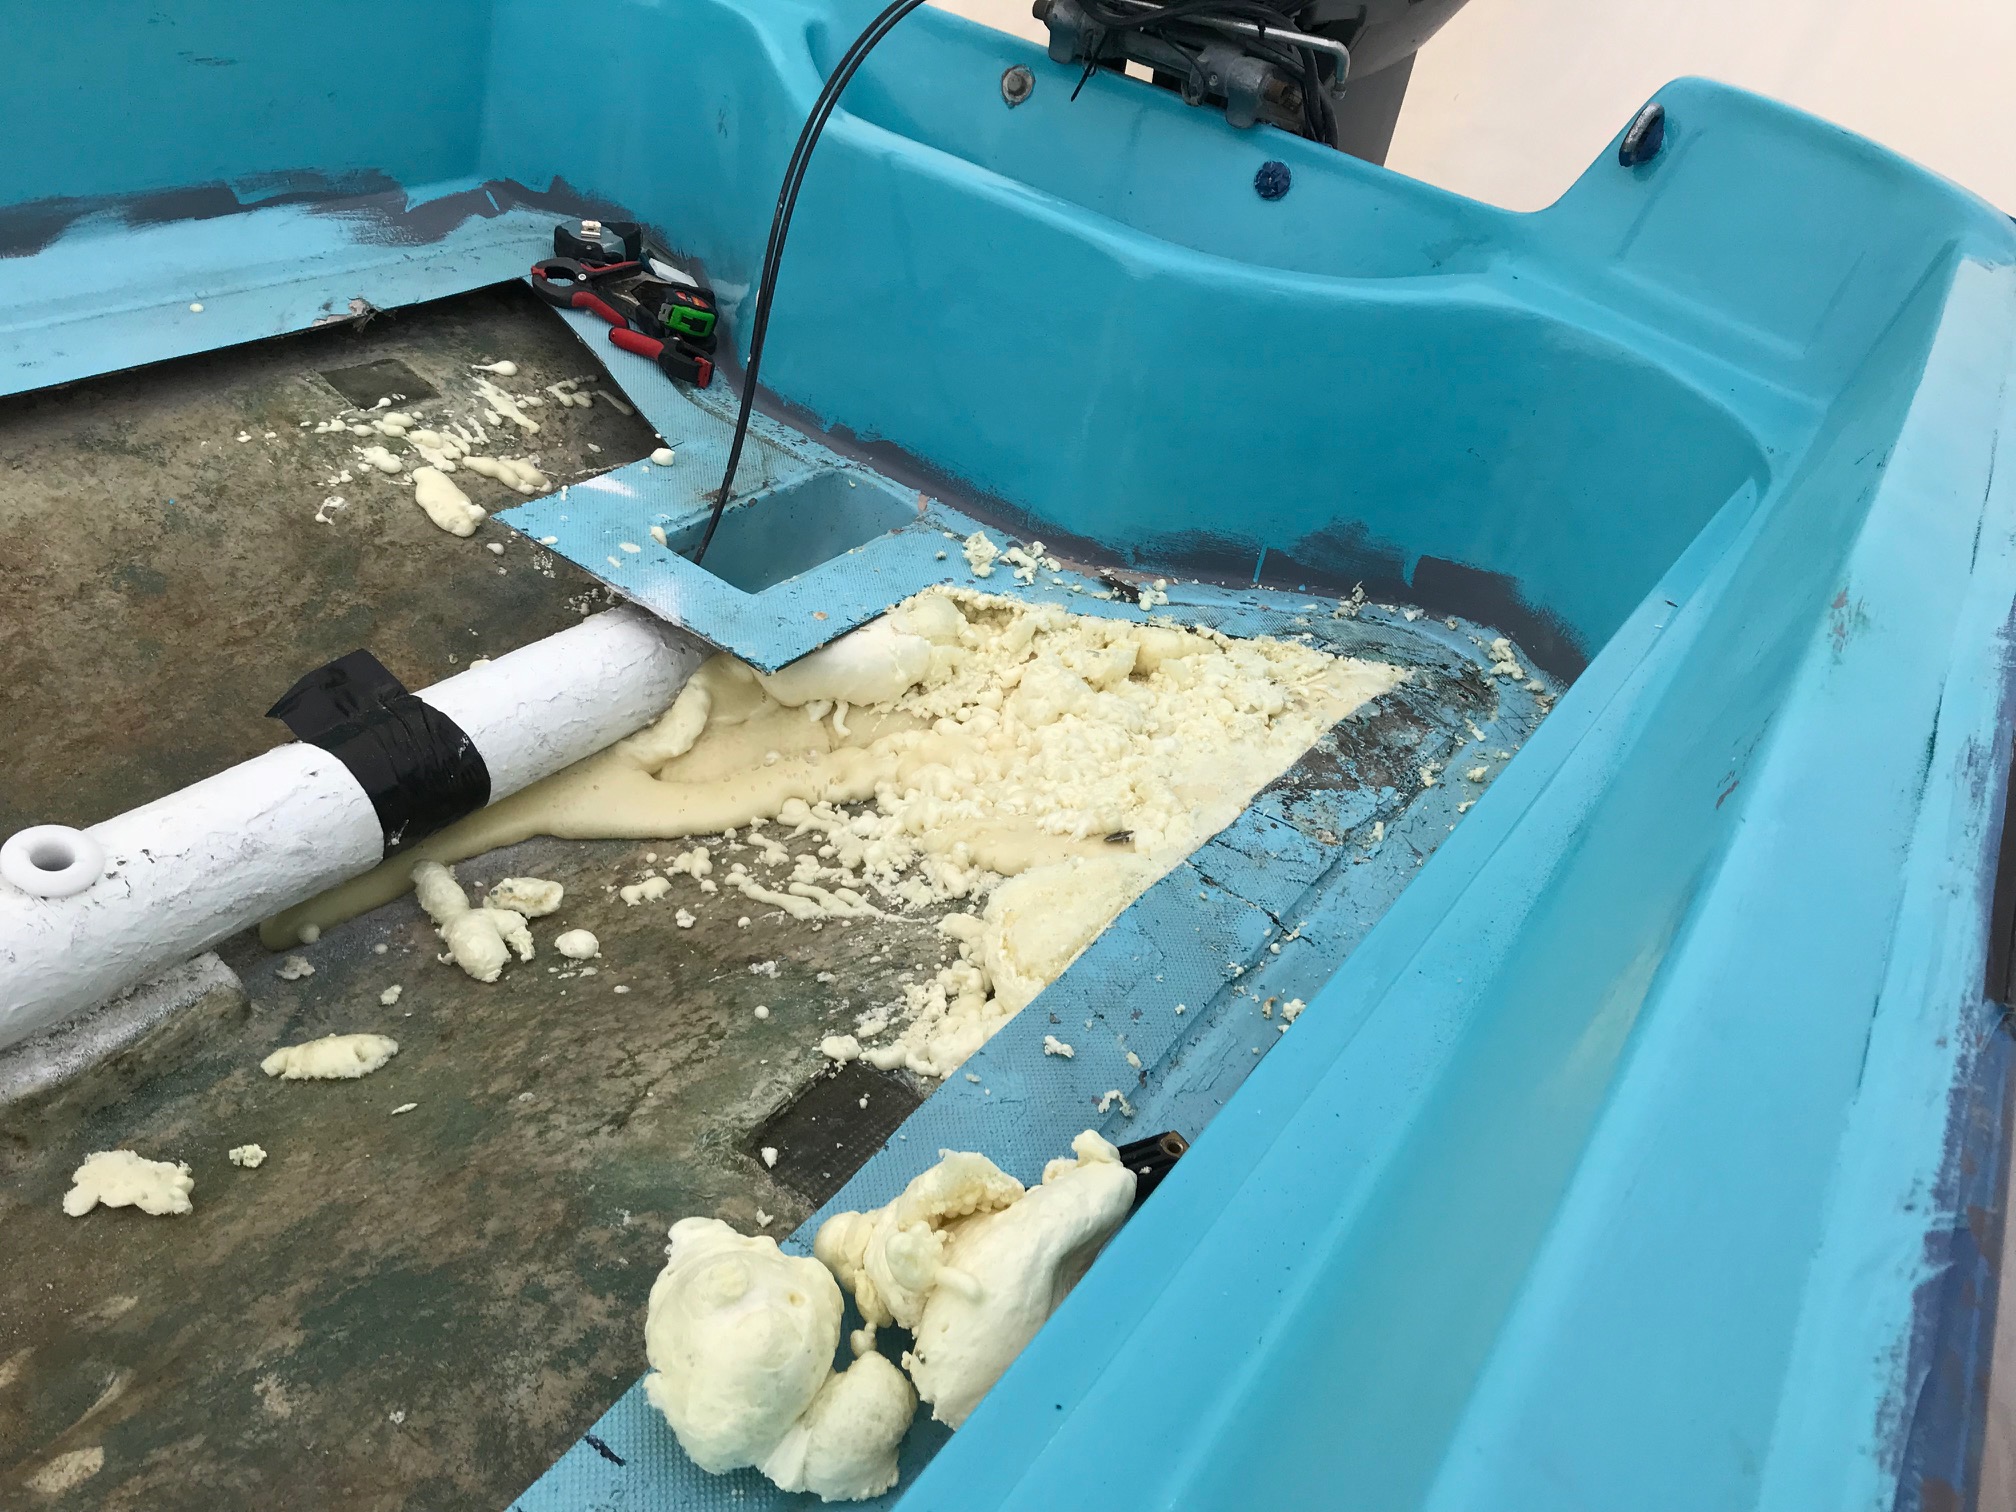
09: Foaming Nightmare
Read the directions! The weather has been iffy warm, got impatient and went ahead to do some foaming. Not a huge mess just a lot of wasted product and $$$$. The foam did not rise as it was supposed to and only covered a fraction of the area. It’s rock solid, but a bit of a mess.
10: Whaler Blue
With the foaming letdown, decided to move on to paint. First coat of Whaler Blue. Fantastic. It’s not wet, it dries a high gloss finish.
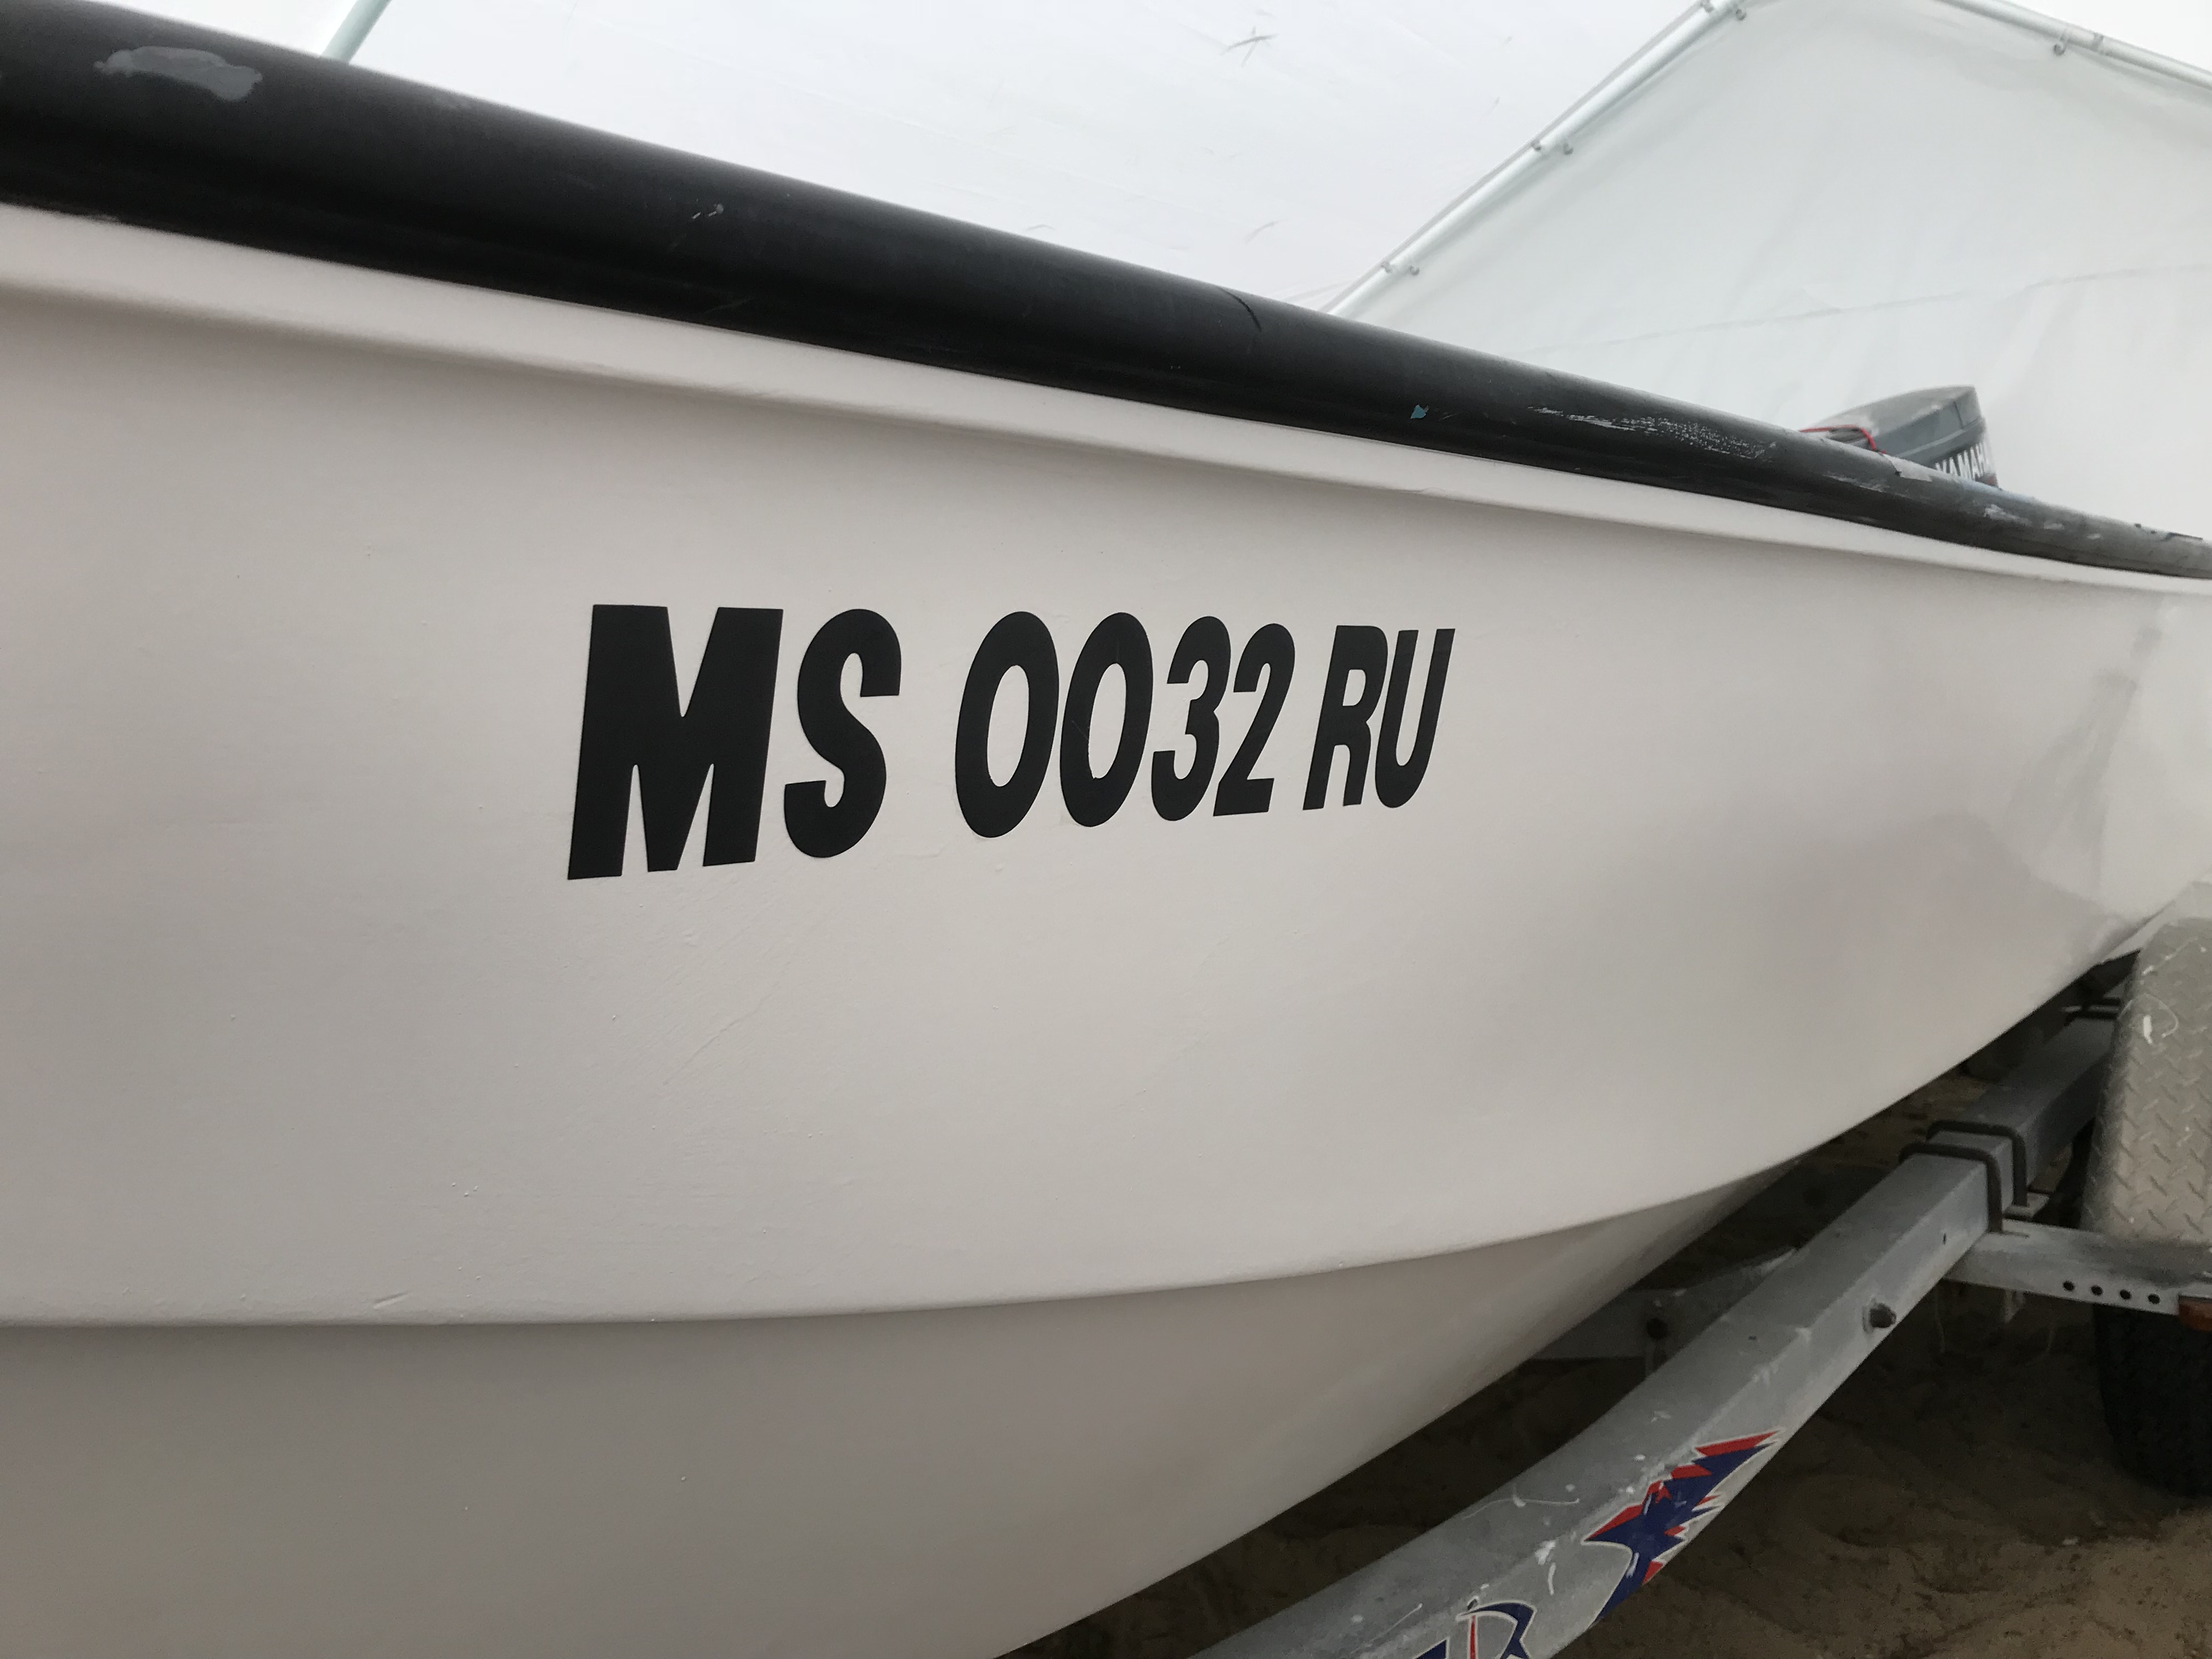
11: It's Official #2
Hull Paint is dried and rock solid. Numbers went on as a reward.
12: Foam, Foam and More Foam
Had a scorcher on Saturday, perfect foaming conditions. The mixing of this stuff is so critical for perfect results. My results probably could have been better, but I’m OK with it. Some wasted product for sure. Still the foaming end is near.
13: Peek-A-Boo
Flashback to October 2017 when I opened the deck up for the first time. Big difference this time. Rock solid, 100% dry, 4# structural foam.

14: Close The Door, Put Out The Light.
Lot’s and lots of foam sculpting to get to this point. Plenty of small voids to fill, but all deck panels sit even. Contours are still there.
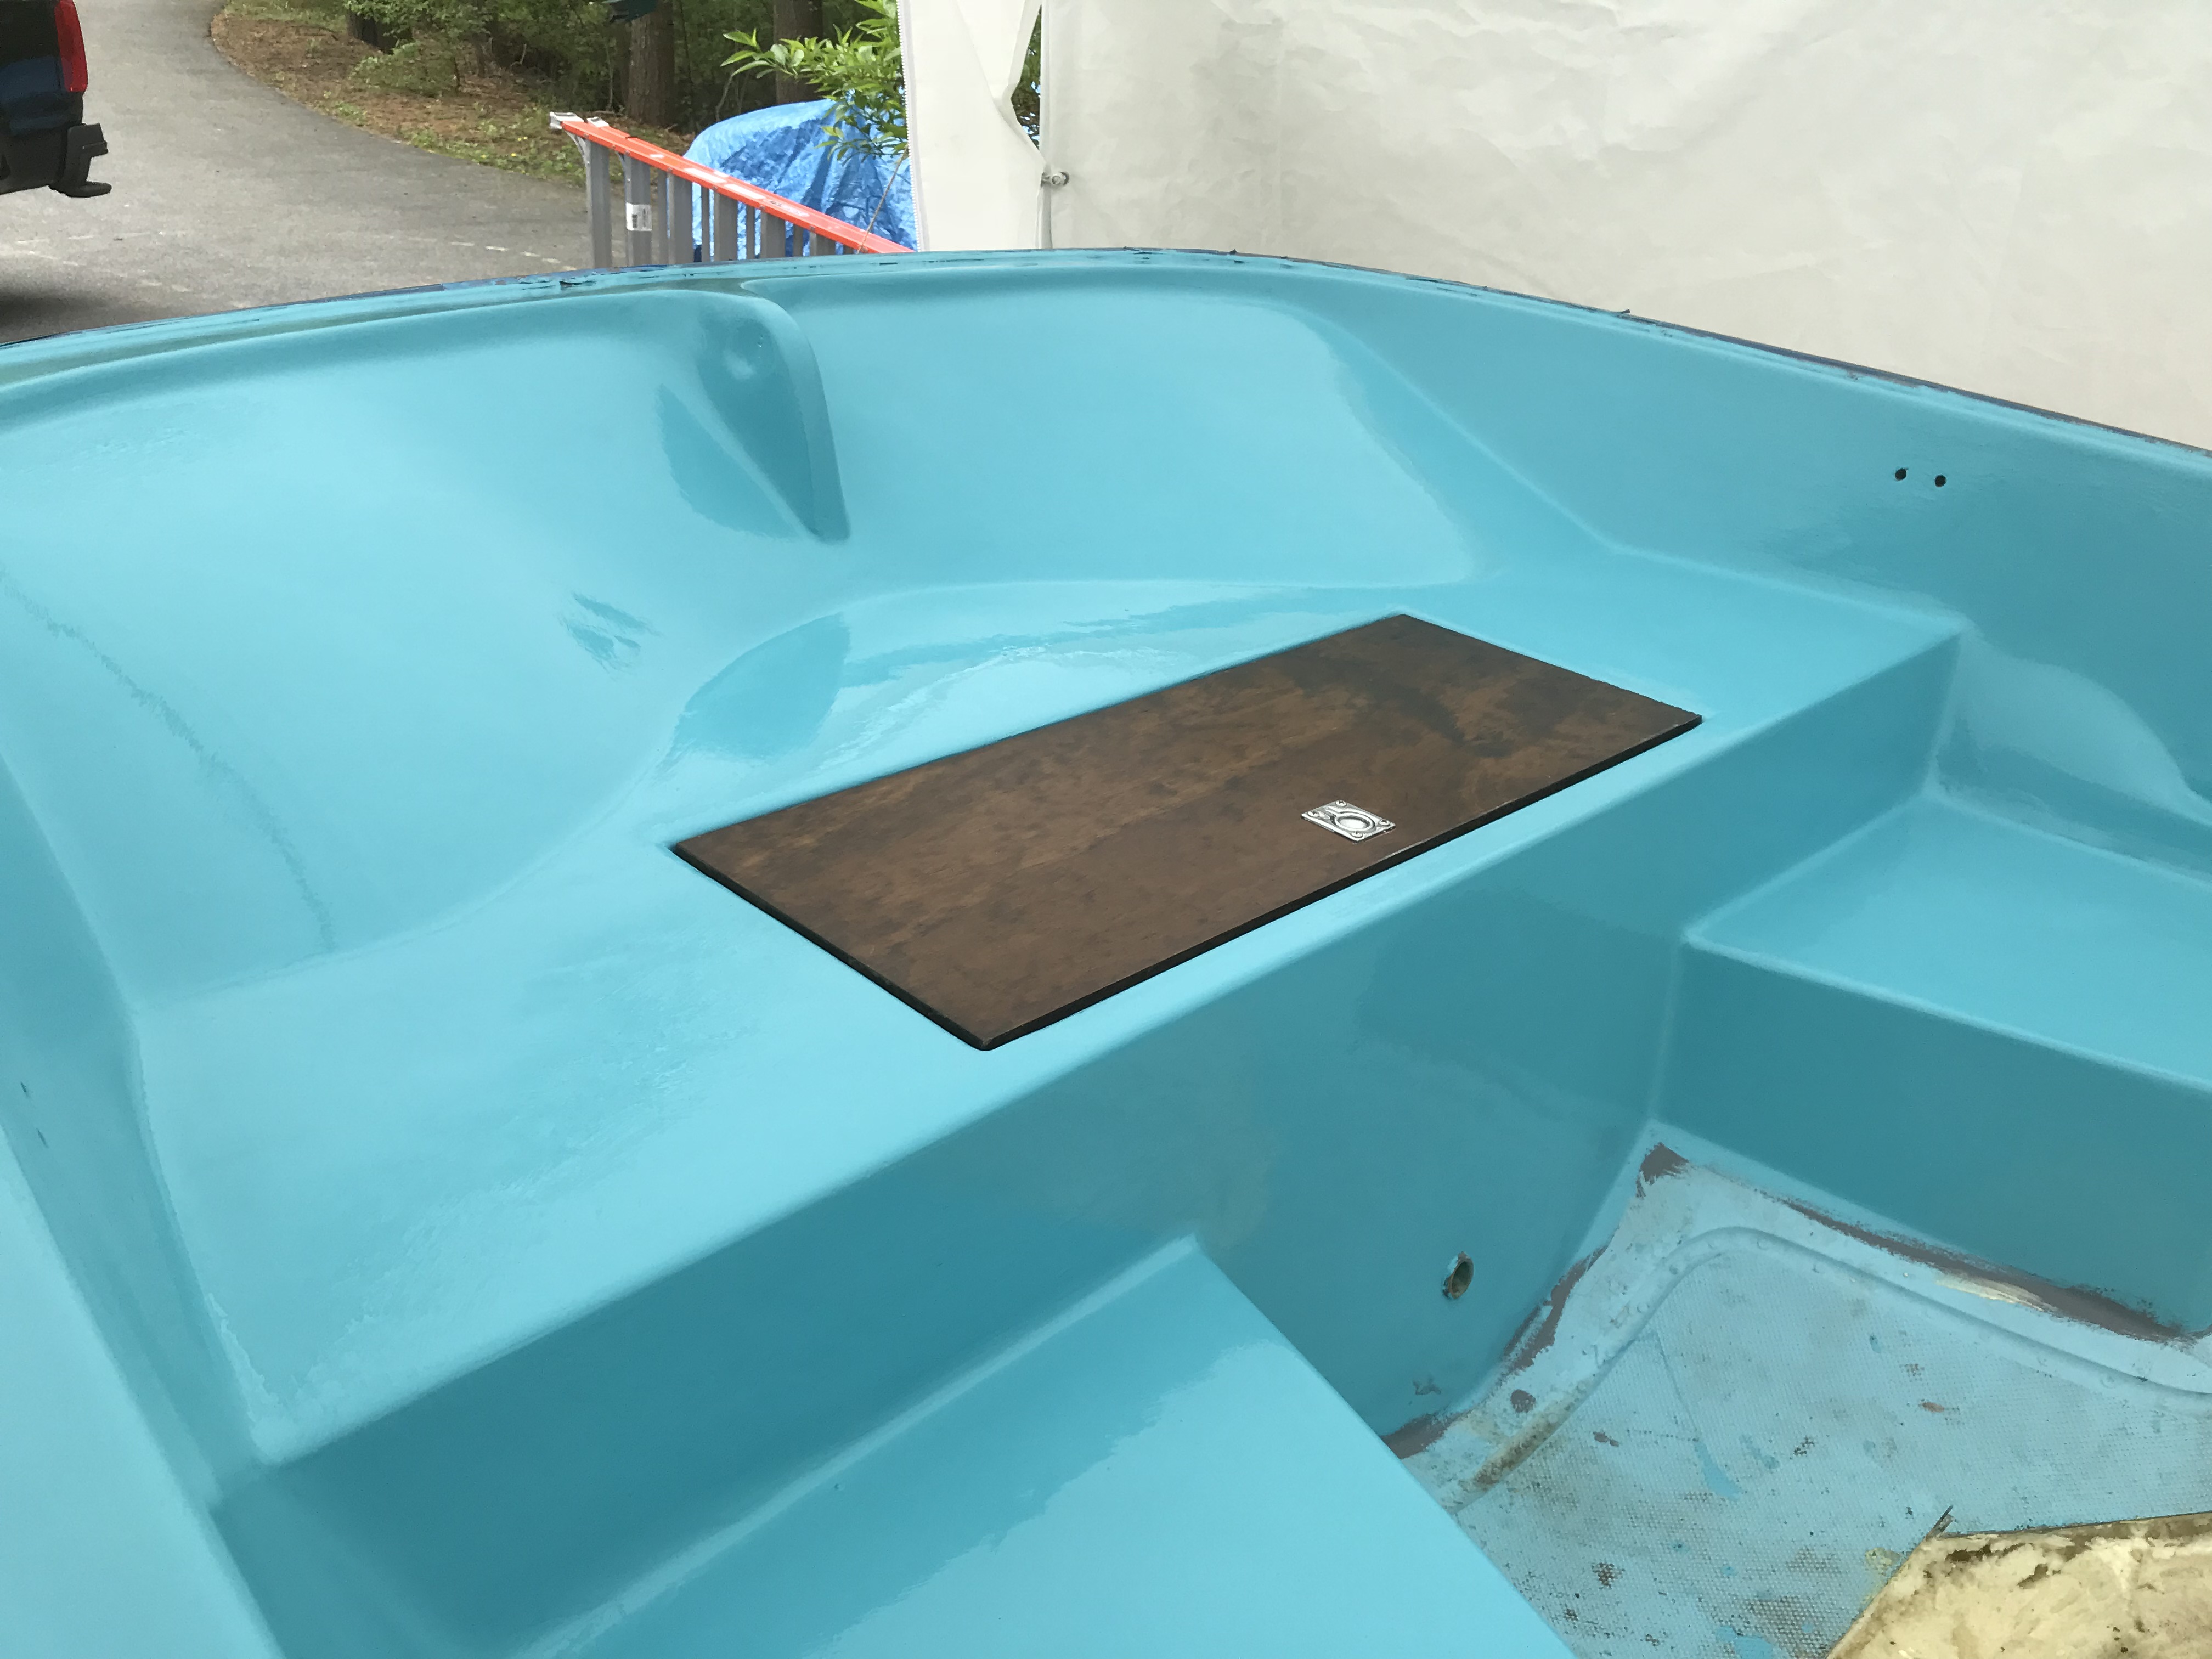
15: Bling
Closing the month with a little bling. Had to see the contrast of wood and the new Whaler Blue. I likey. Yes the serials go back soon. Have original stencil templates ready to go.
