1968 Whaler
Welcome to my rebuild journey. October 2017, it begins.
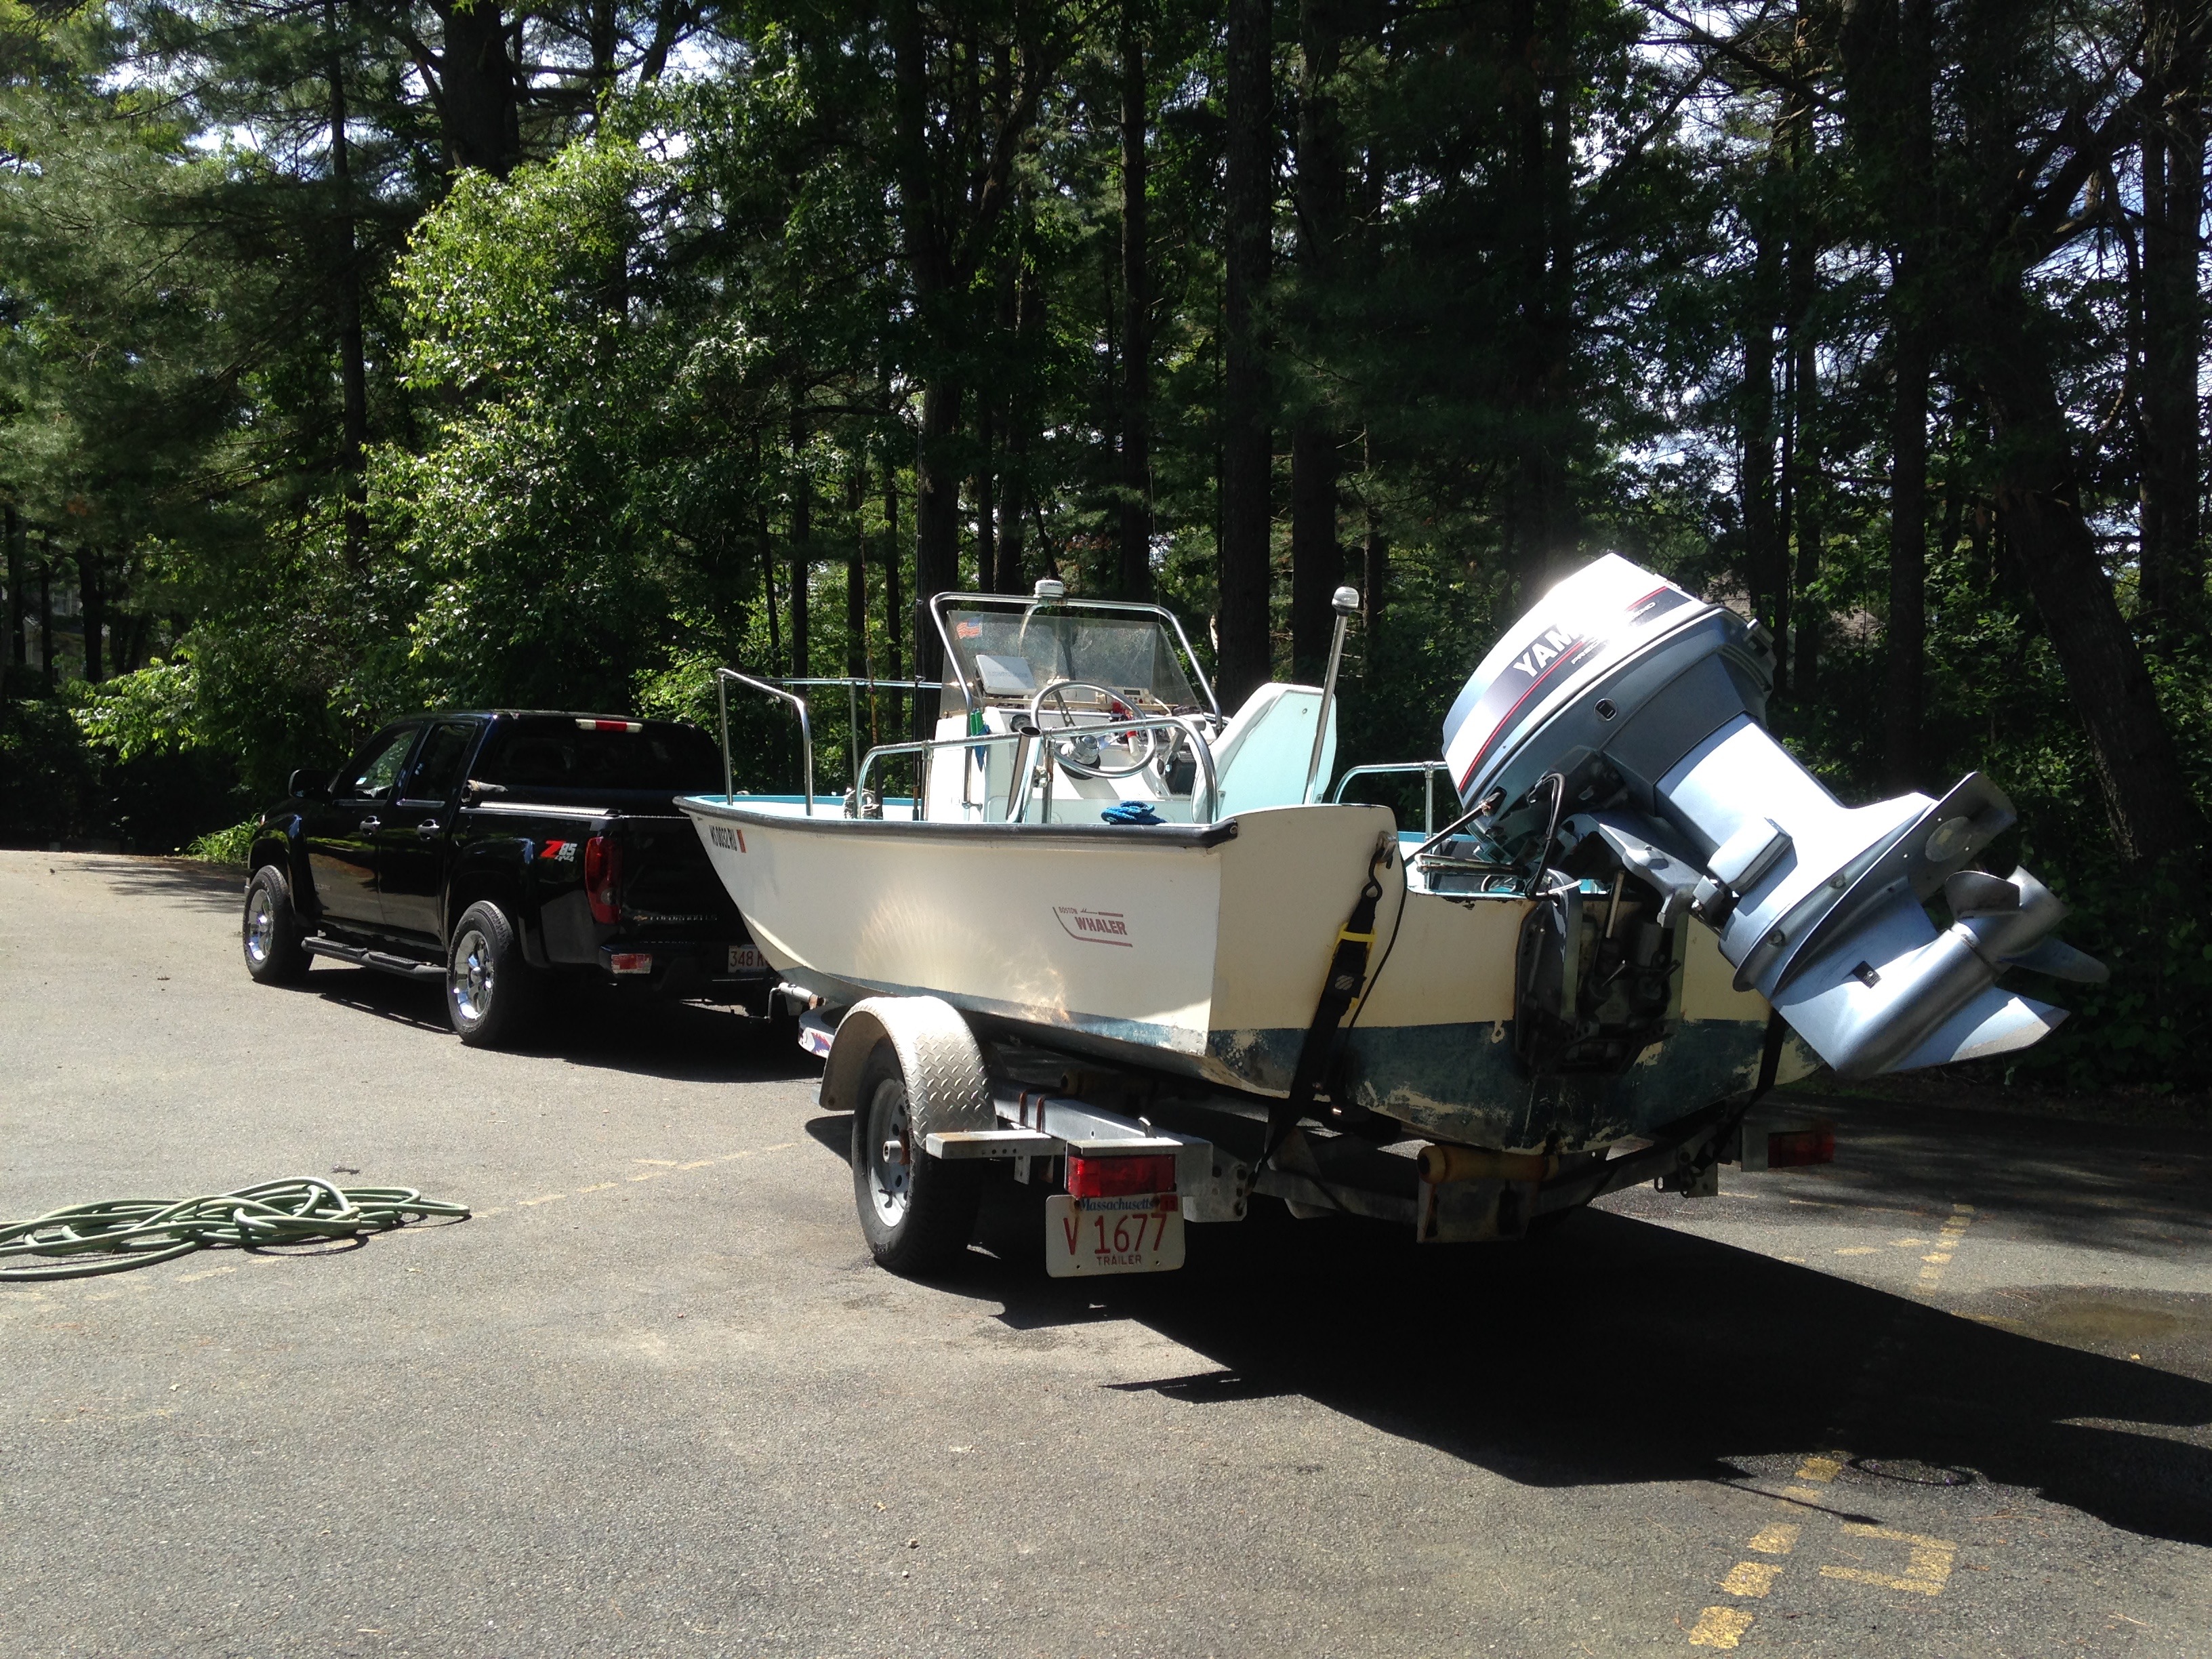
01: Been A Great Run
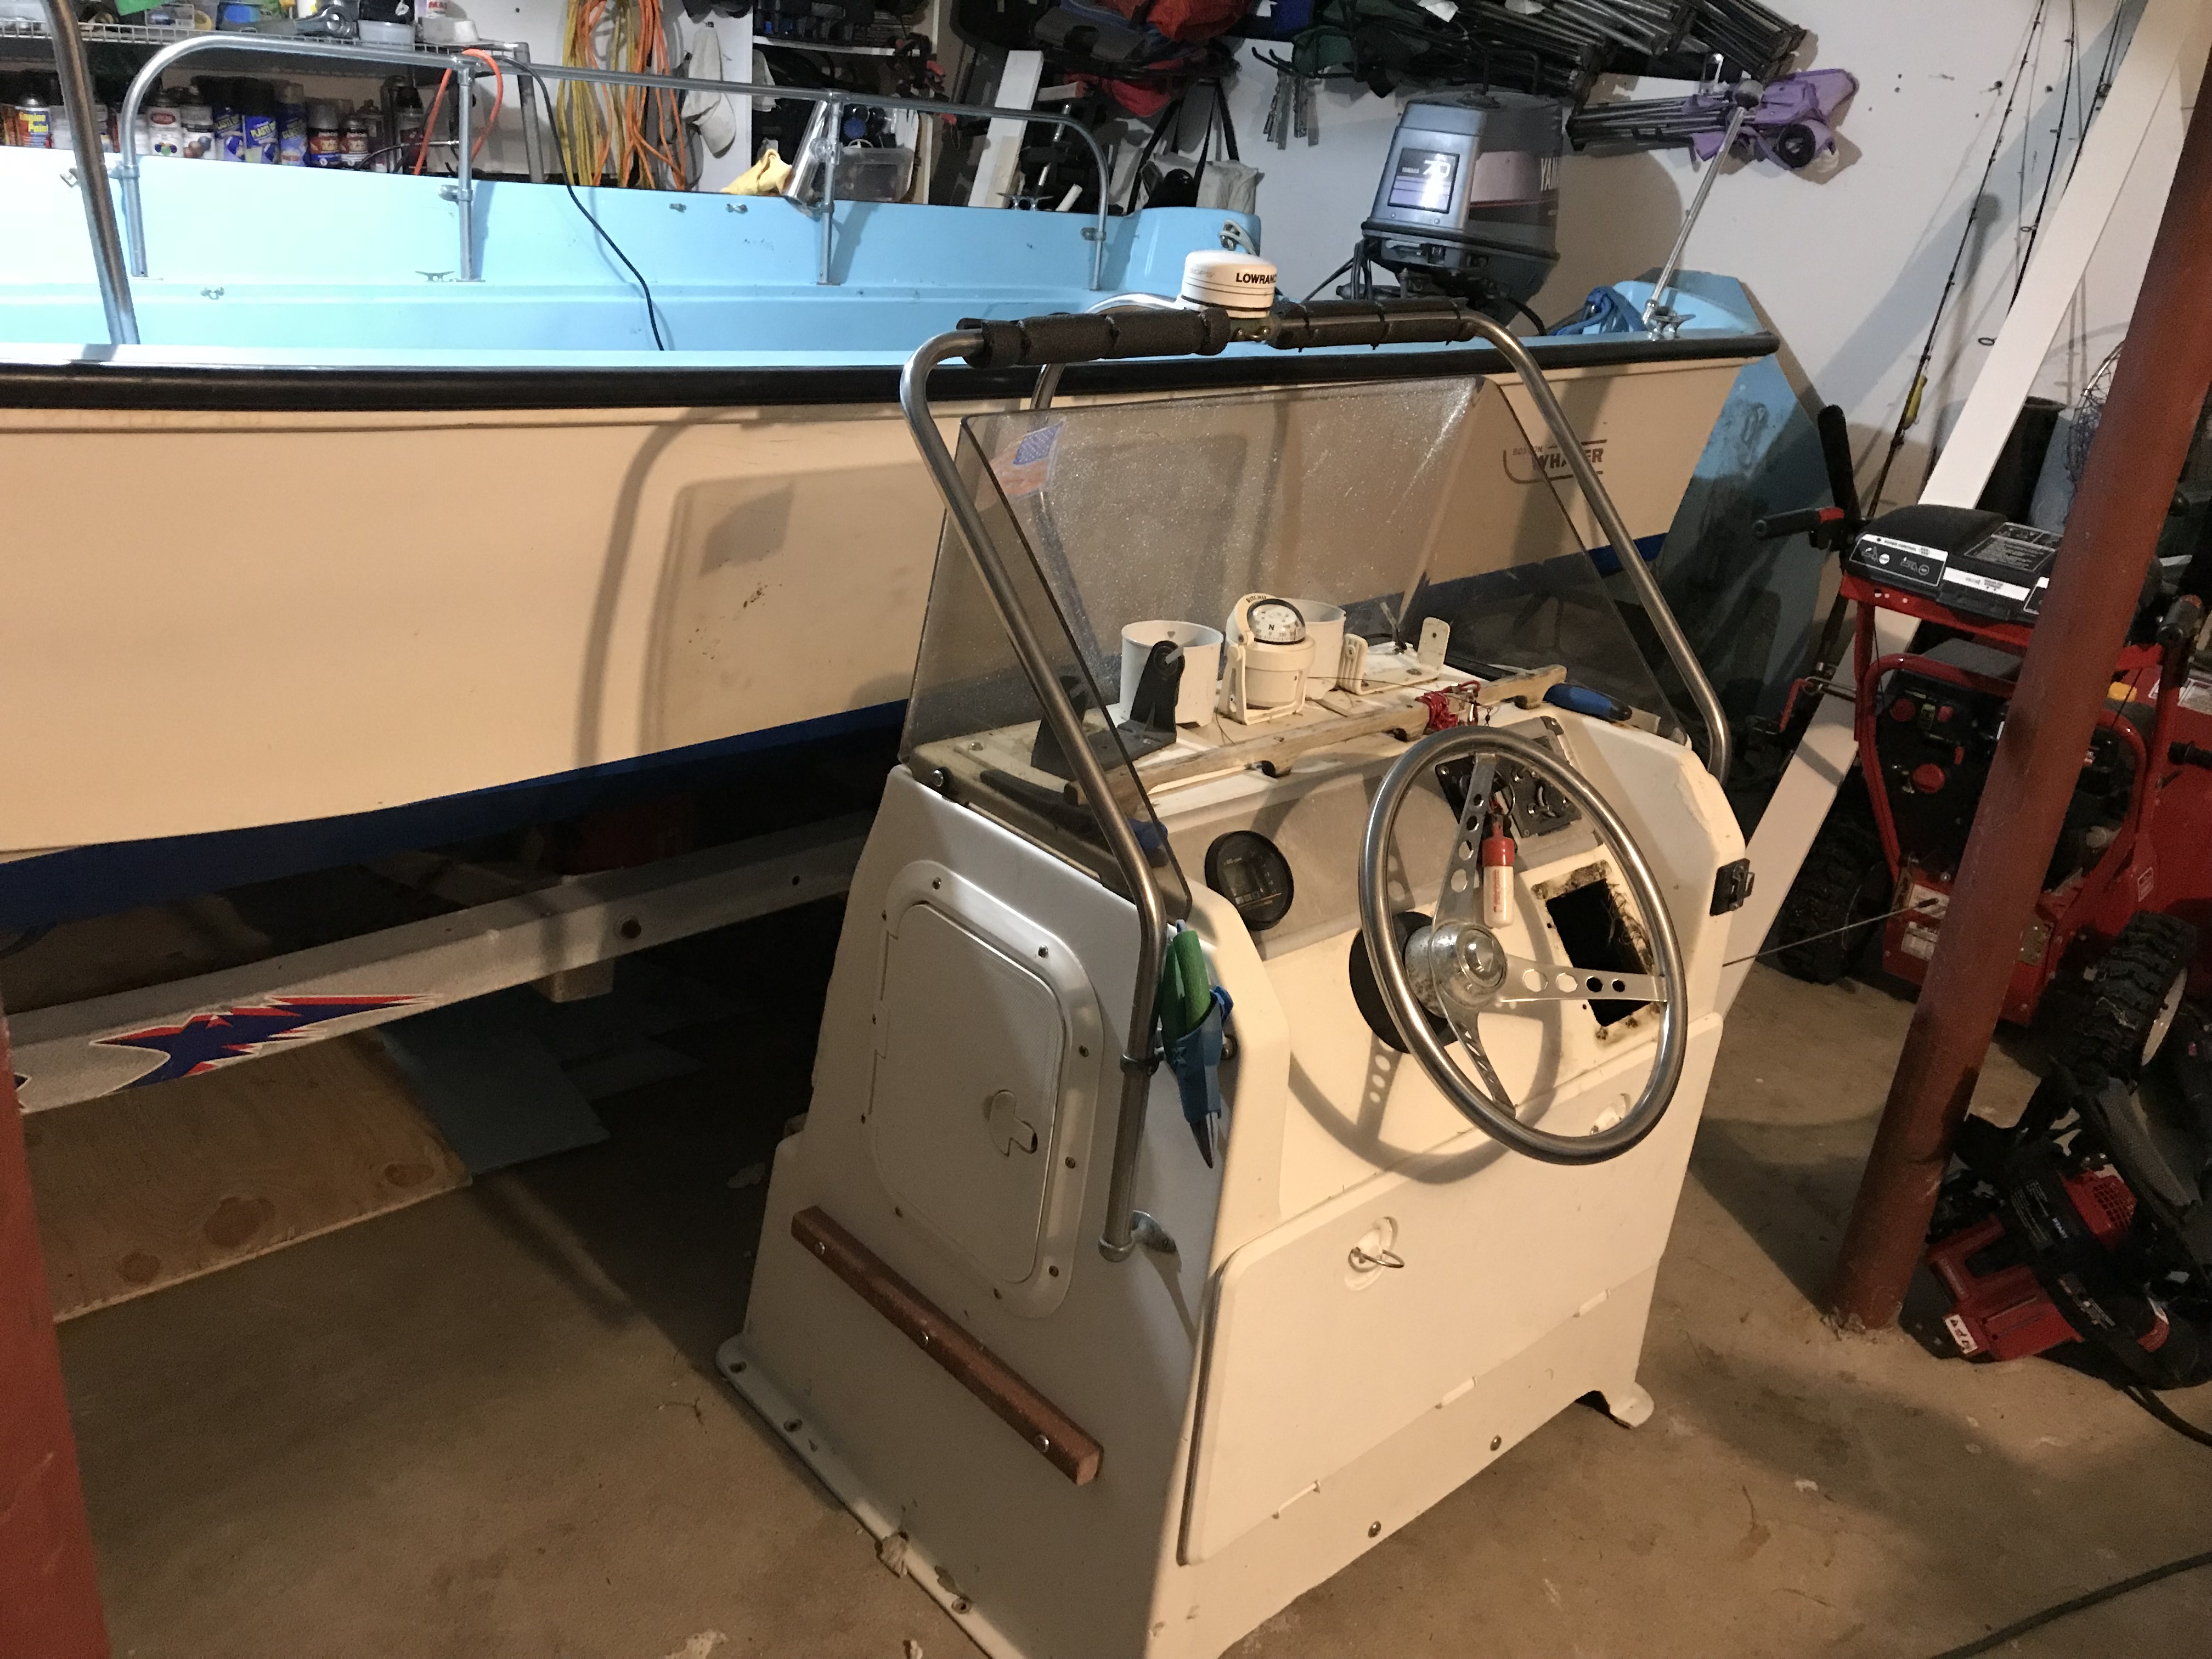
Purchased my 1968 Classic Nauset in 2007. Found her in a snowbank covered in ice with a pretty hefty crack in the deck. Was just so excited to have found a Whaler, I went for it. Purchase came with a trailer and a 1988 Yamaha 70ETLG – $3,700. It’s been a great 10 years. Have fished all along the Cape and South Shore. The Yammy has been bullet proof. Couple of carb rebuilds, small tune-up and basic repairs, but otherwise worth every penny and then some. Boat on the other hand has been telling me she’s tired for the last few years. Last couple she’s been sitting a bit lower and lower in the water. I’ve patched, sanded, painted… you name it to keep her floating. This past summer, starting getting water fill up in the bilge after an hour or so on the water. Made it through the season and had a hard decision to make.
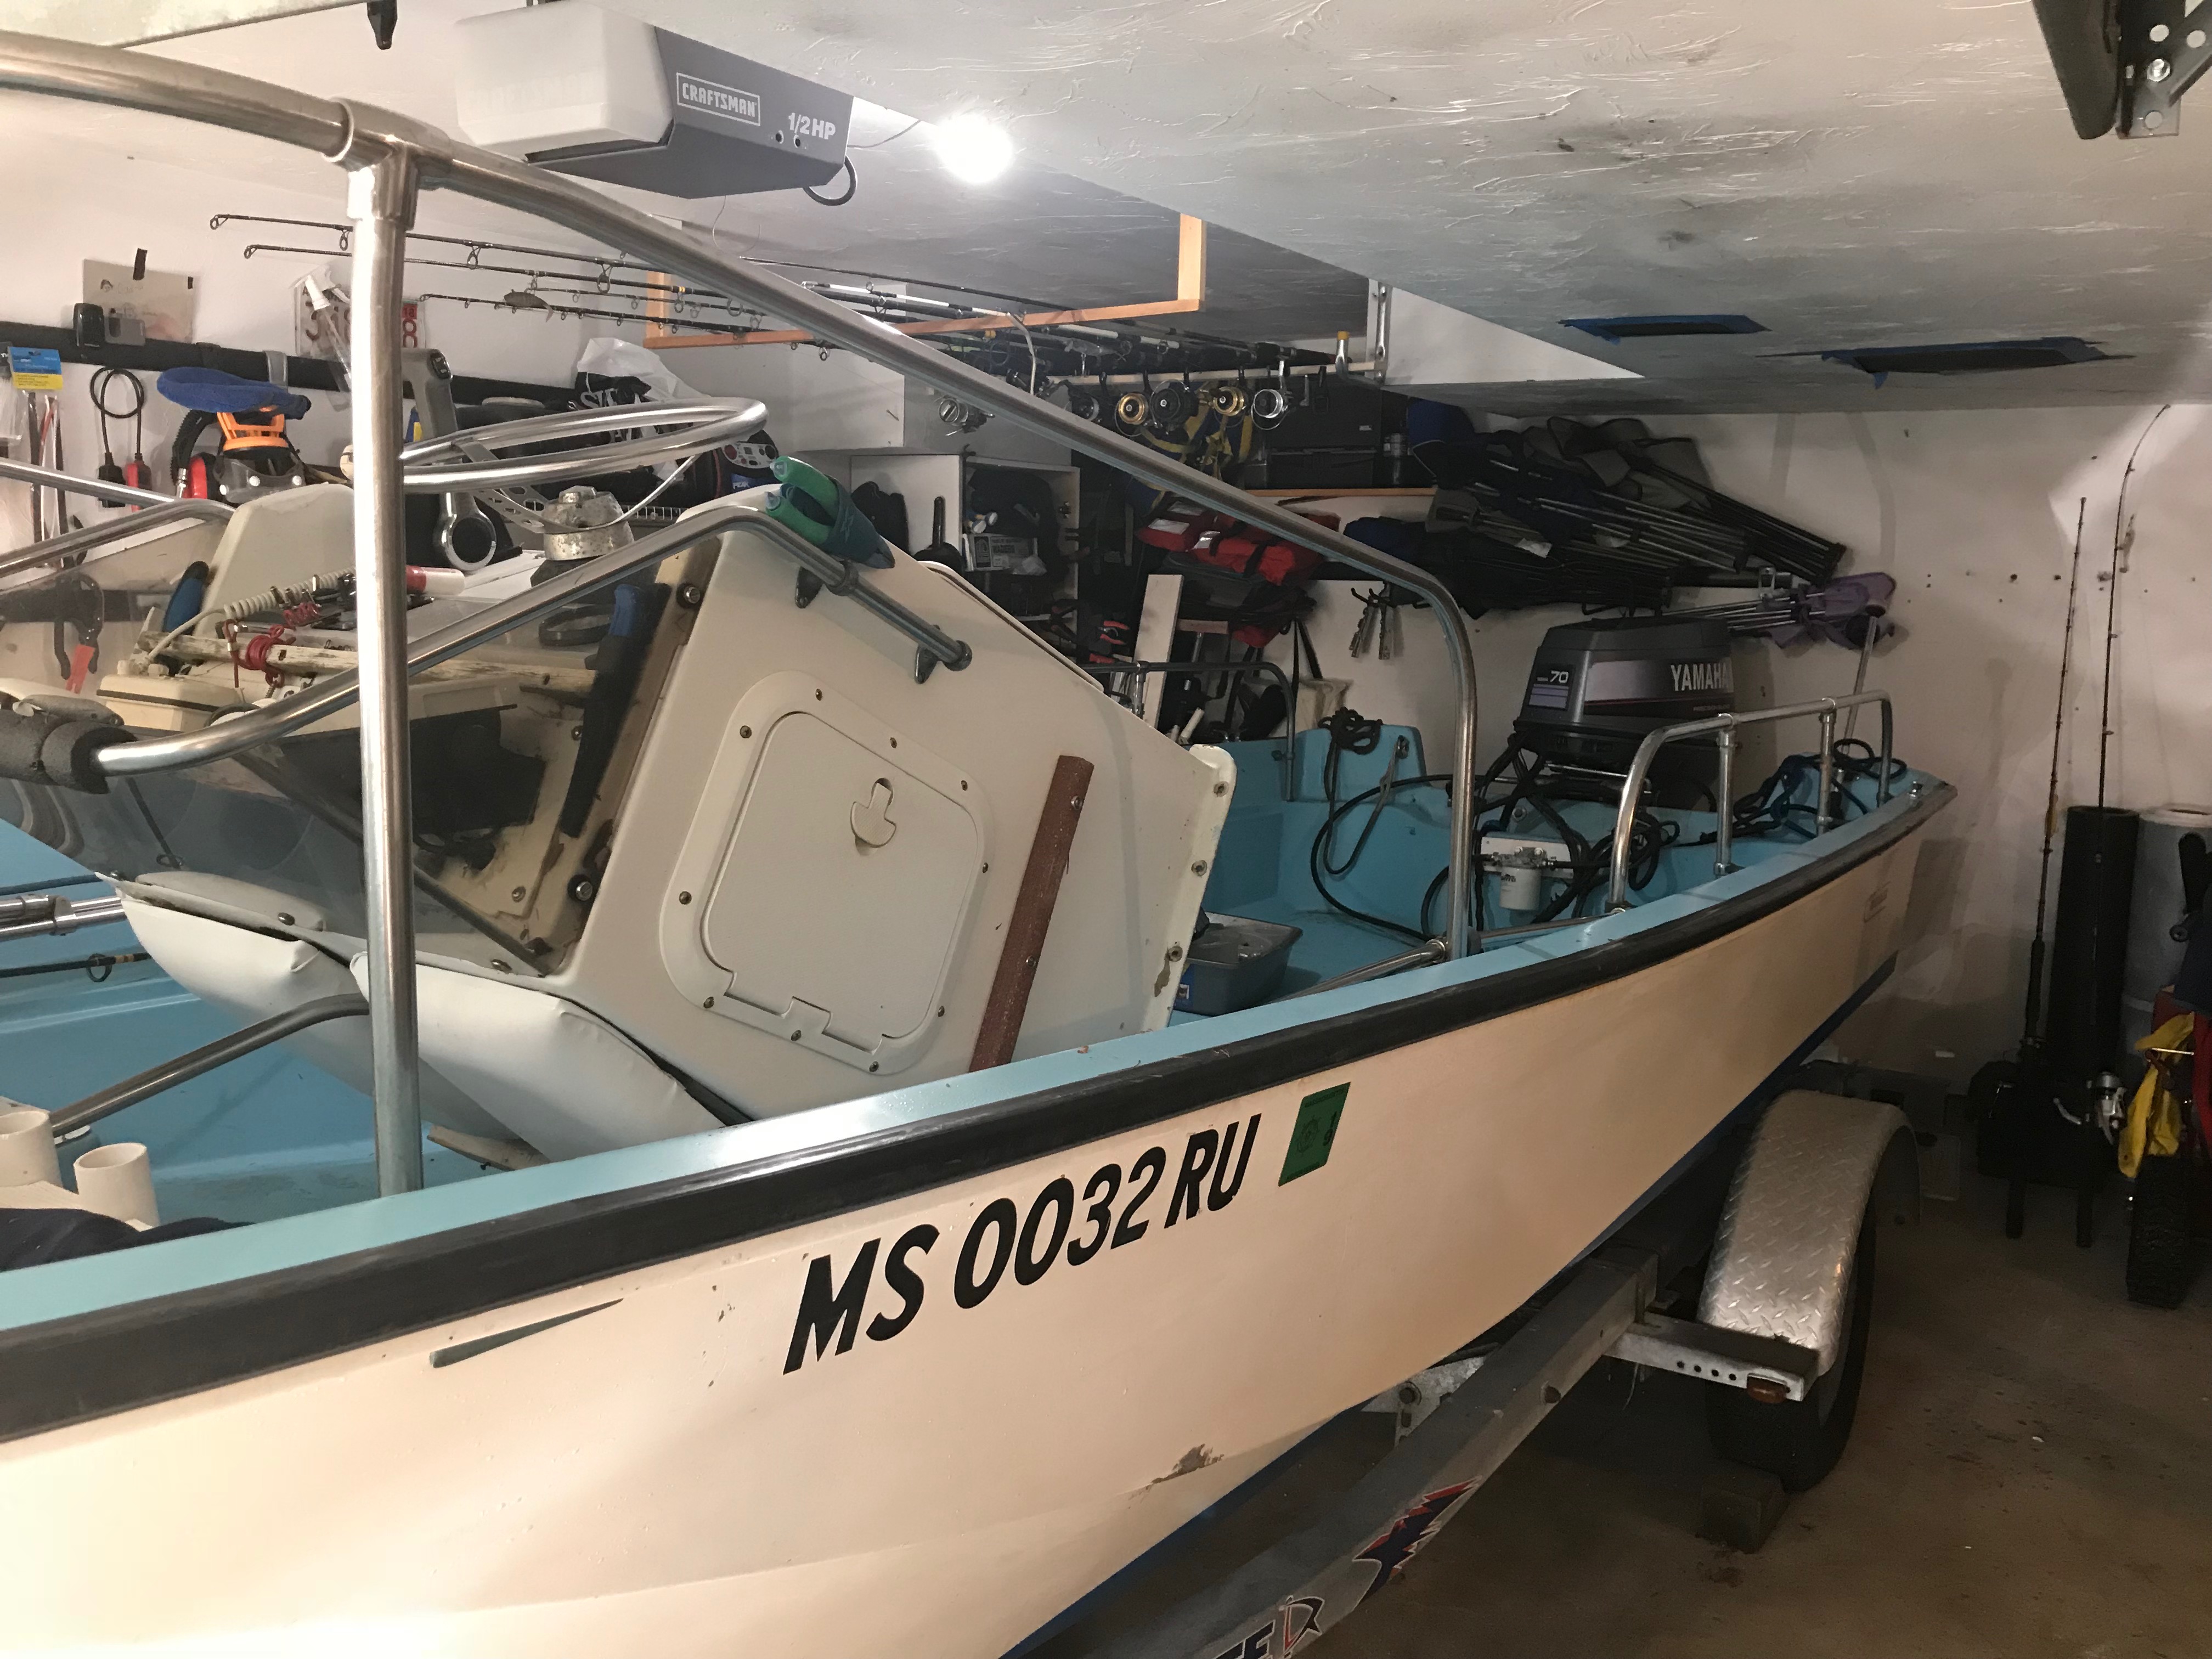
02: Decision Made
Yup, going to do it. Going to pull the deck, pull out wet foam, refoam, add some stringers and glass the deck back. WTF! Did plenty of research on the subject. Visited plenty of forums. A few brave have attempted and found success. Most tell tales of “You are crazy, trash it”… structure, integrity, mold pours, technology… WTF! Followed the few who did it but the process was never really tracked and photos rare. Stuffed her in the garage. It’s warm with room to work. An October start should yield a late May early June launch. Winter goal is to strip all the foam I can and let it dry out as much as possible. Do some planning on additional support, foaming techniques… maybe pull all the chrome and rewire… time and ambition will determine. Main objective is to lighten her up, seal it enjoy another 10-20 years without going to crazy. Yup, could have gotten another hull for $3k or so… nope, not me, challenge accepted.
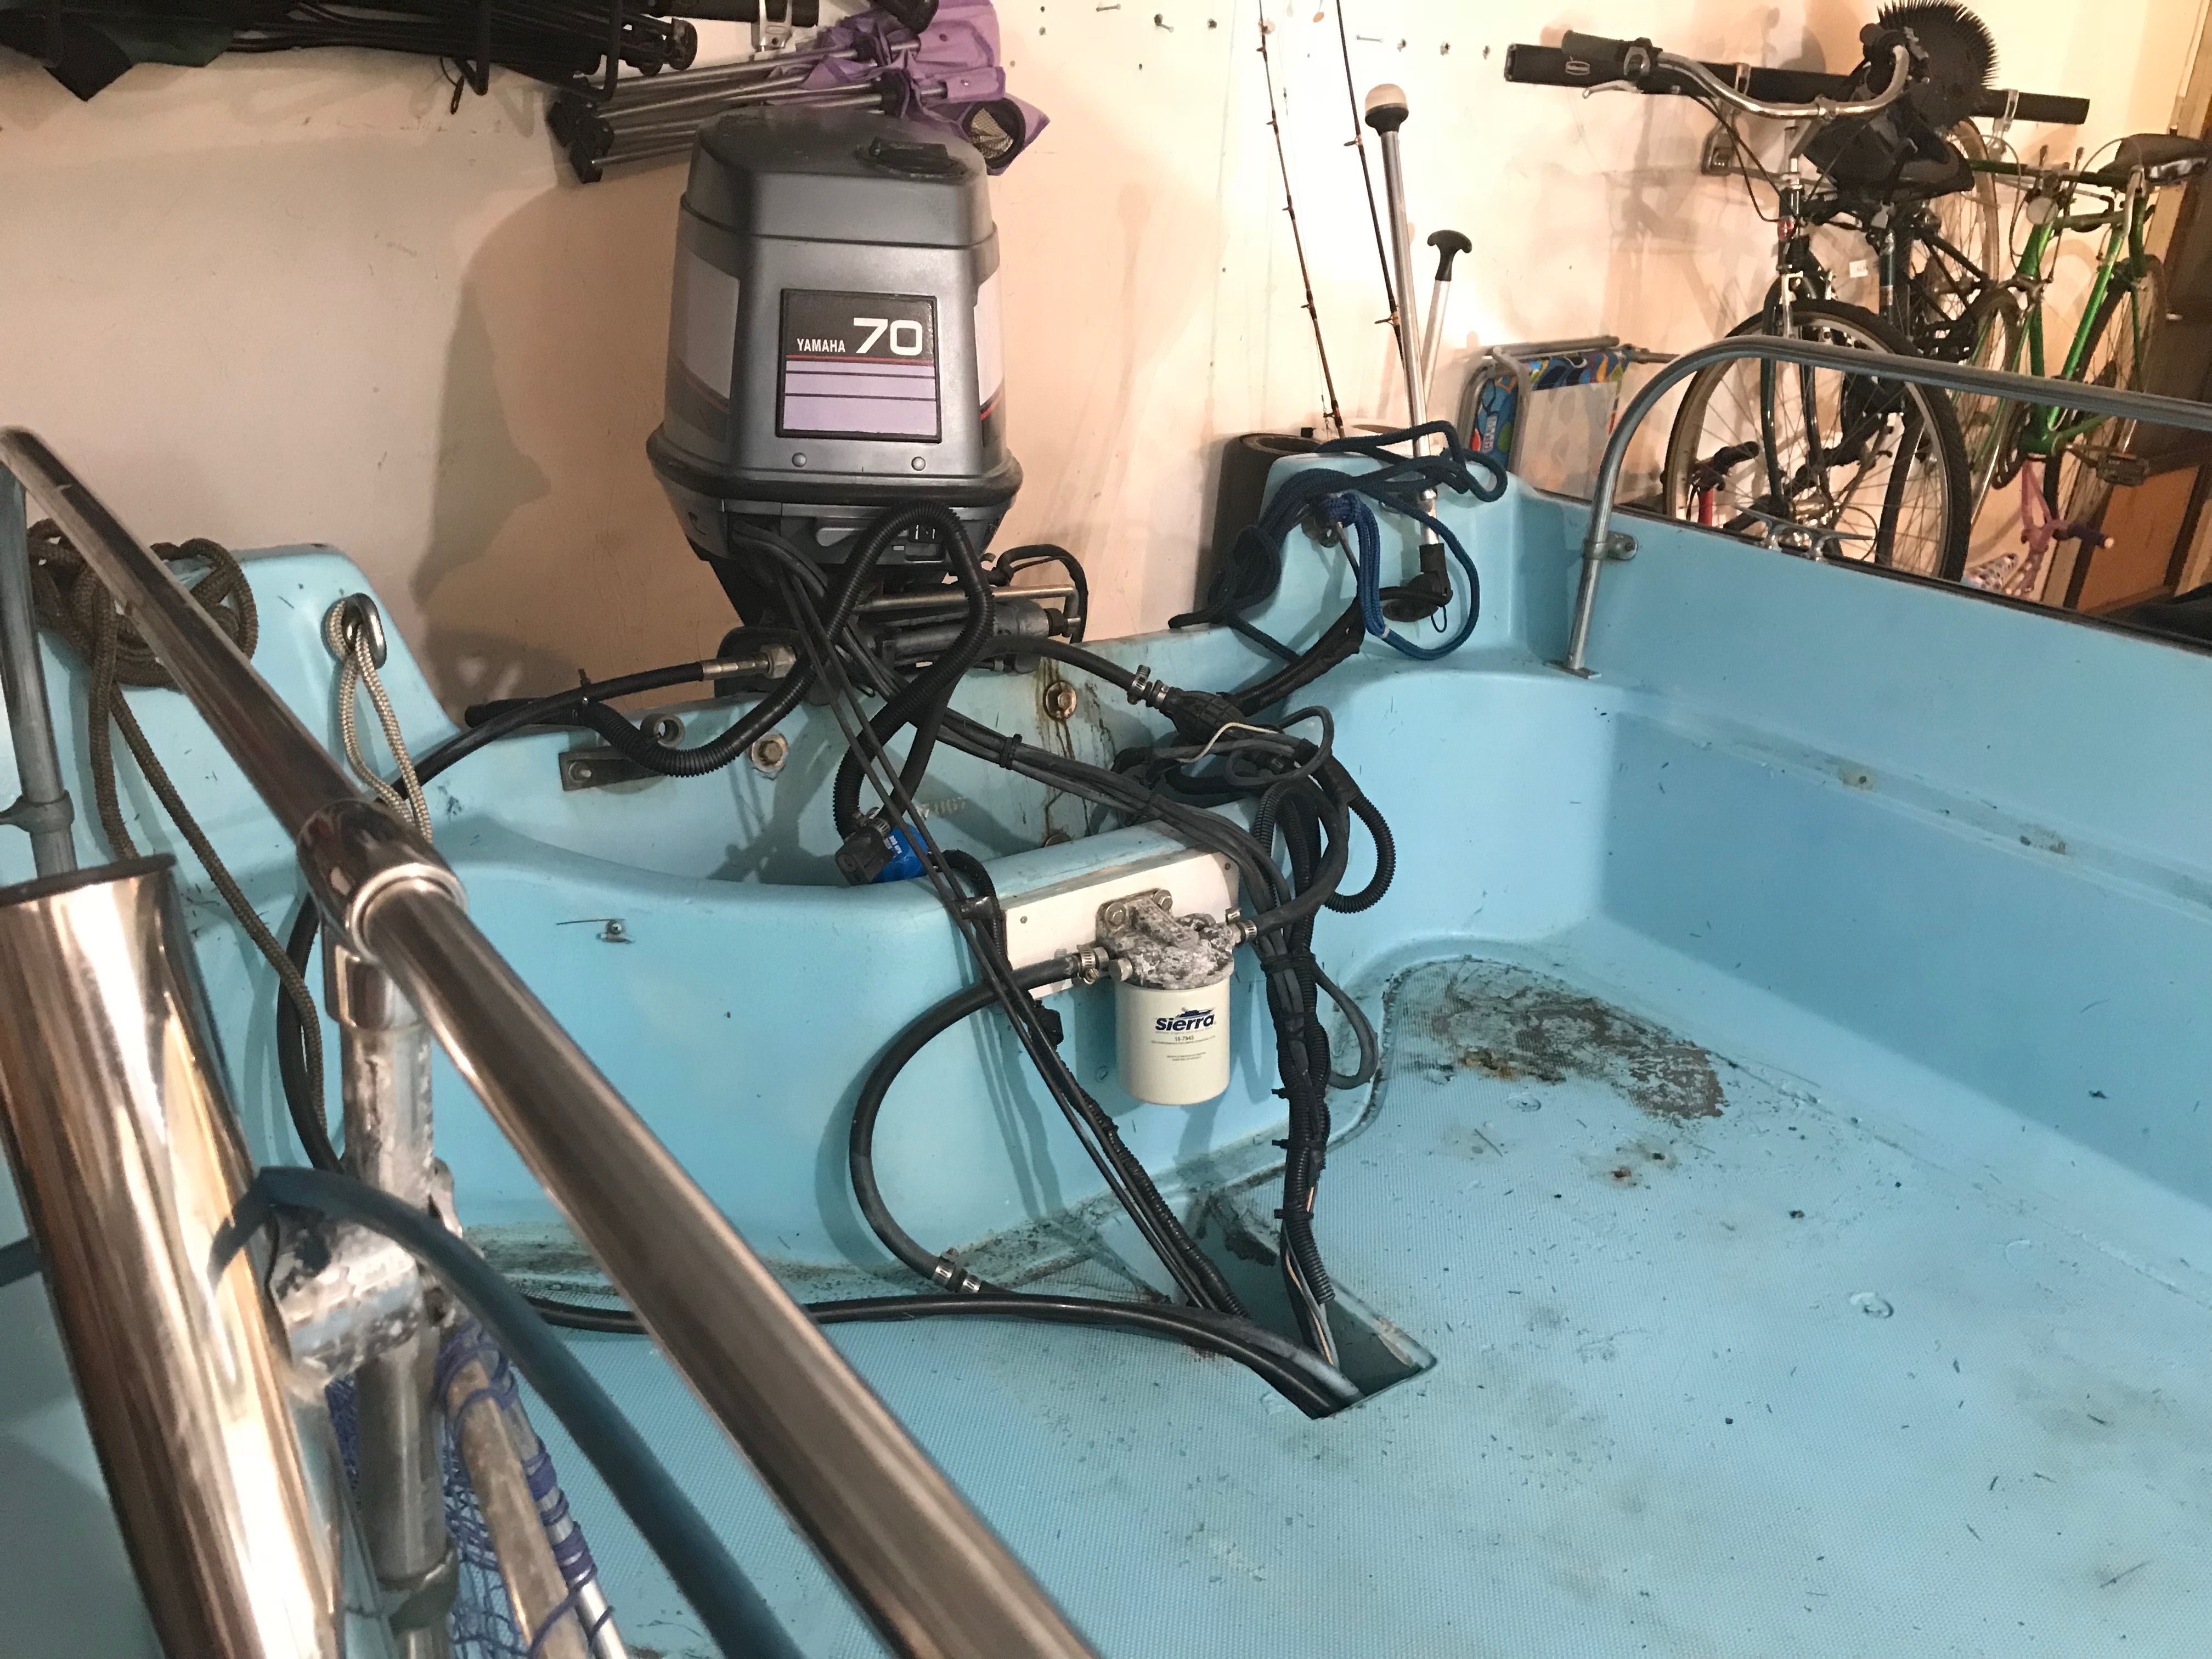
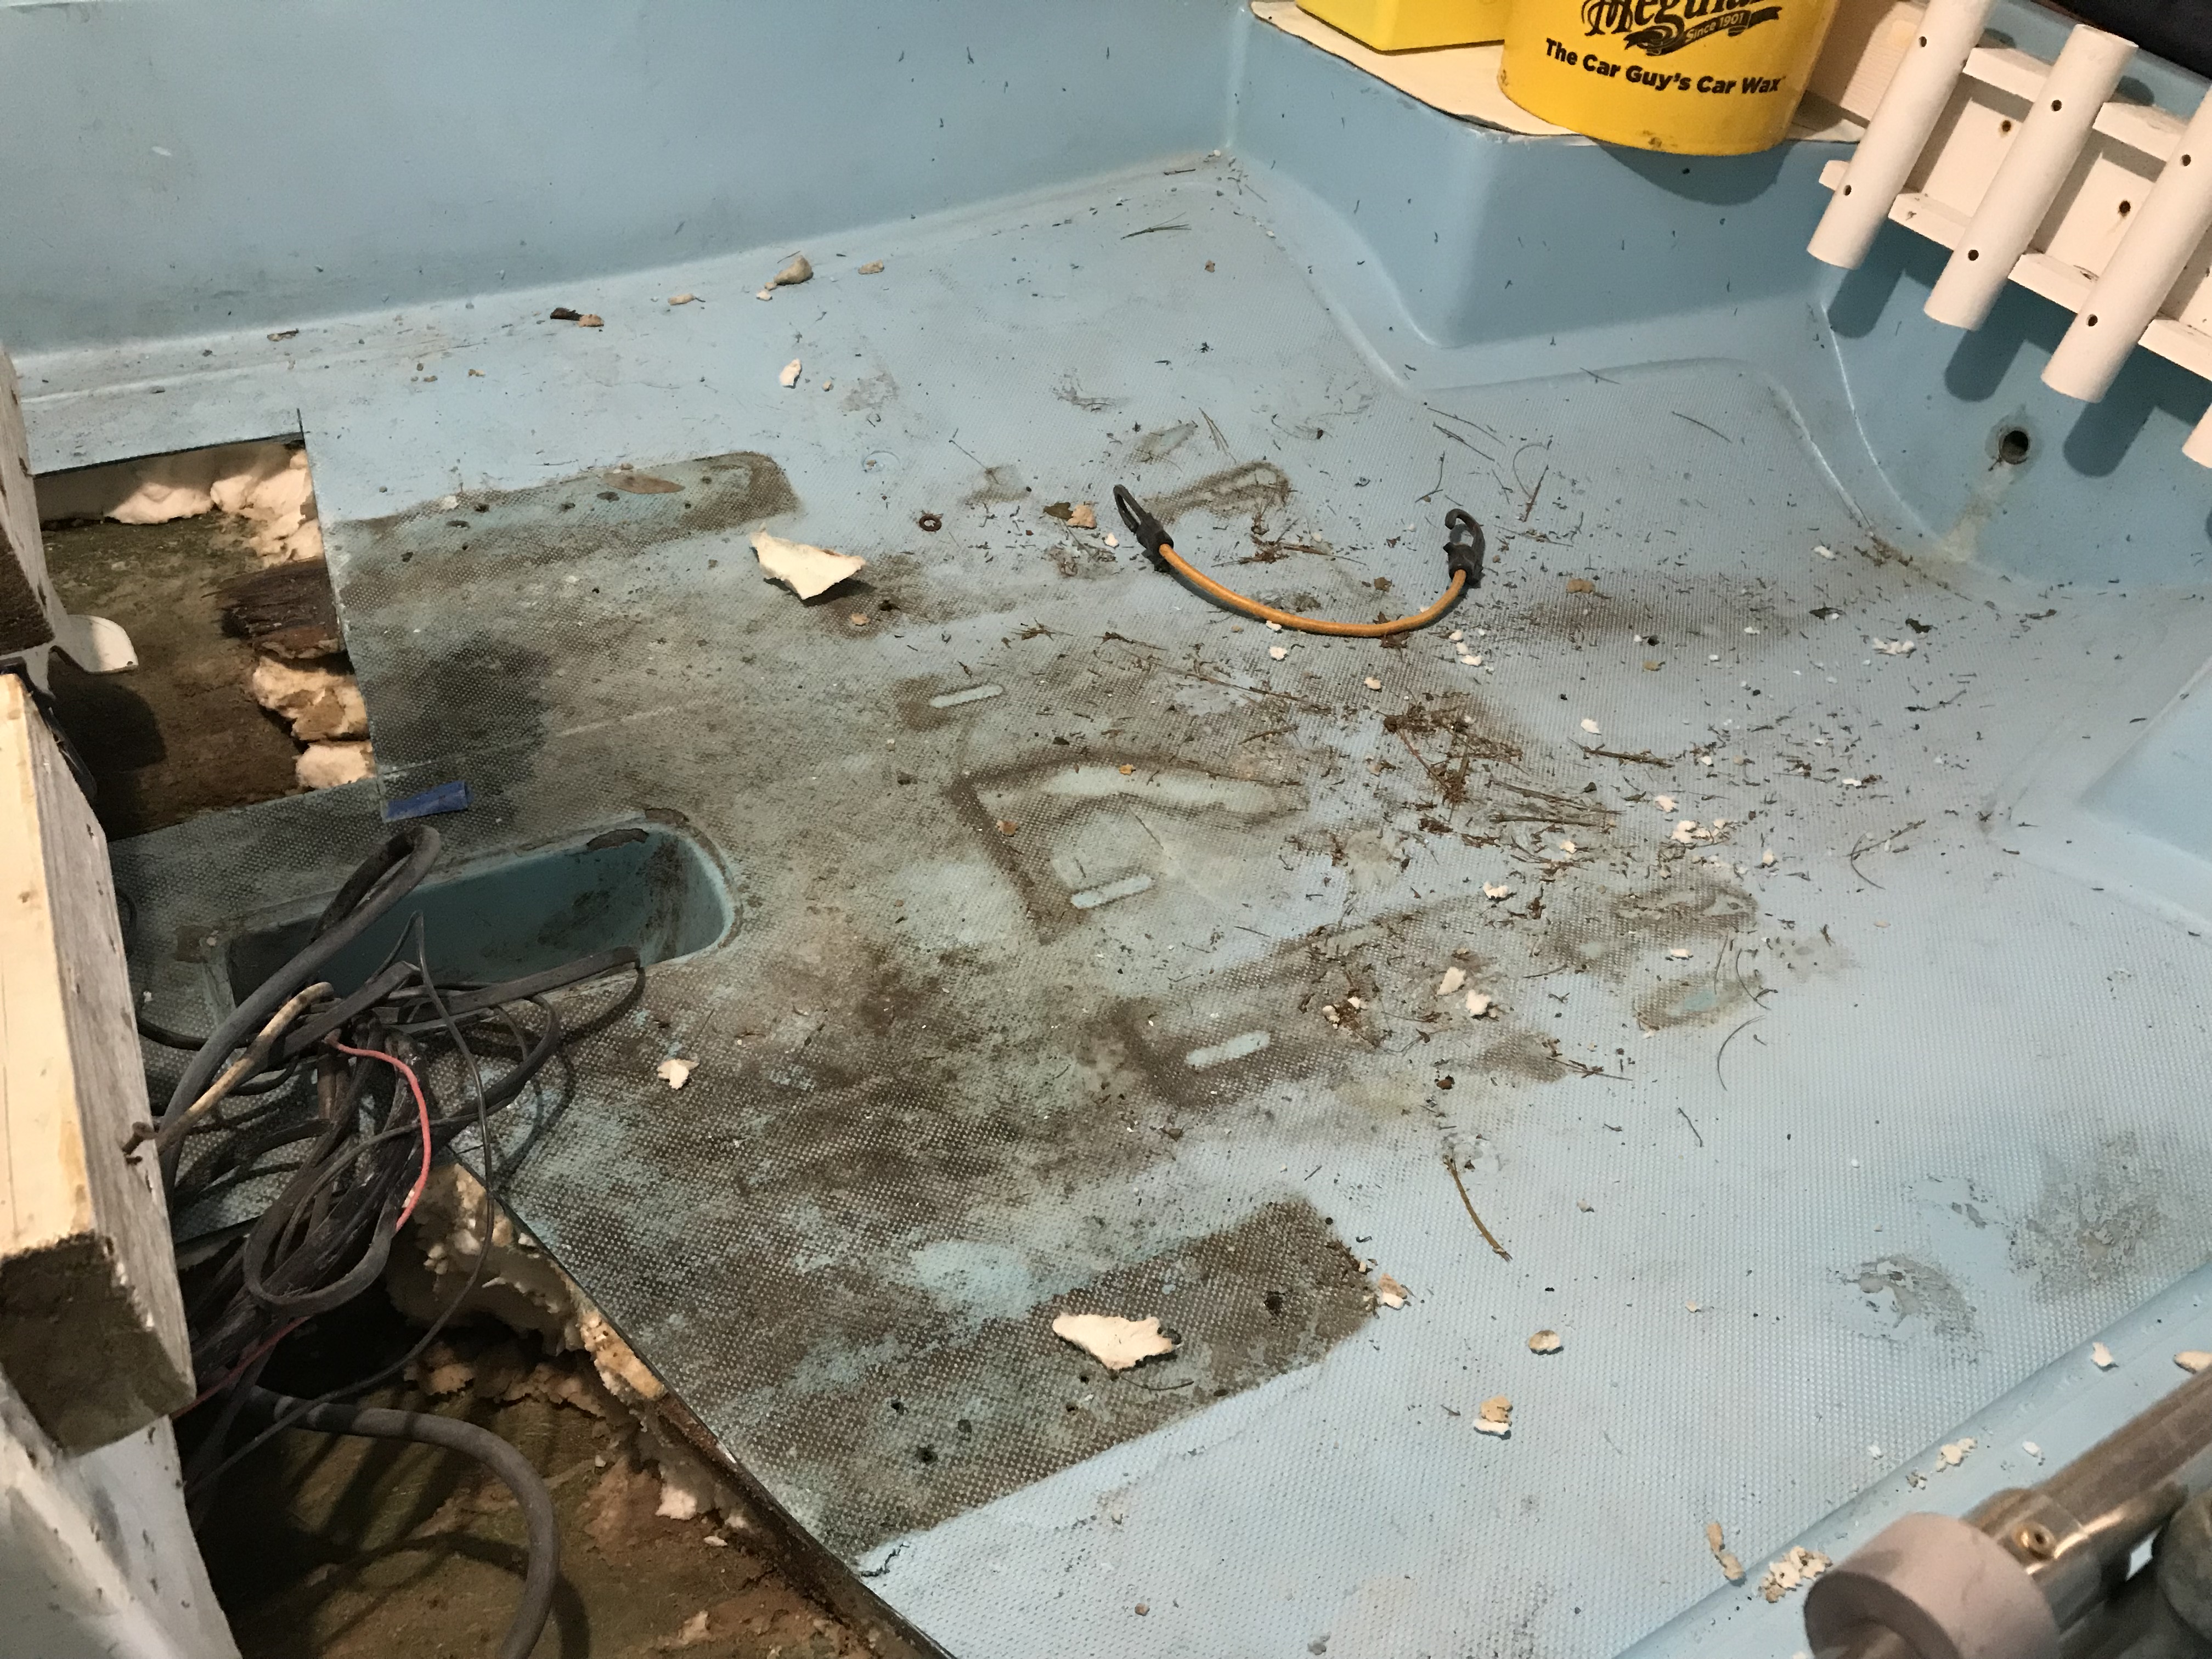
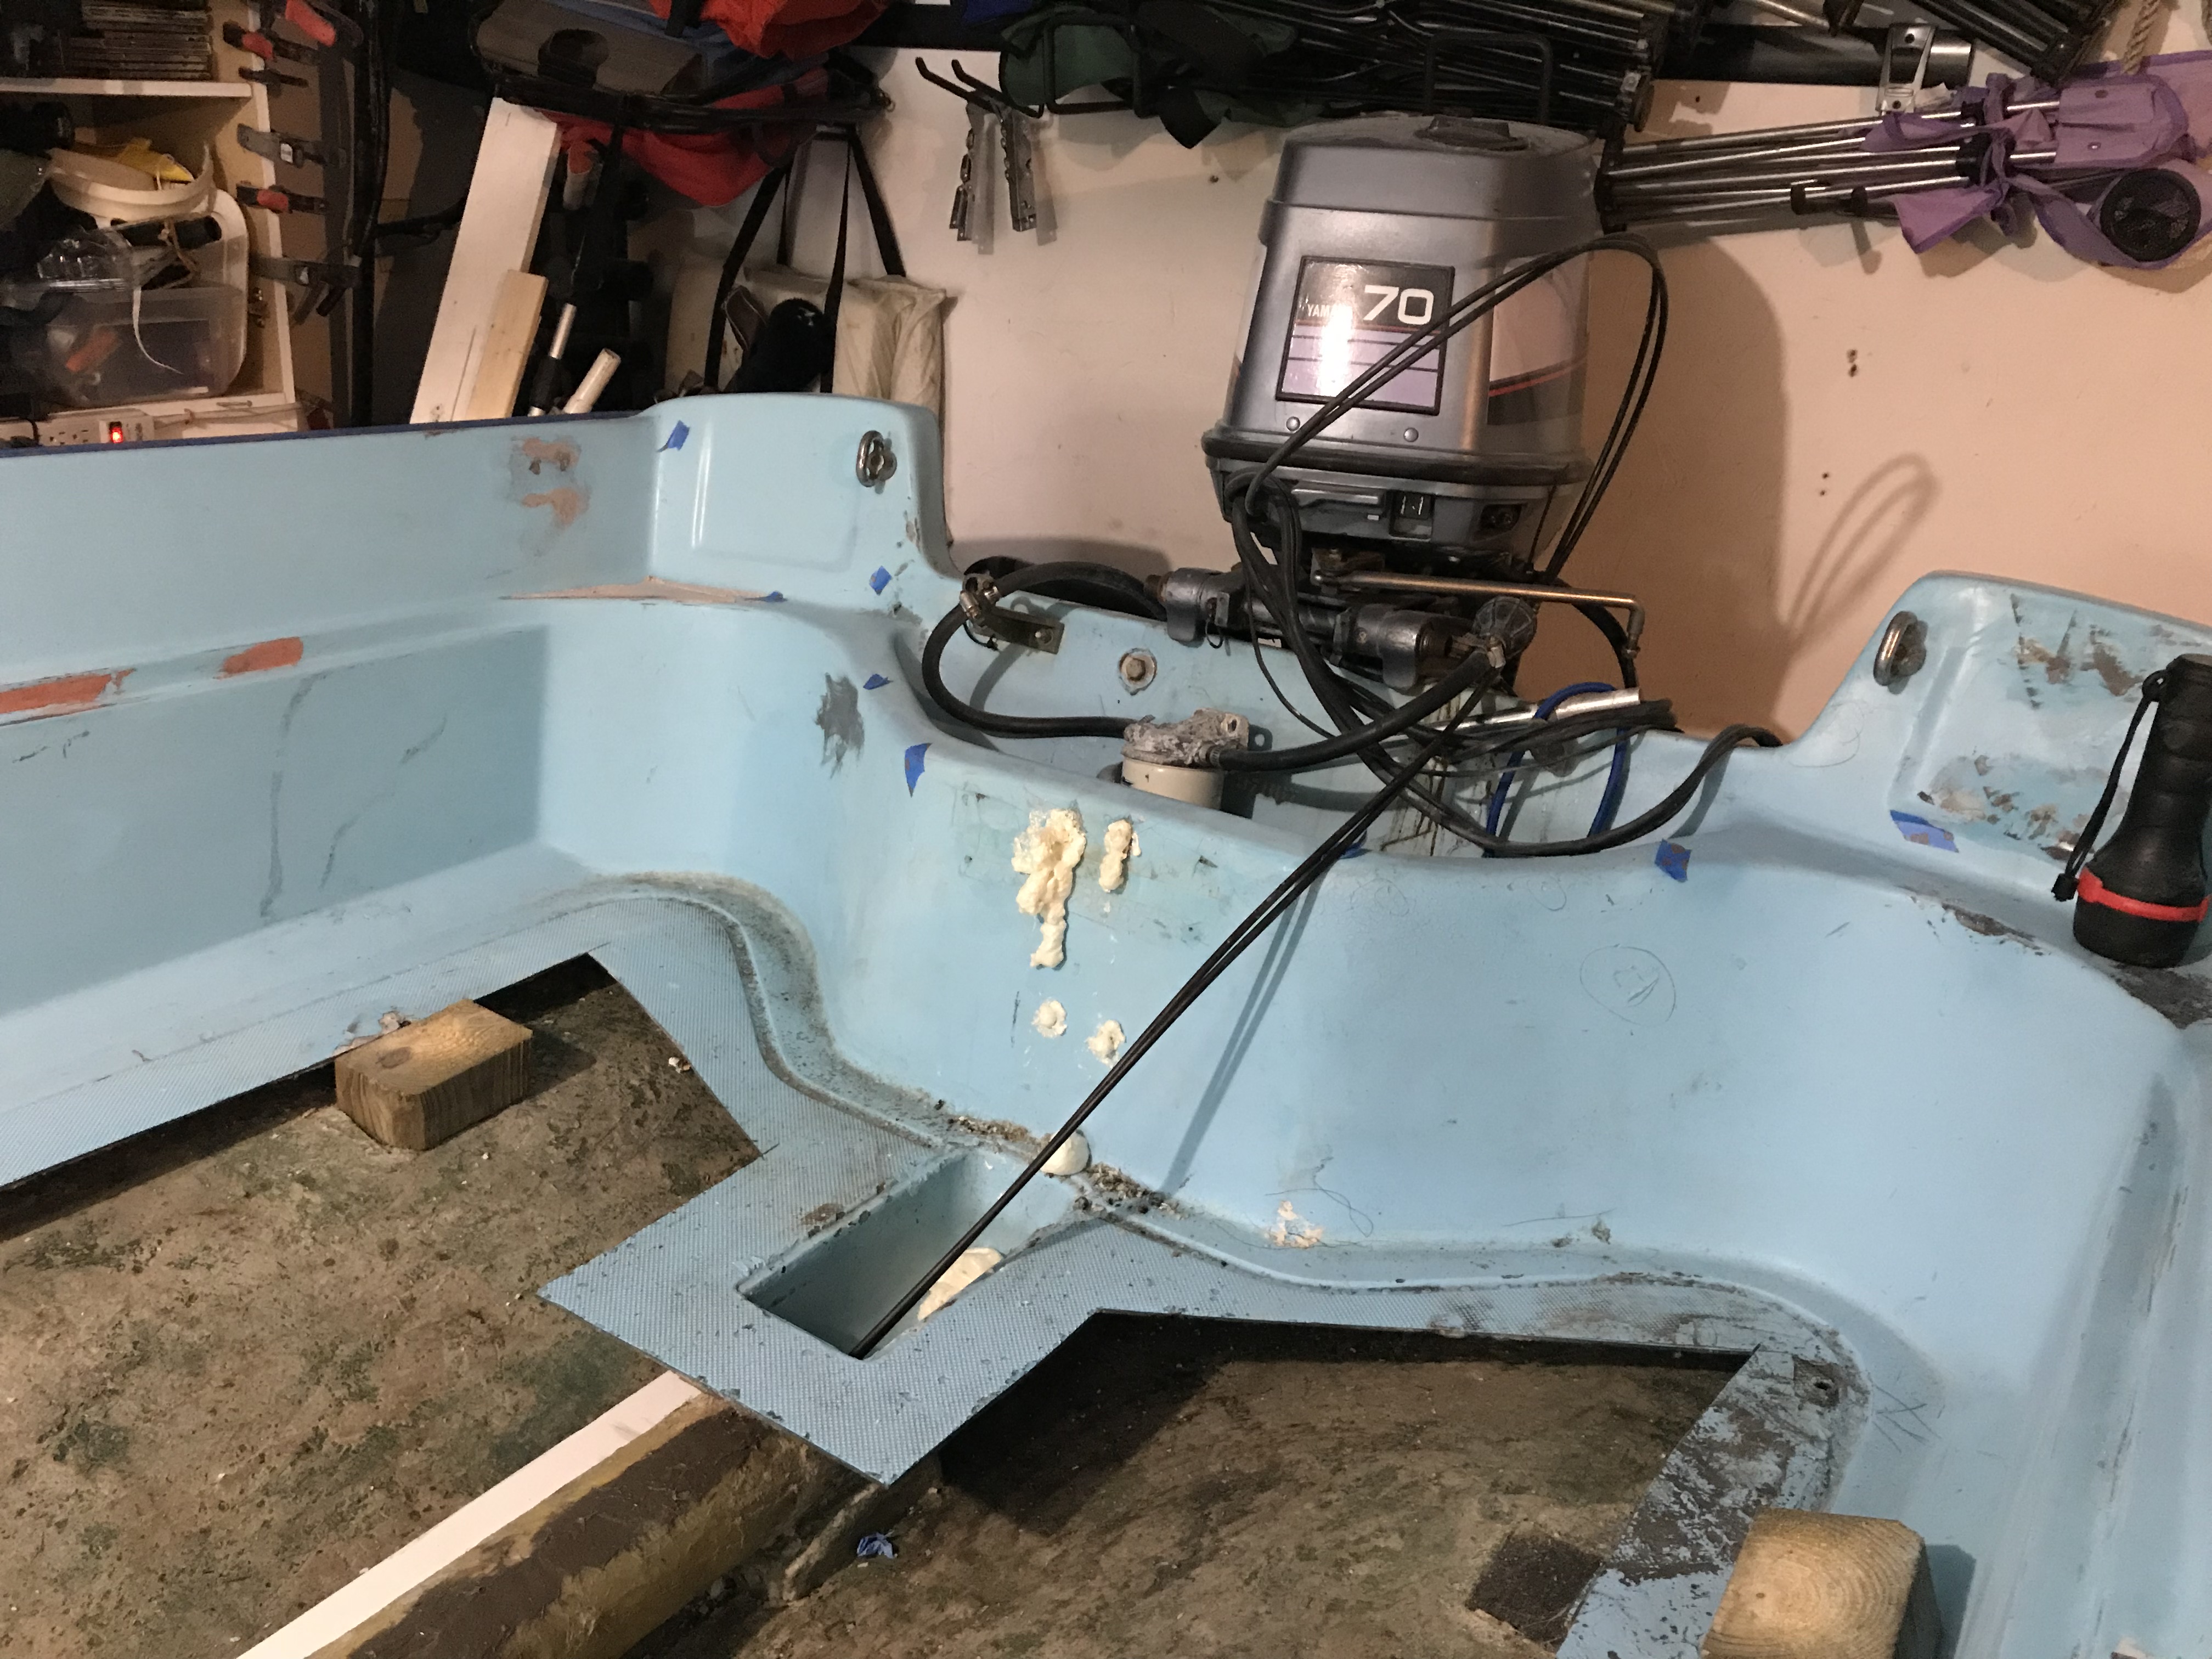
03: Stern
Stern. Not too bad. Deck holes, few cracks, got some bounce. Deck under where the battery sat is pretty beat up, real spongy.
04: Bow
With the console moved, got my first major scare. Looked like a woodpecker went to town. Can’t bode well for what’s underneath.

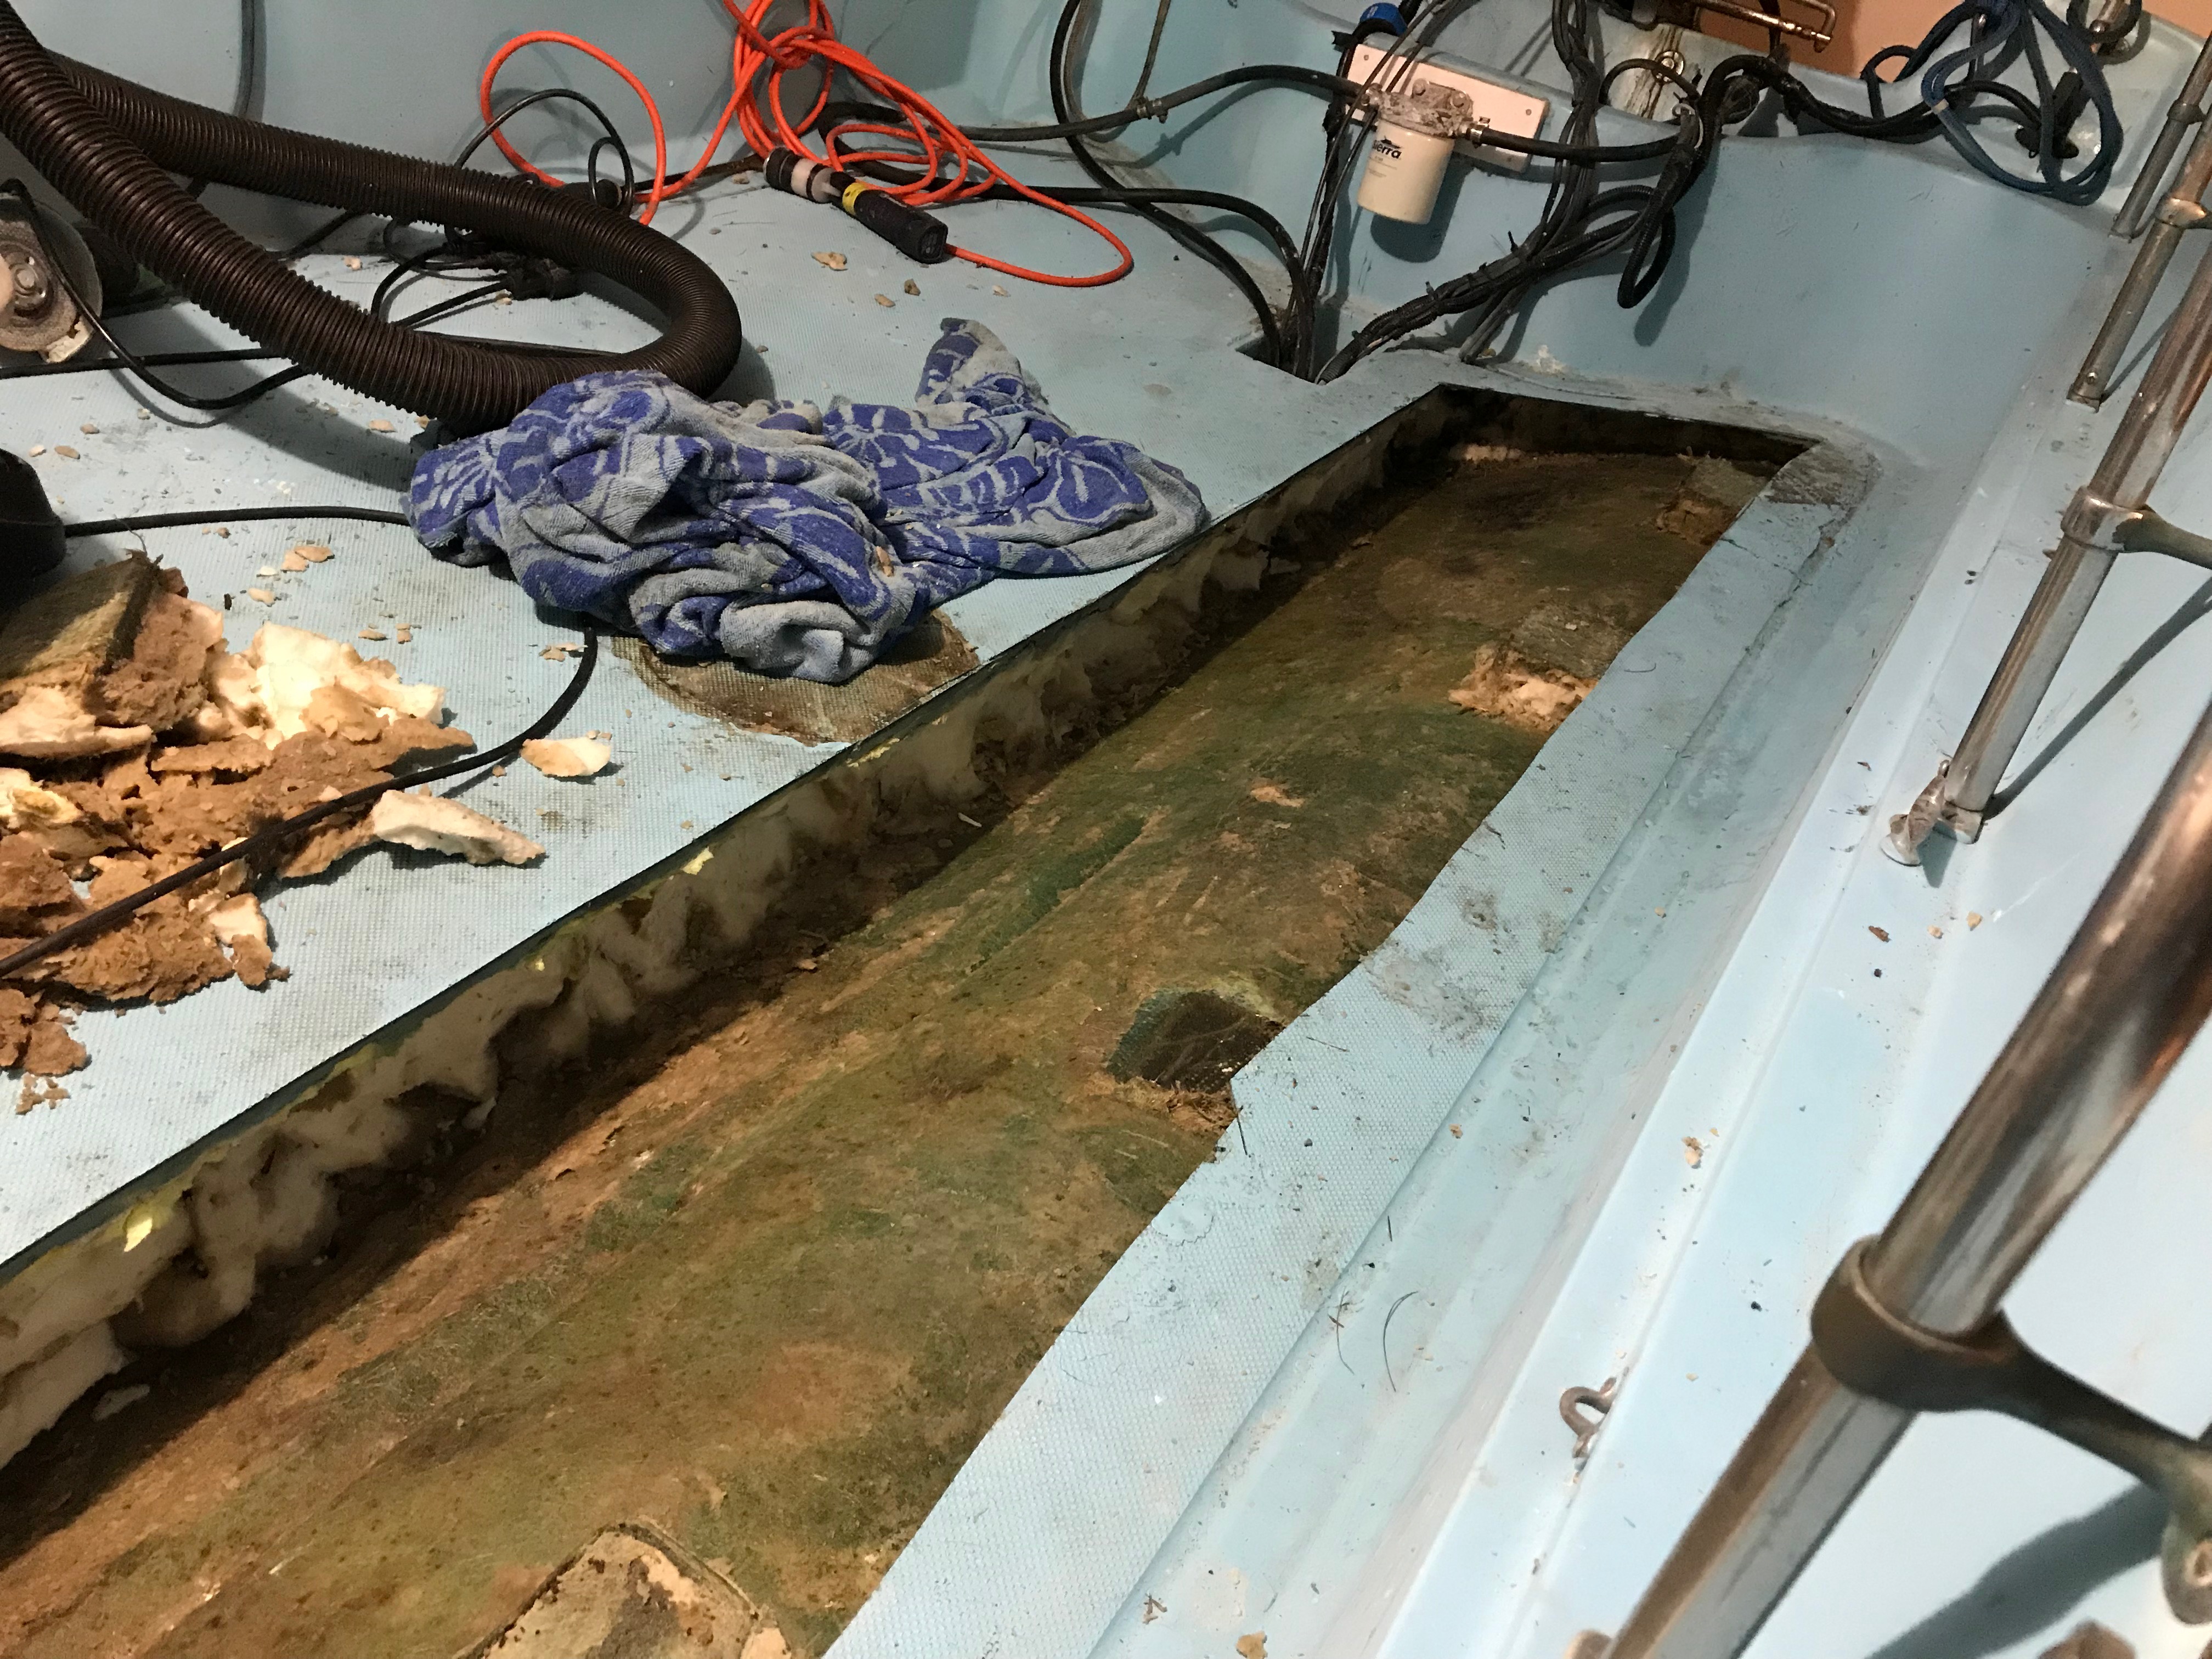
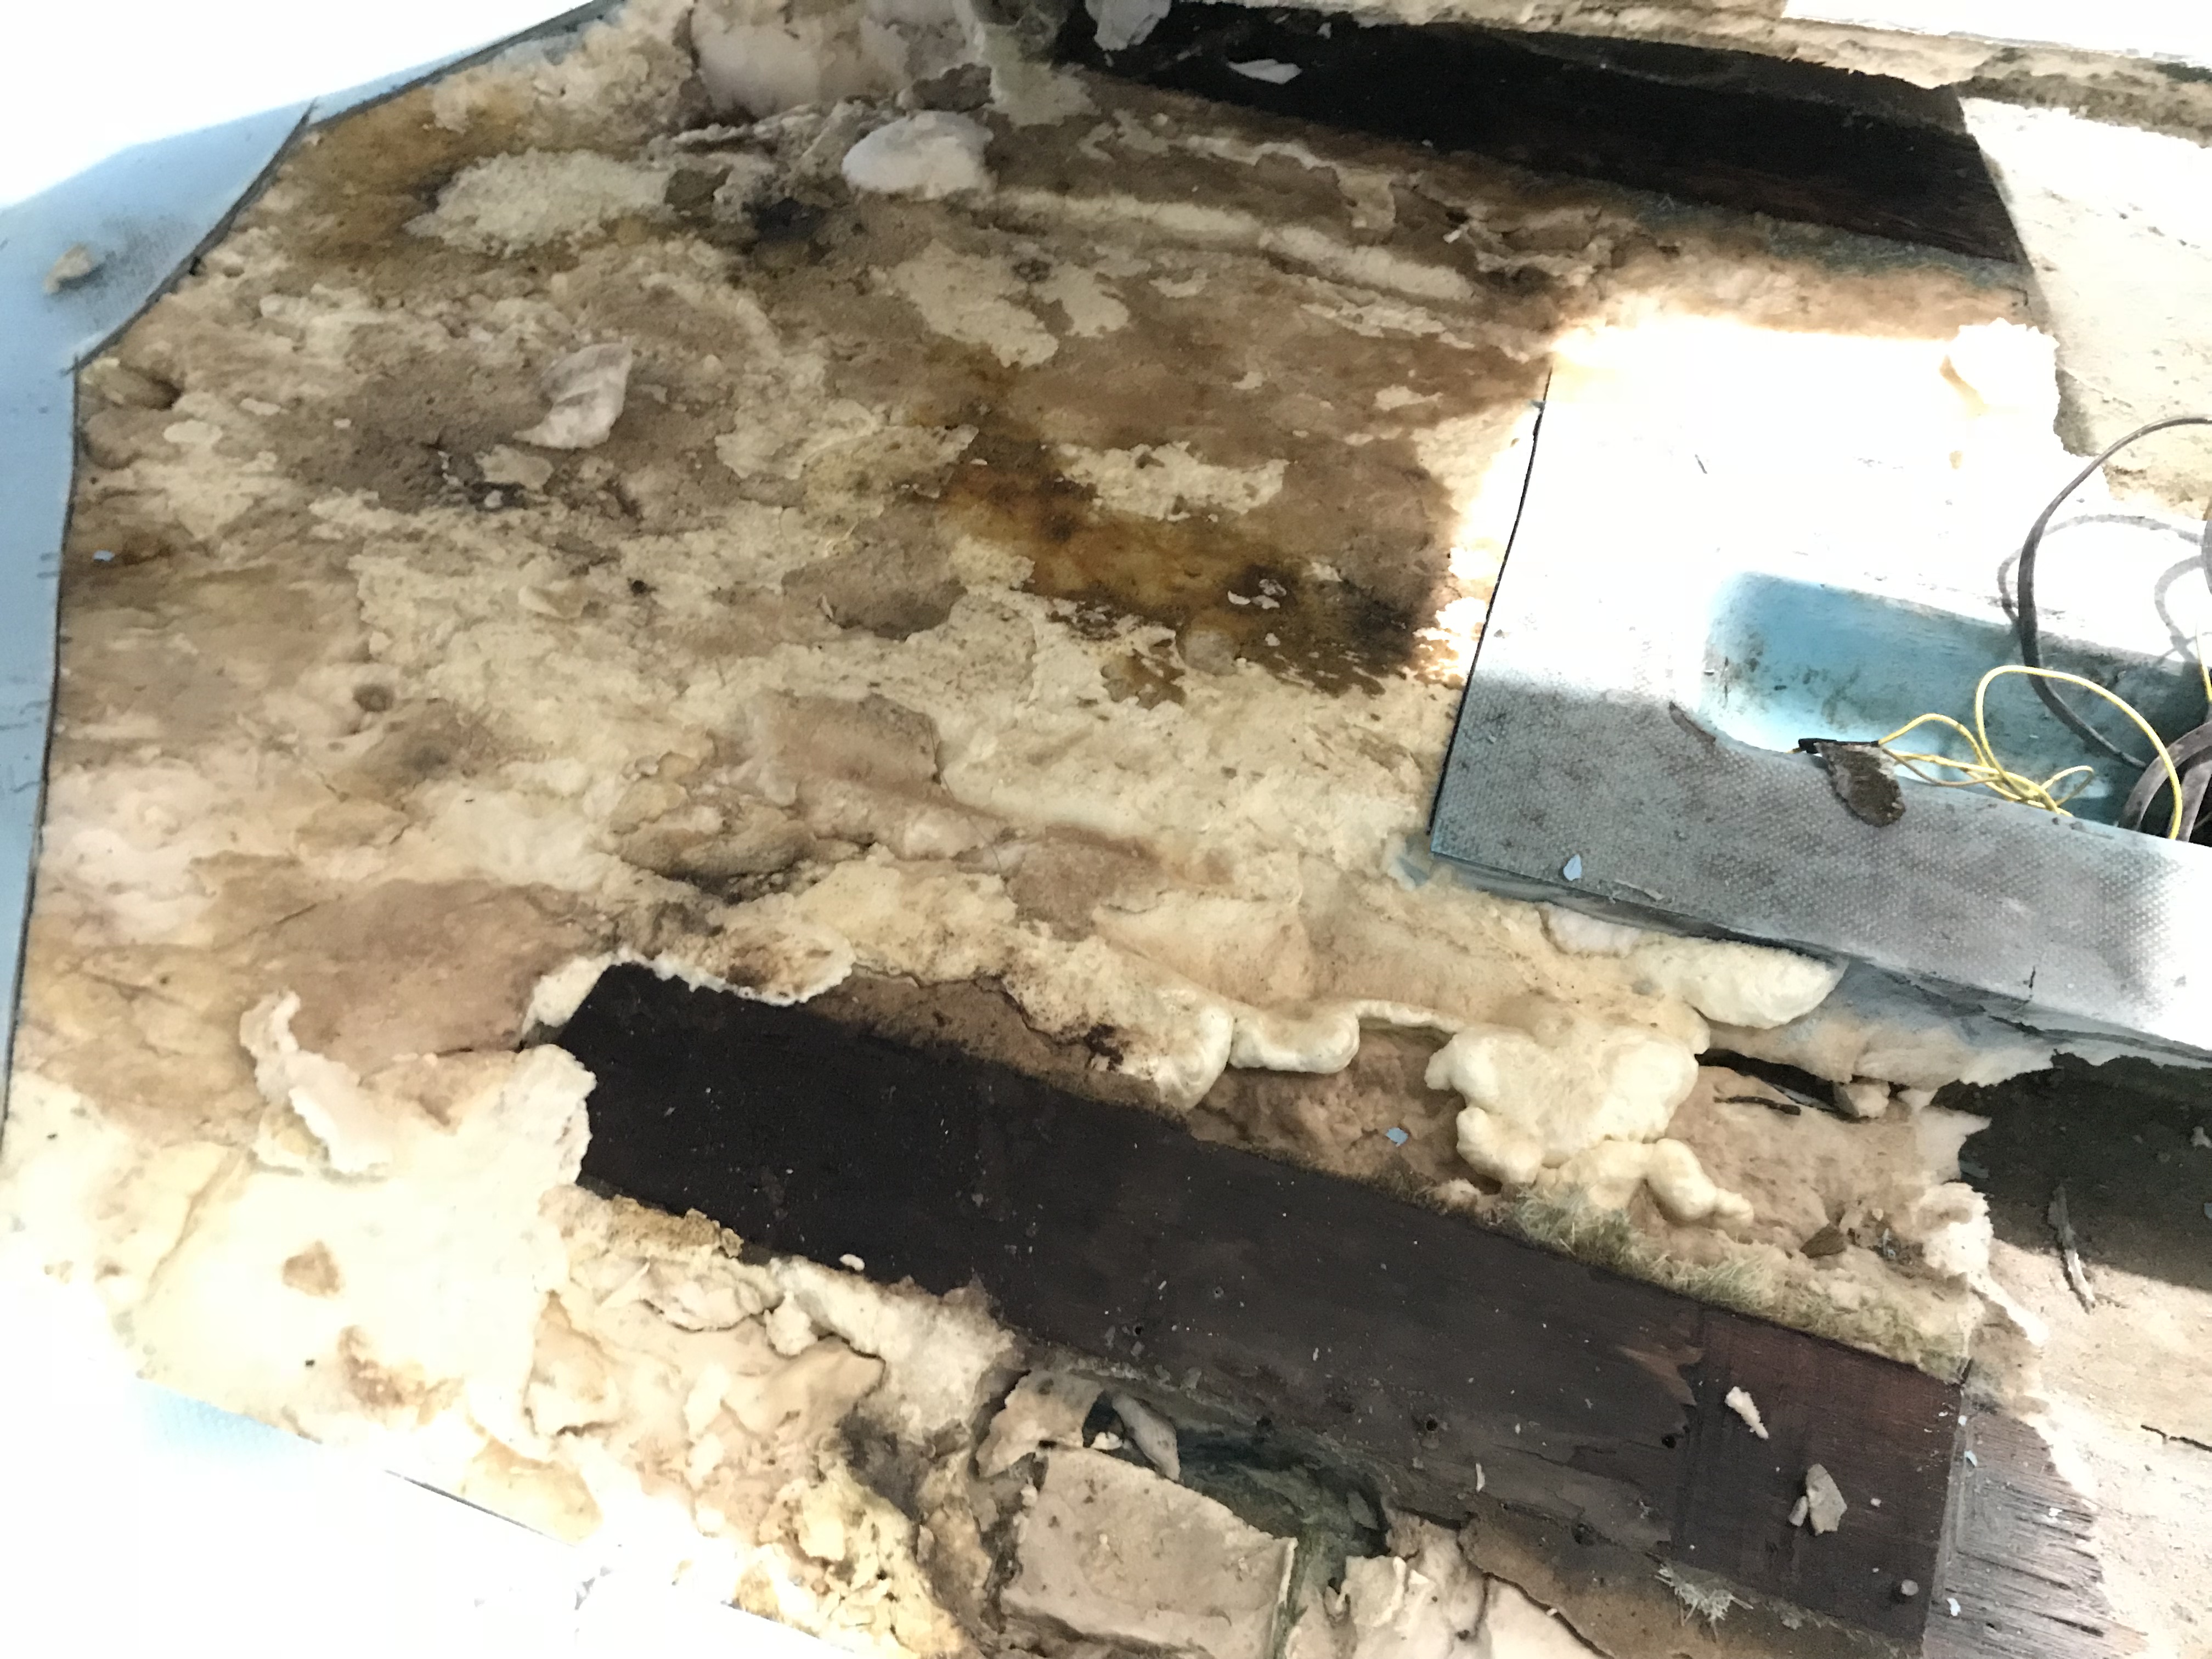
05: First Cut Is The Deepest
Prior to making any cuts I measured where the wood supports were and did some math for the best re-glassing possibilities. Holy crap, no turning back. Reminded me of a mummy’s tomb, and man, oh man was it wet. 100% saturation. Foam was nasty.
06: Pretty Clean
4 large trash bags later, port side looks pretty good. Hull is solid, wet but solid. Plan is to let it dry then do some glassing if needed. Each trash bag weighed in at 40-50 pounds.

07: No Rest For The Weary
Feeling good so far. No major bungles or surprises. Starboard side cuts. Deck came up real easy. Any bond between the deck and foam was long gone.
08: How Did She Even Float
No shock here. More really wet, nasty foam.

09: This May Actually Work
Looking and feeling really good. Still no major damage to be found. Another 5 trash bags. Another 200+ lbs of foam gone. Runway still wrapped in foam. That’s next.
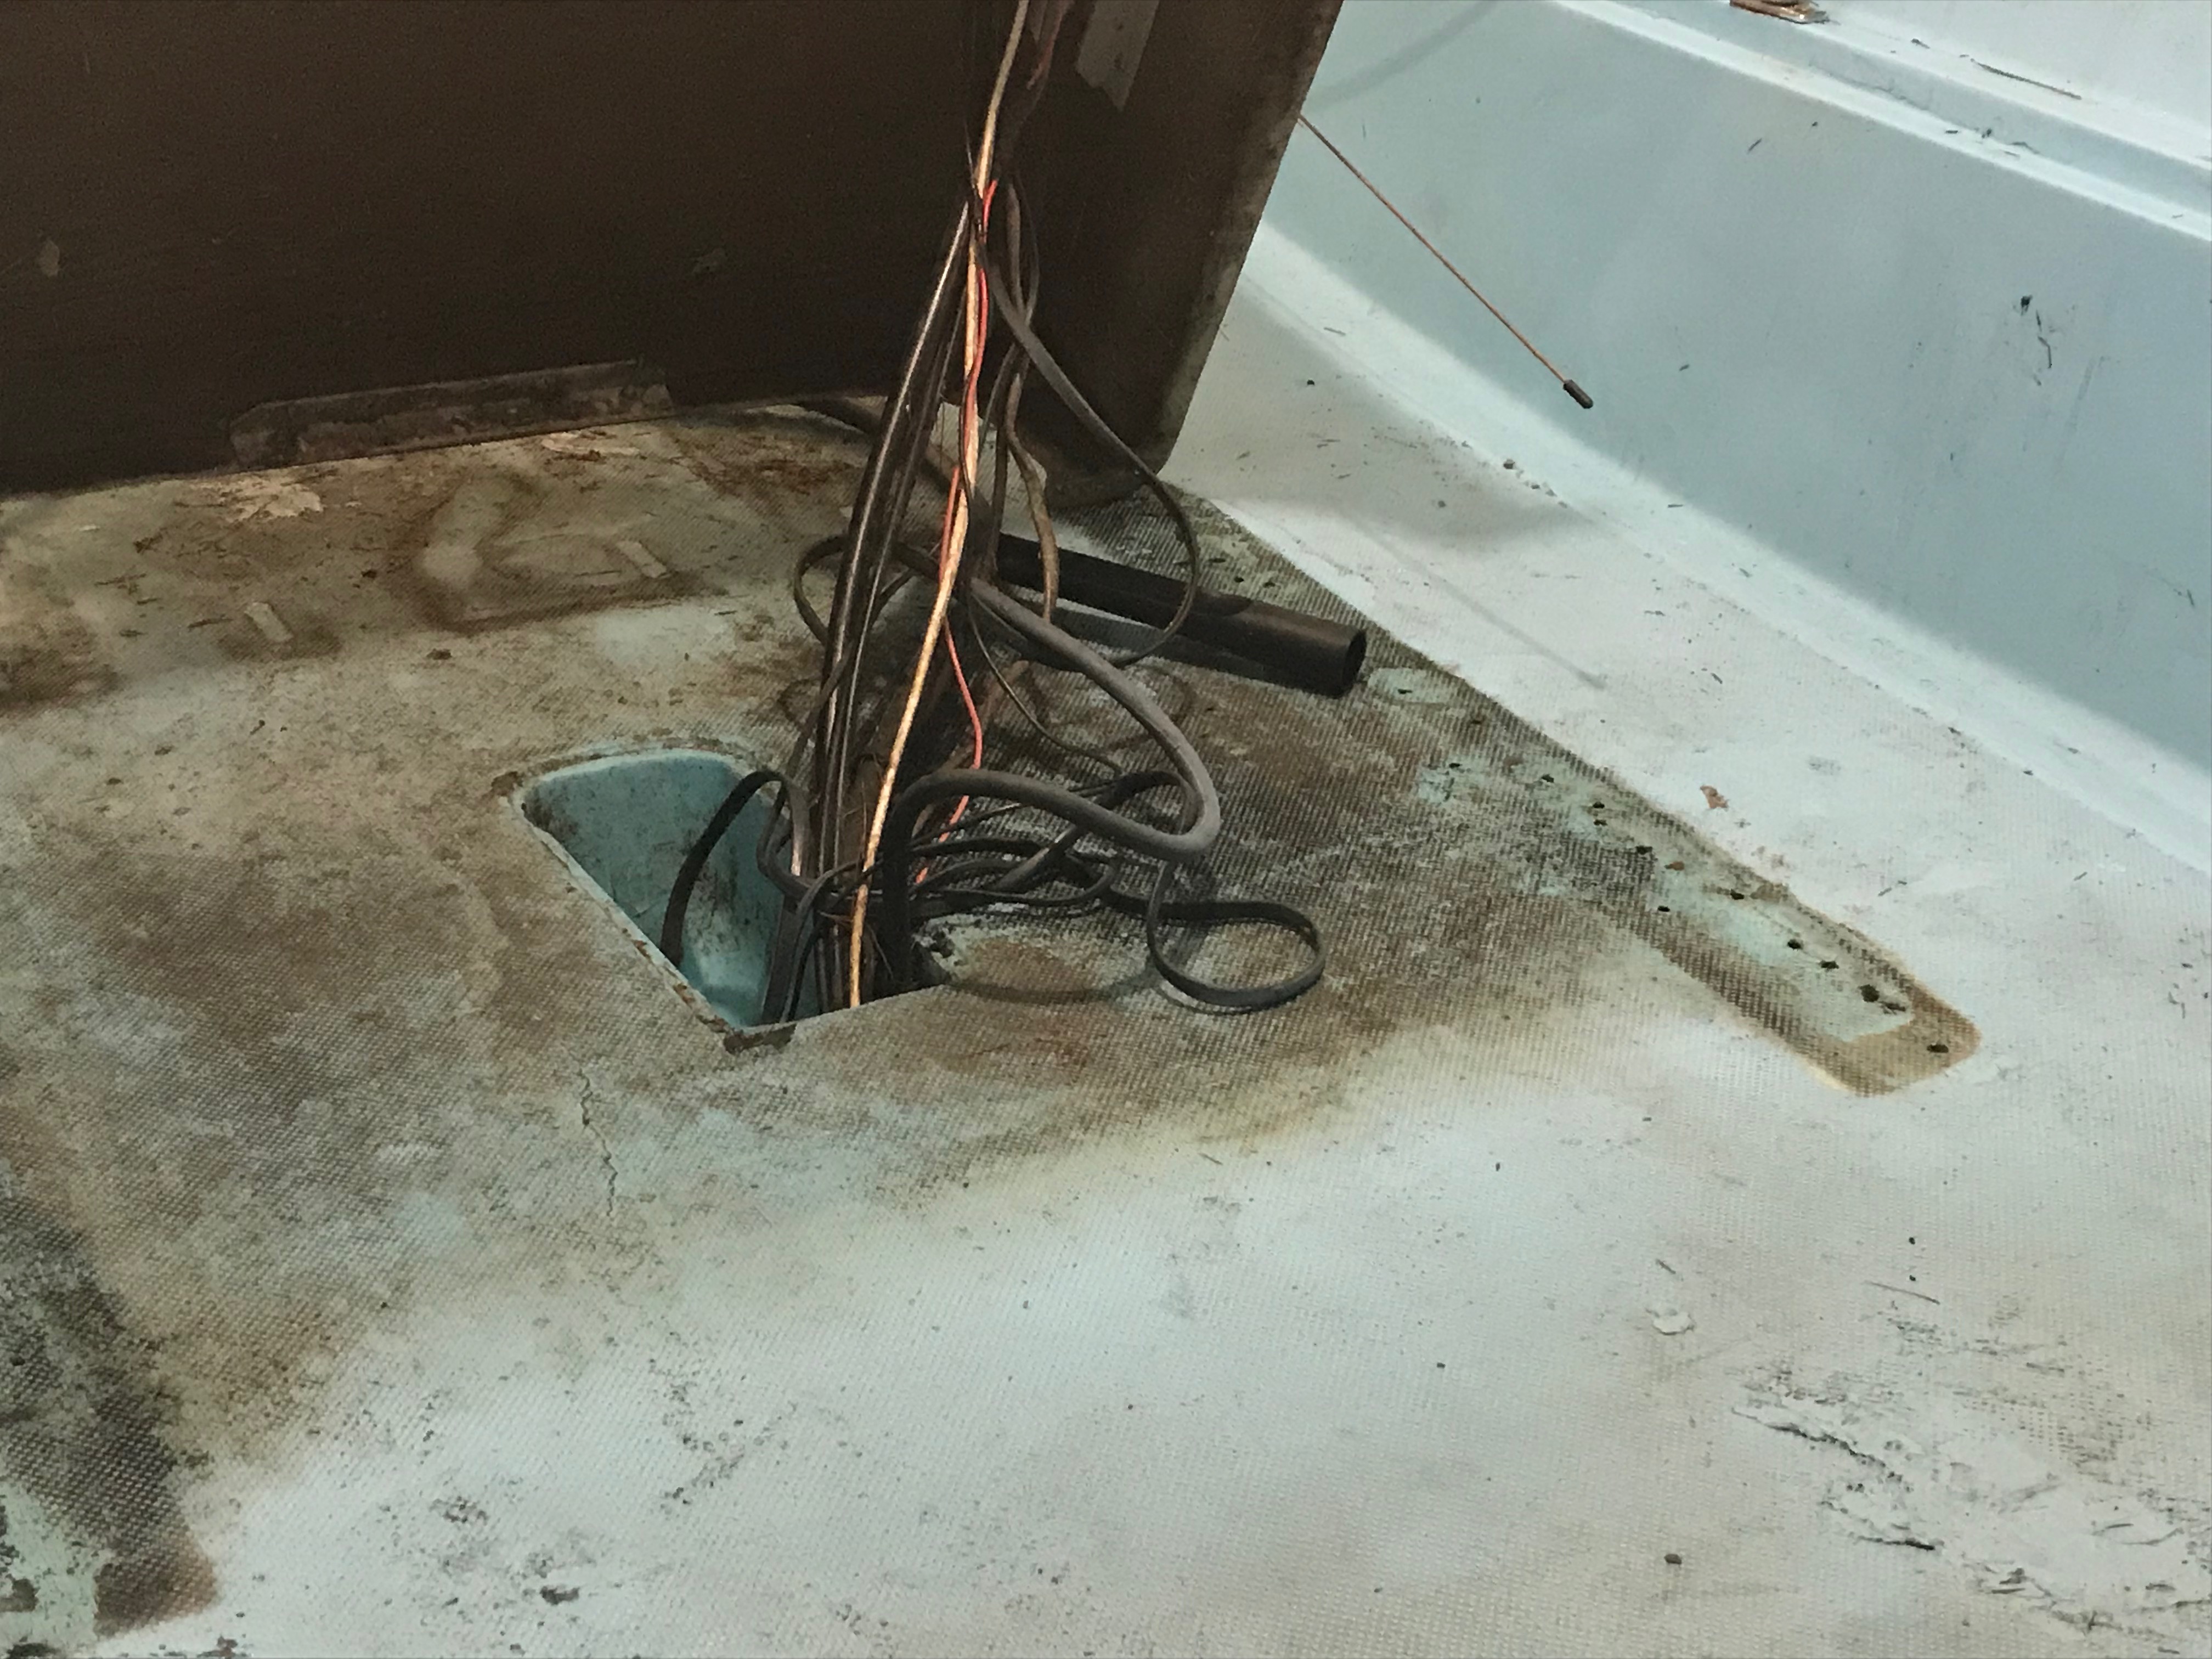
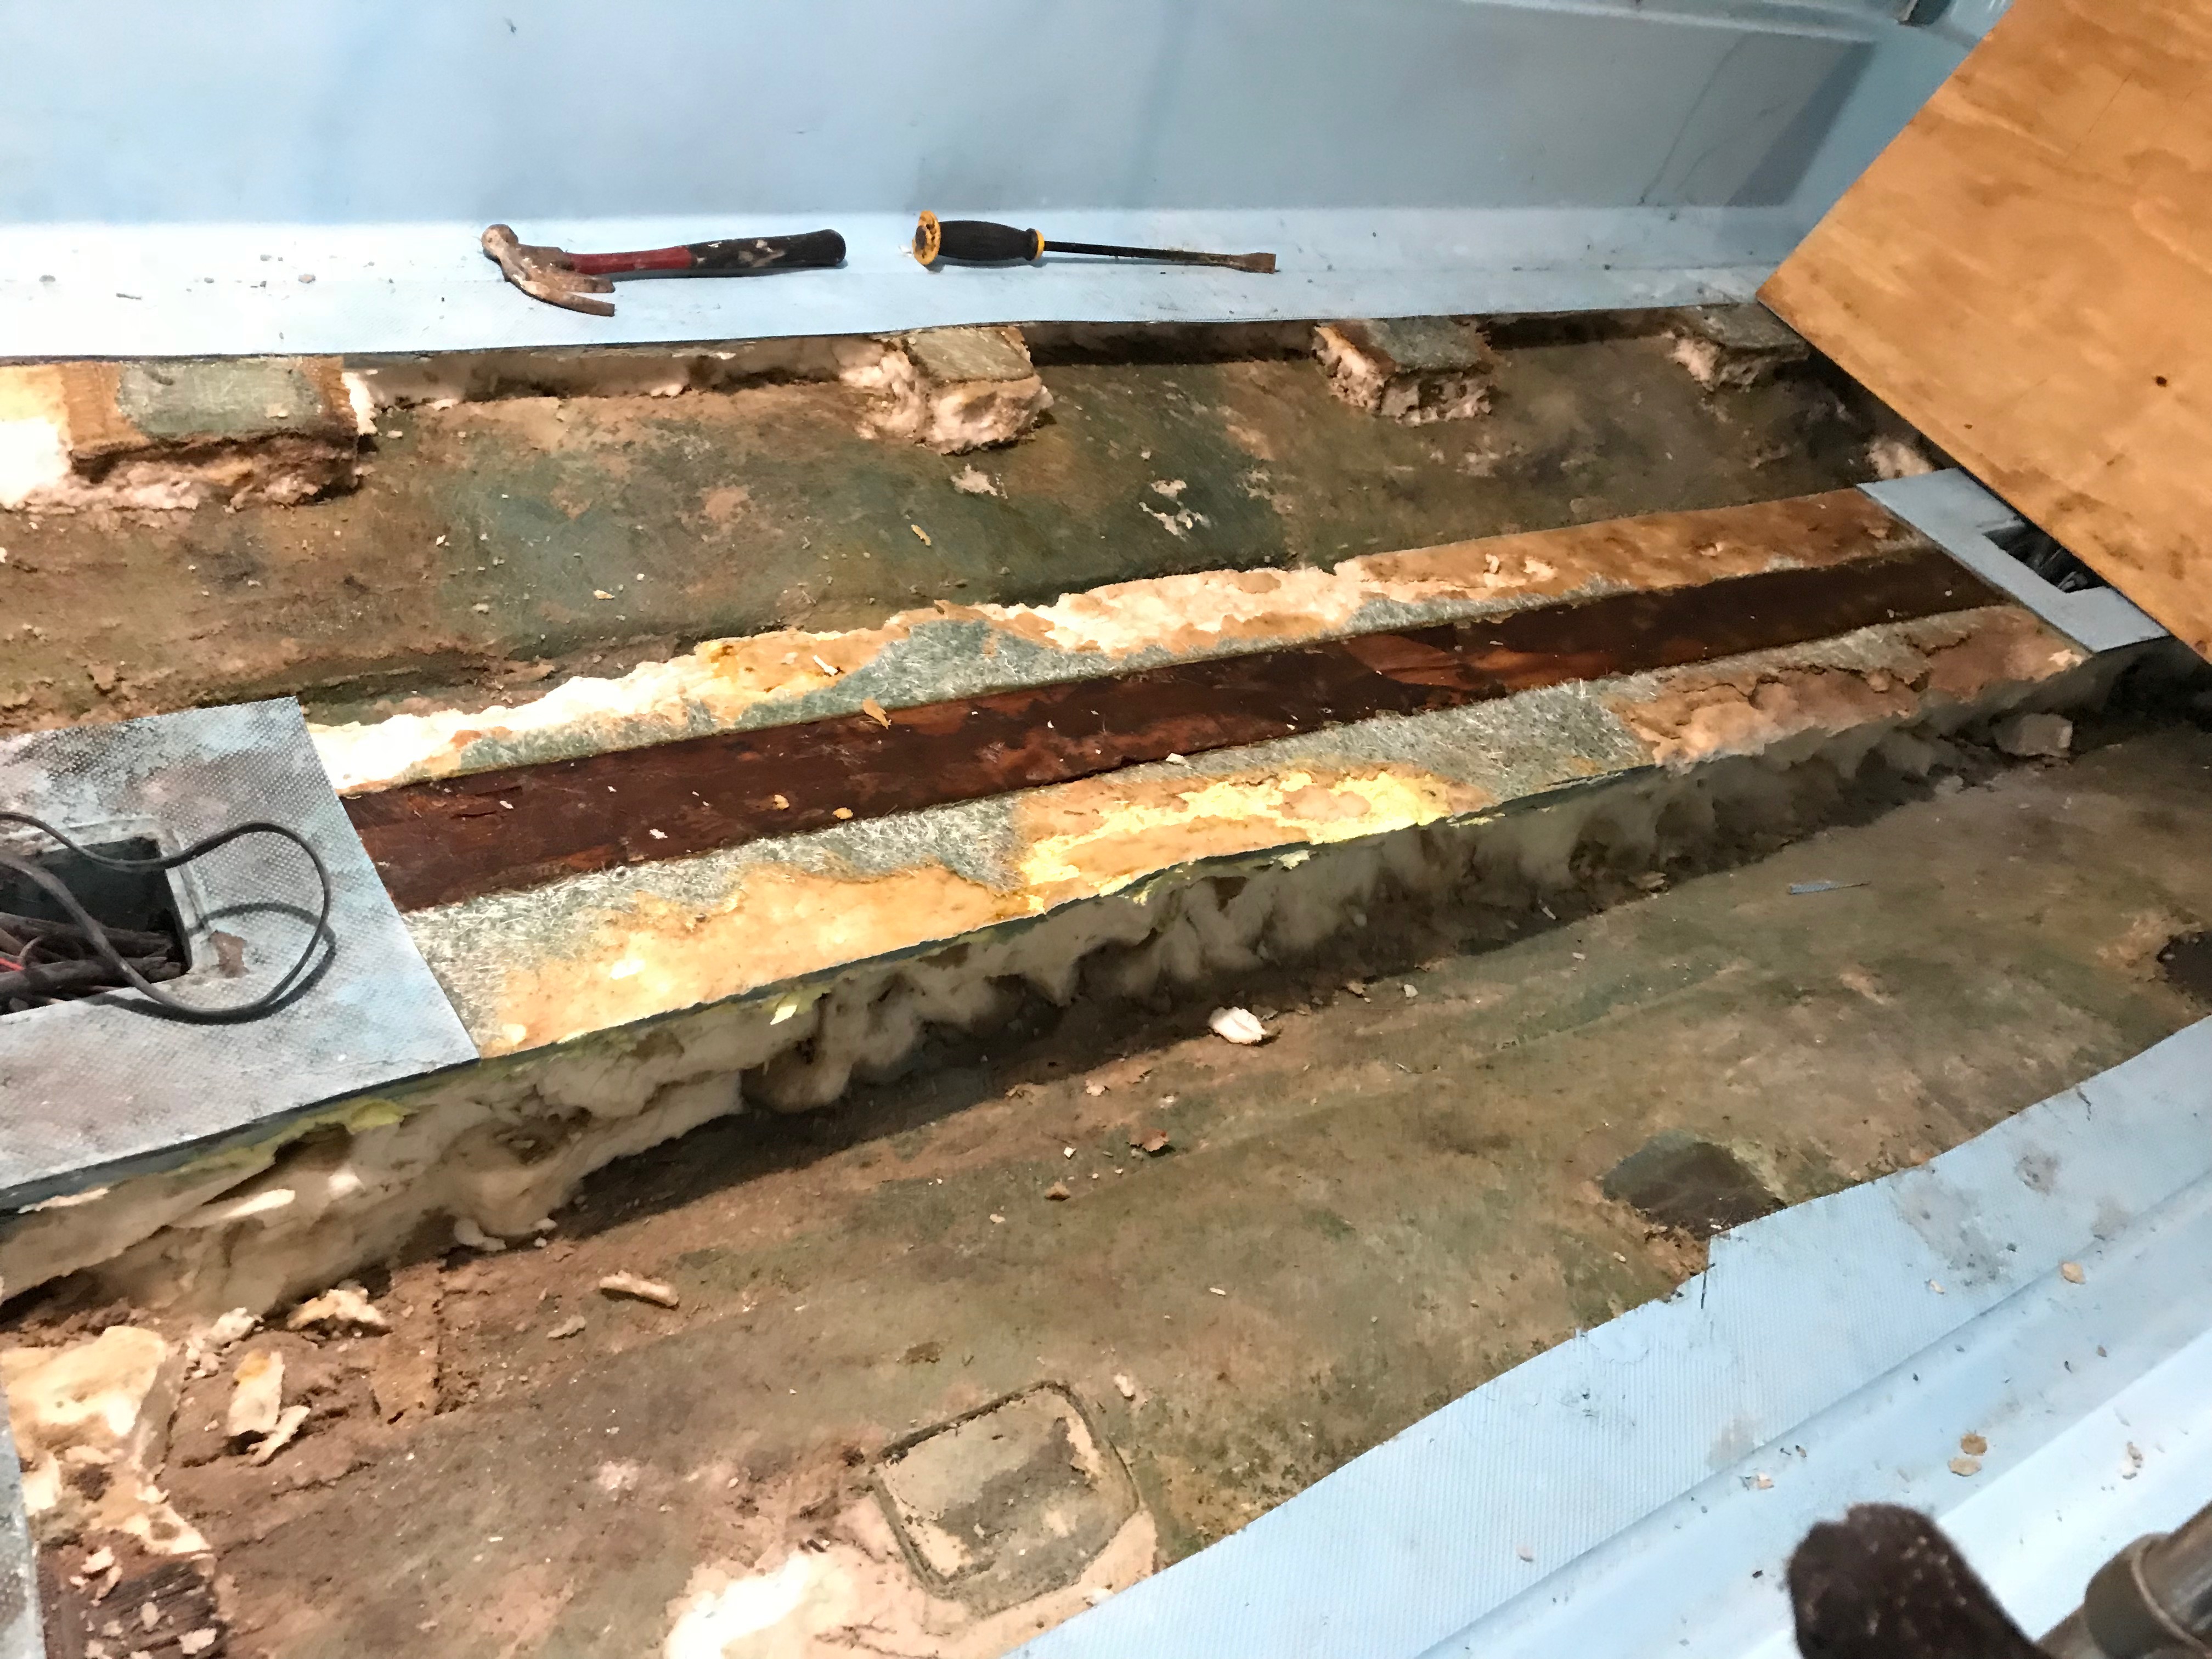
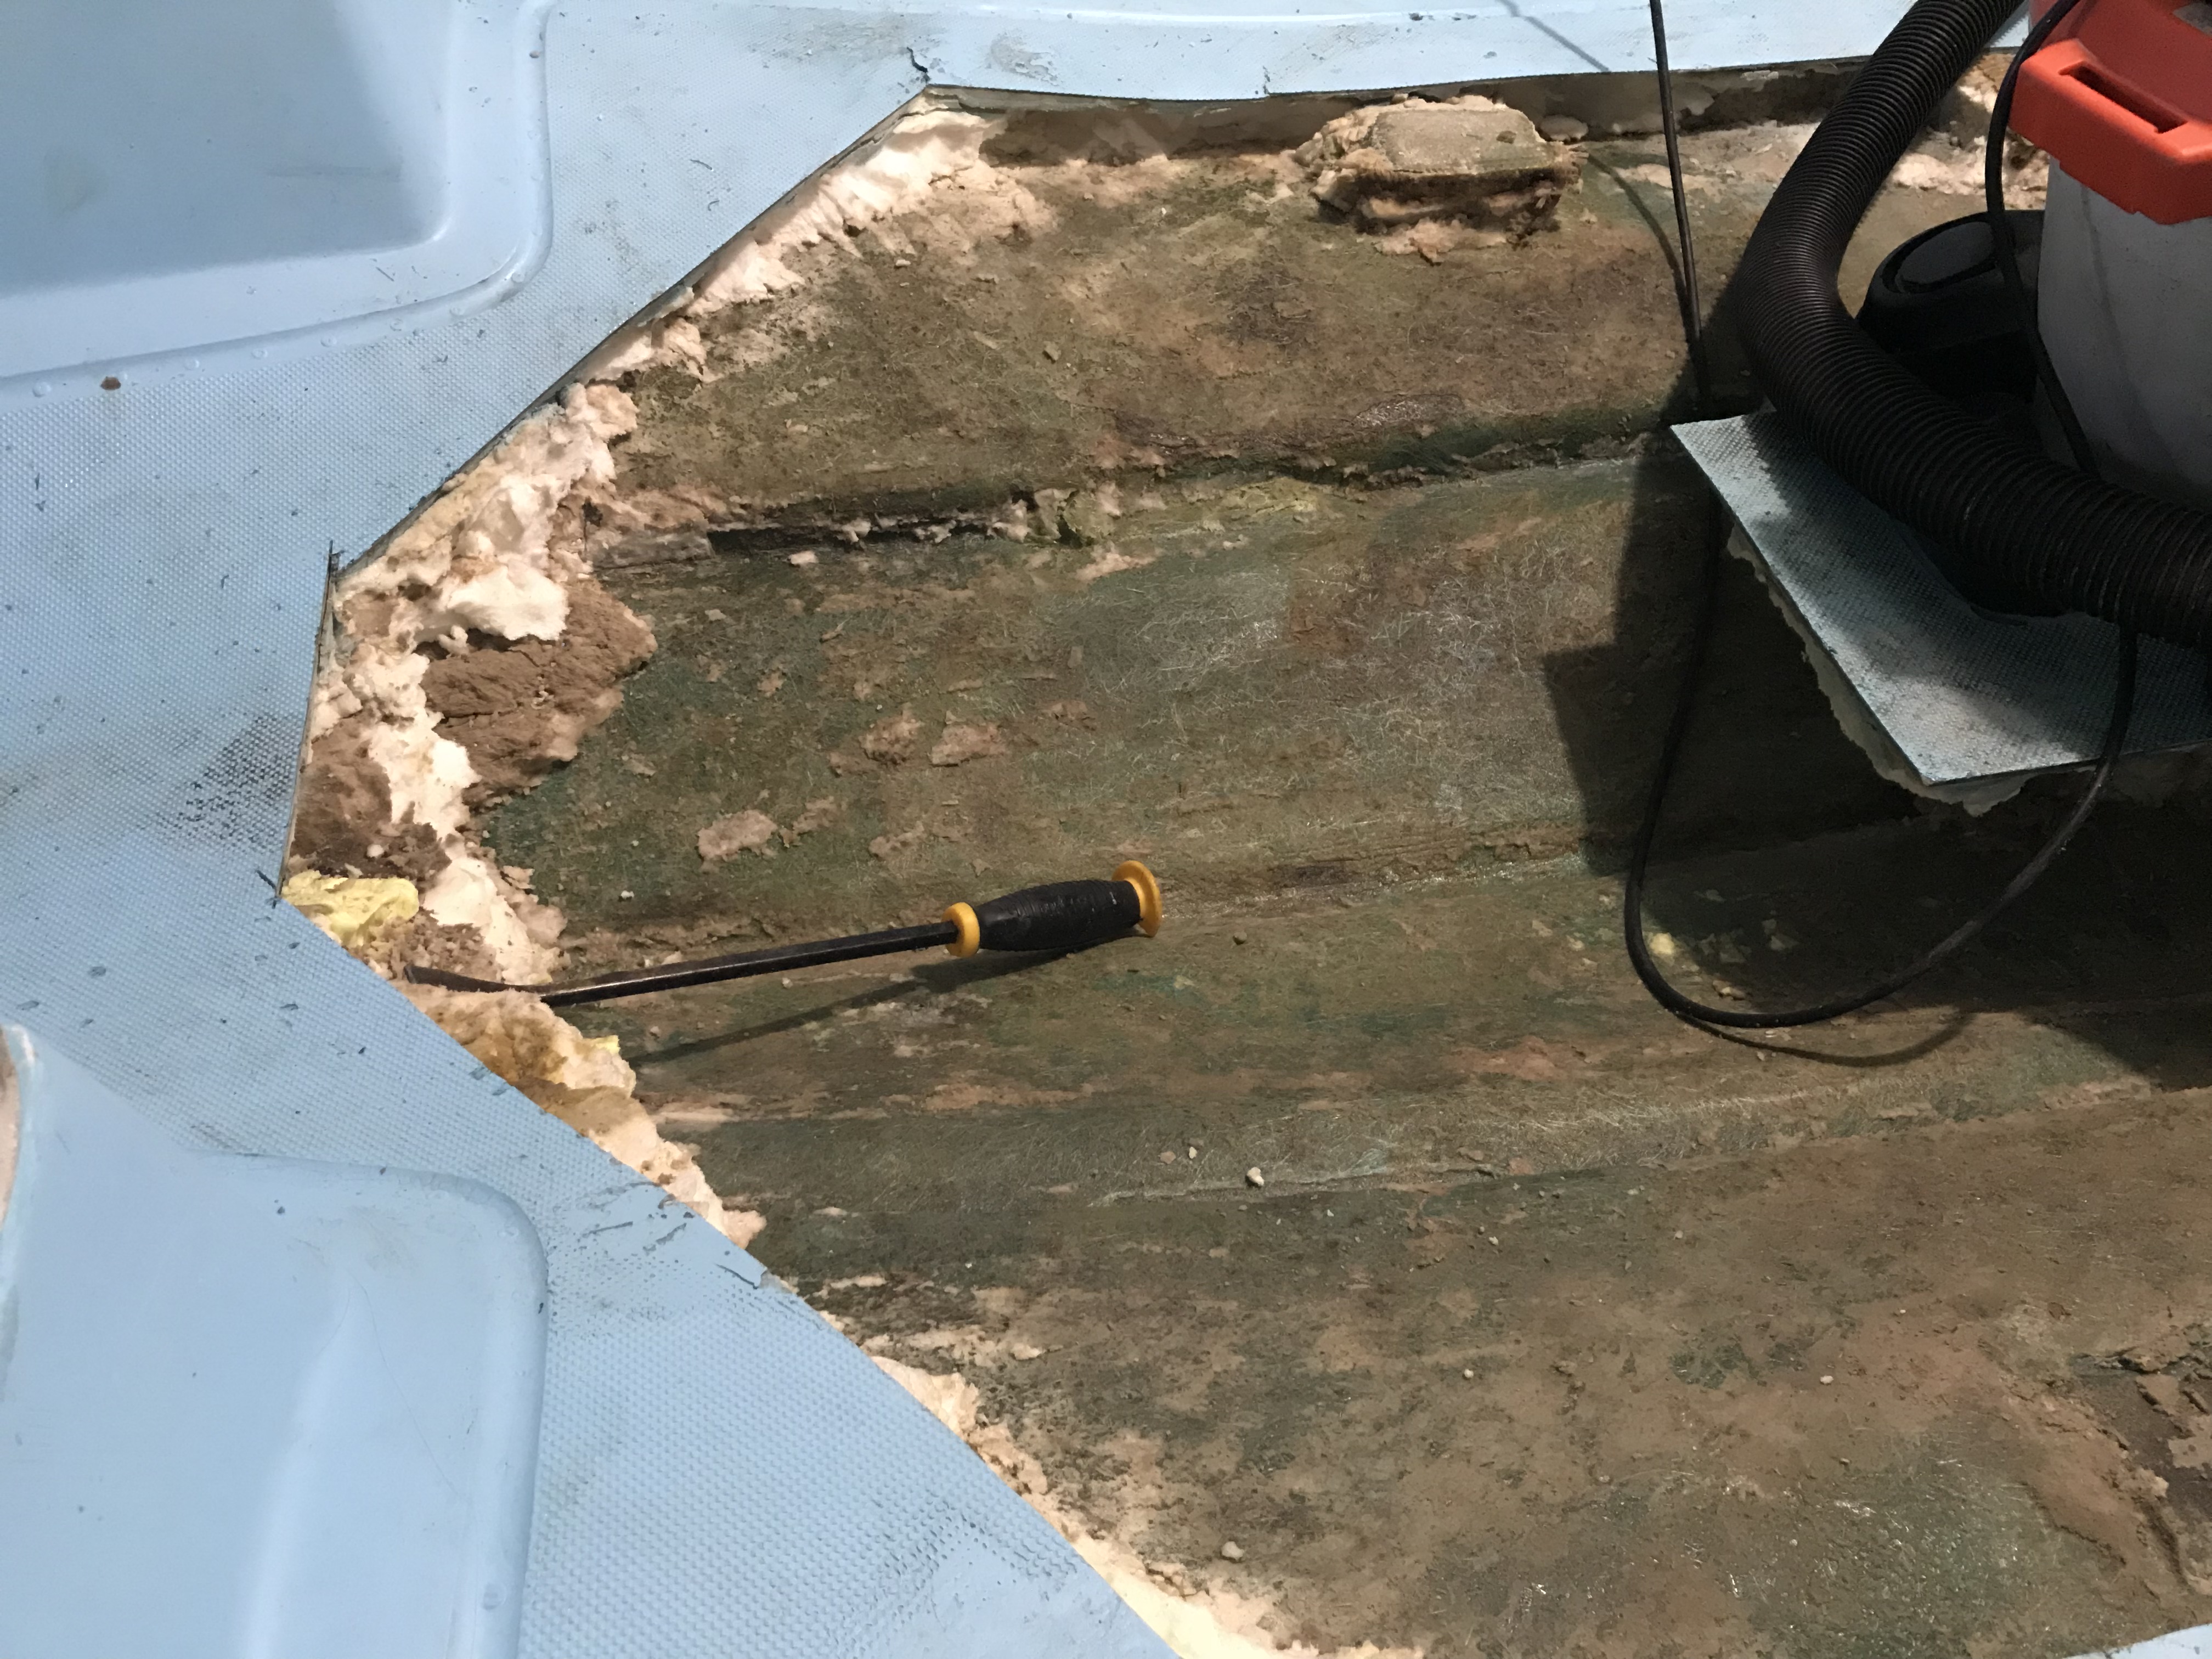
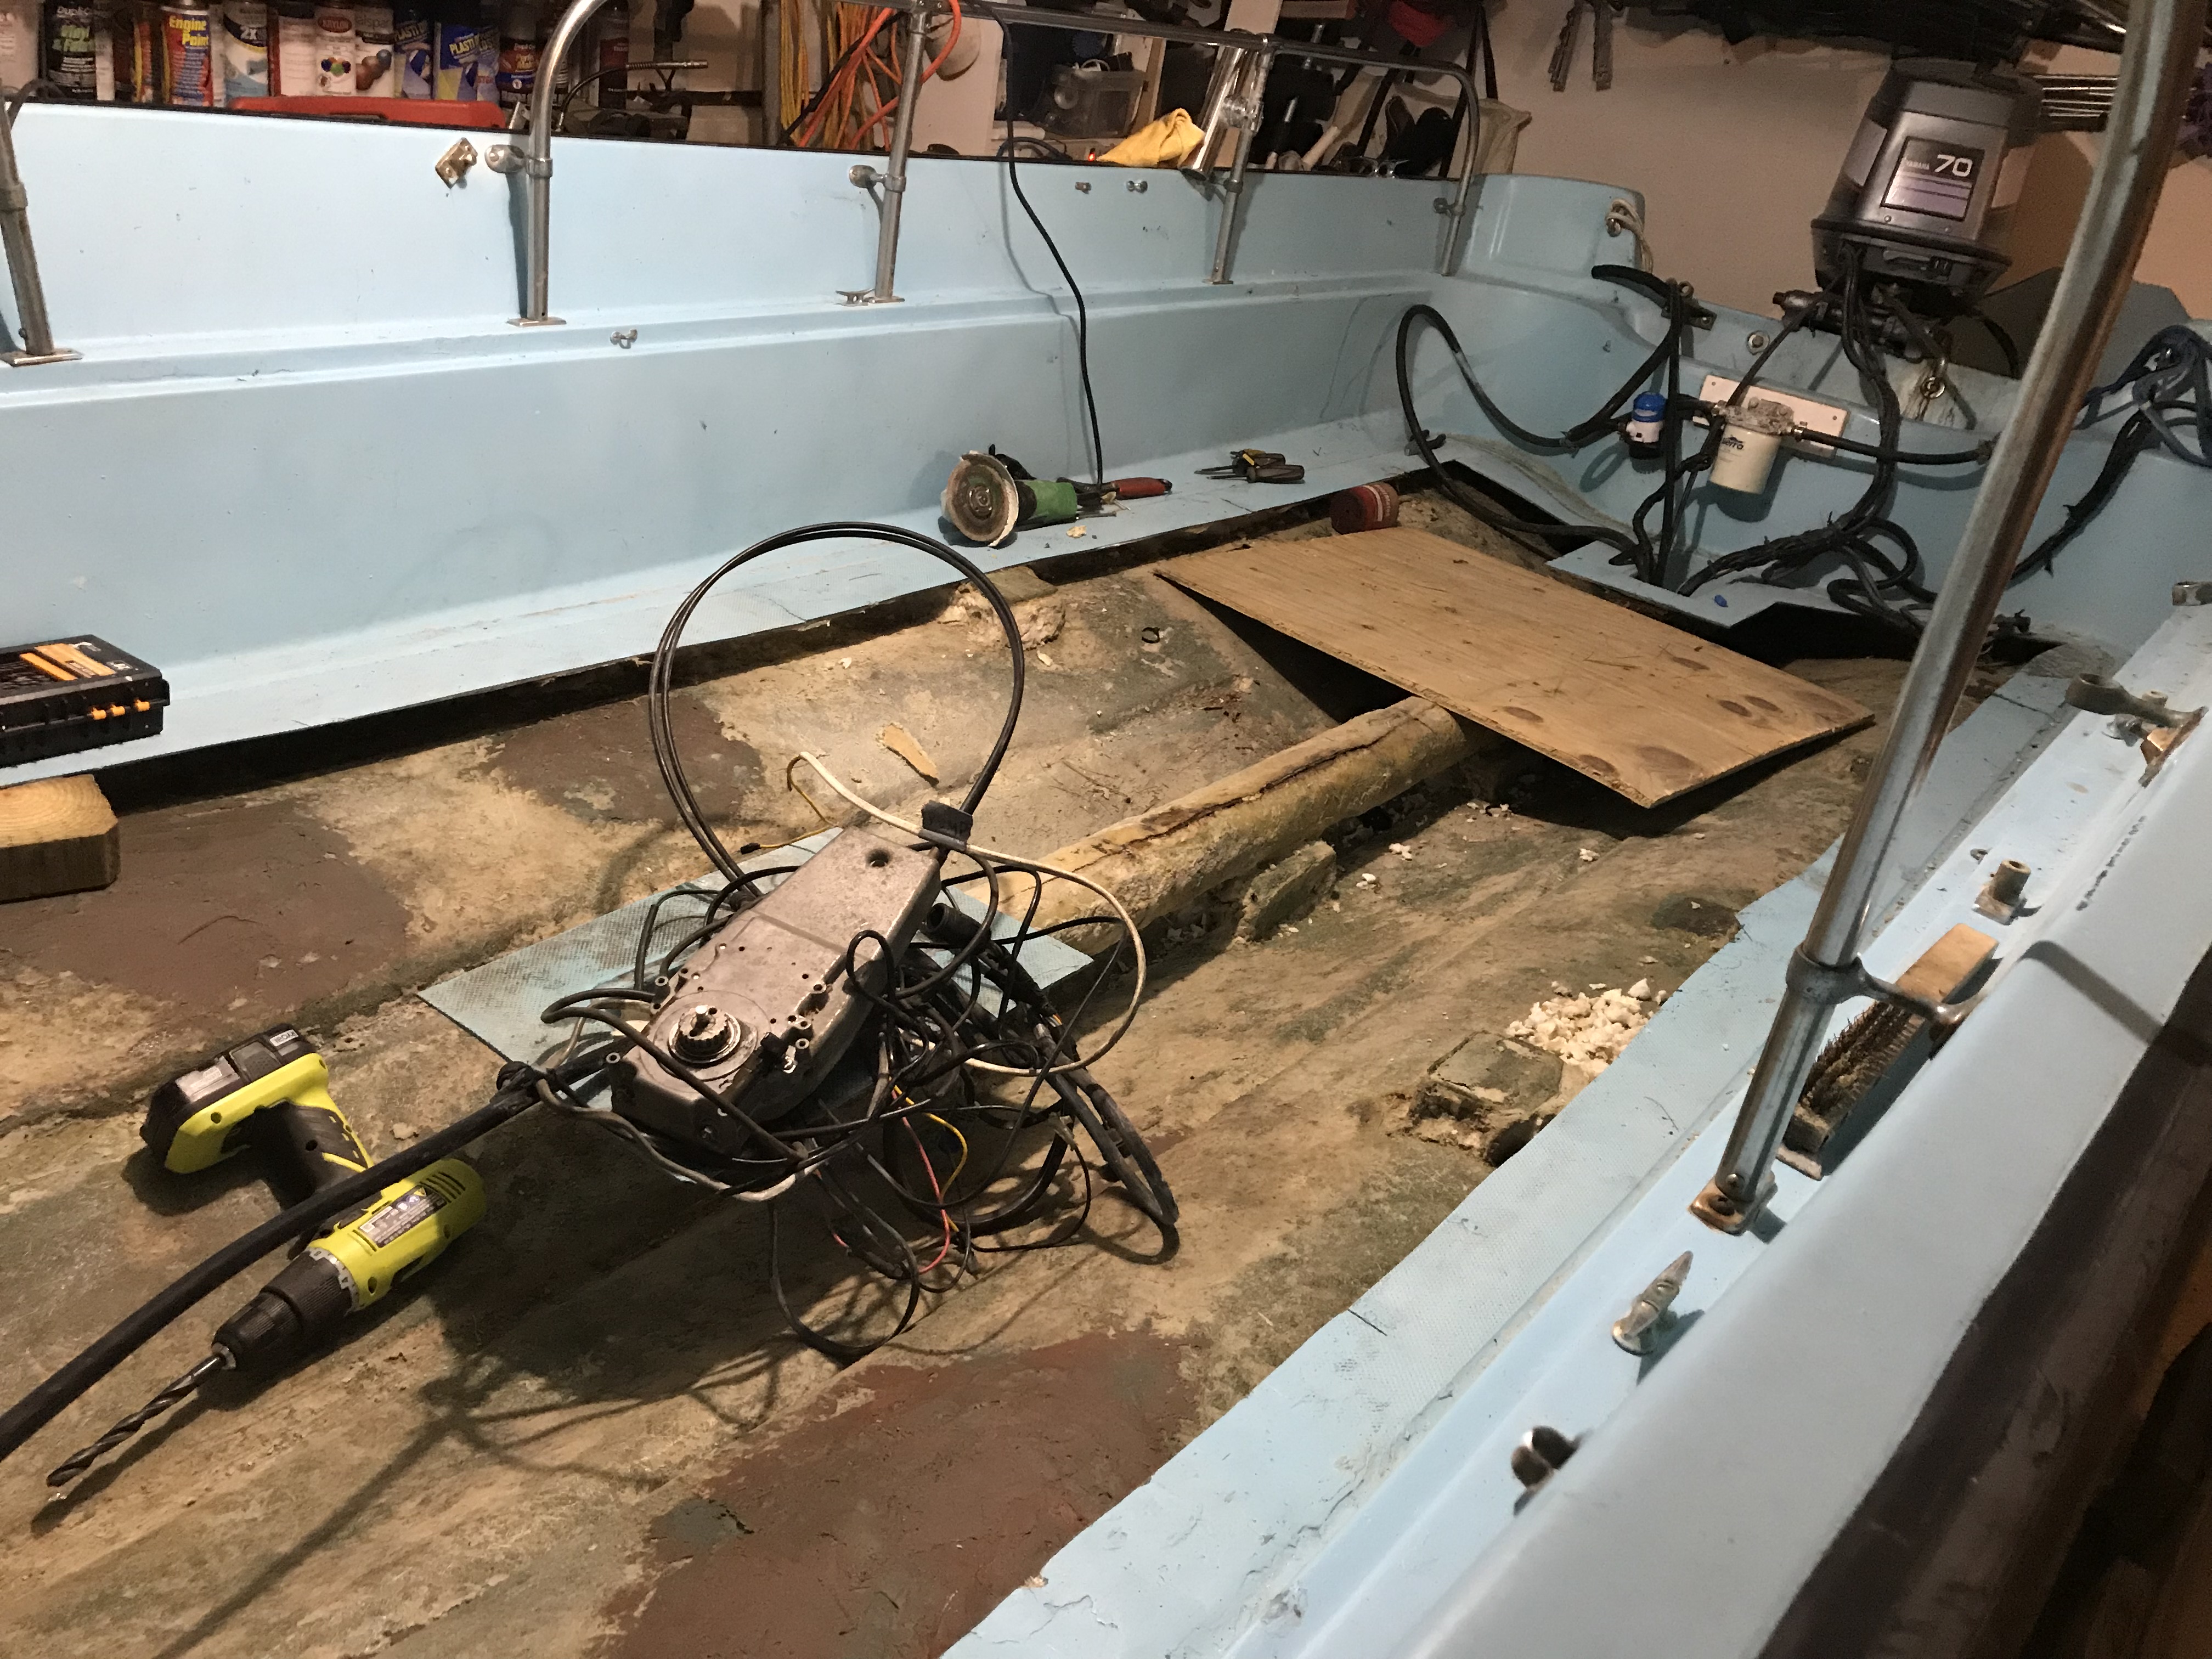
10: Surprise, Surprise
Runway exposed. Low and behold there is a major crack running down the center. Explains the water in the bilge issue. She was 100% saturated. The sheer force of moving through the water must have created some sort of osmosis through the hull. With no where to go whatever excess water that was taken in found its way through the foam, through the crack in the tunnel and into the bilge. She still was doing 30mph at 5000RPMs. Amazing. Also means I need to do a full inspection and repaint of the hull below the water line.
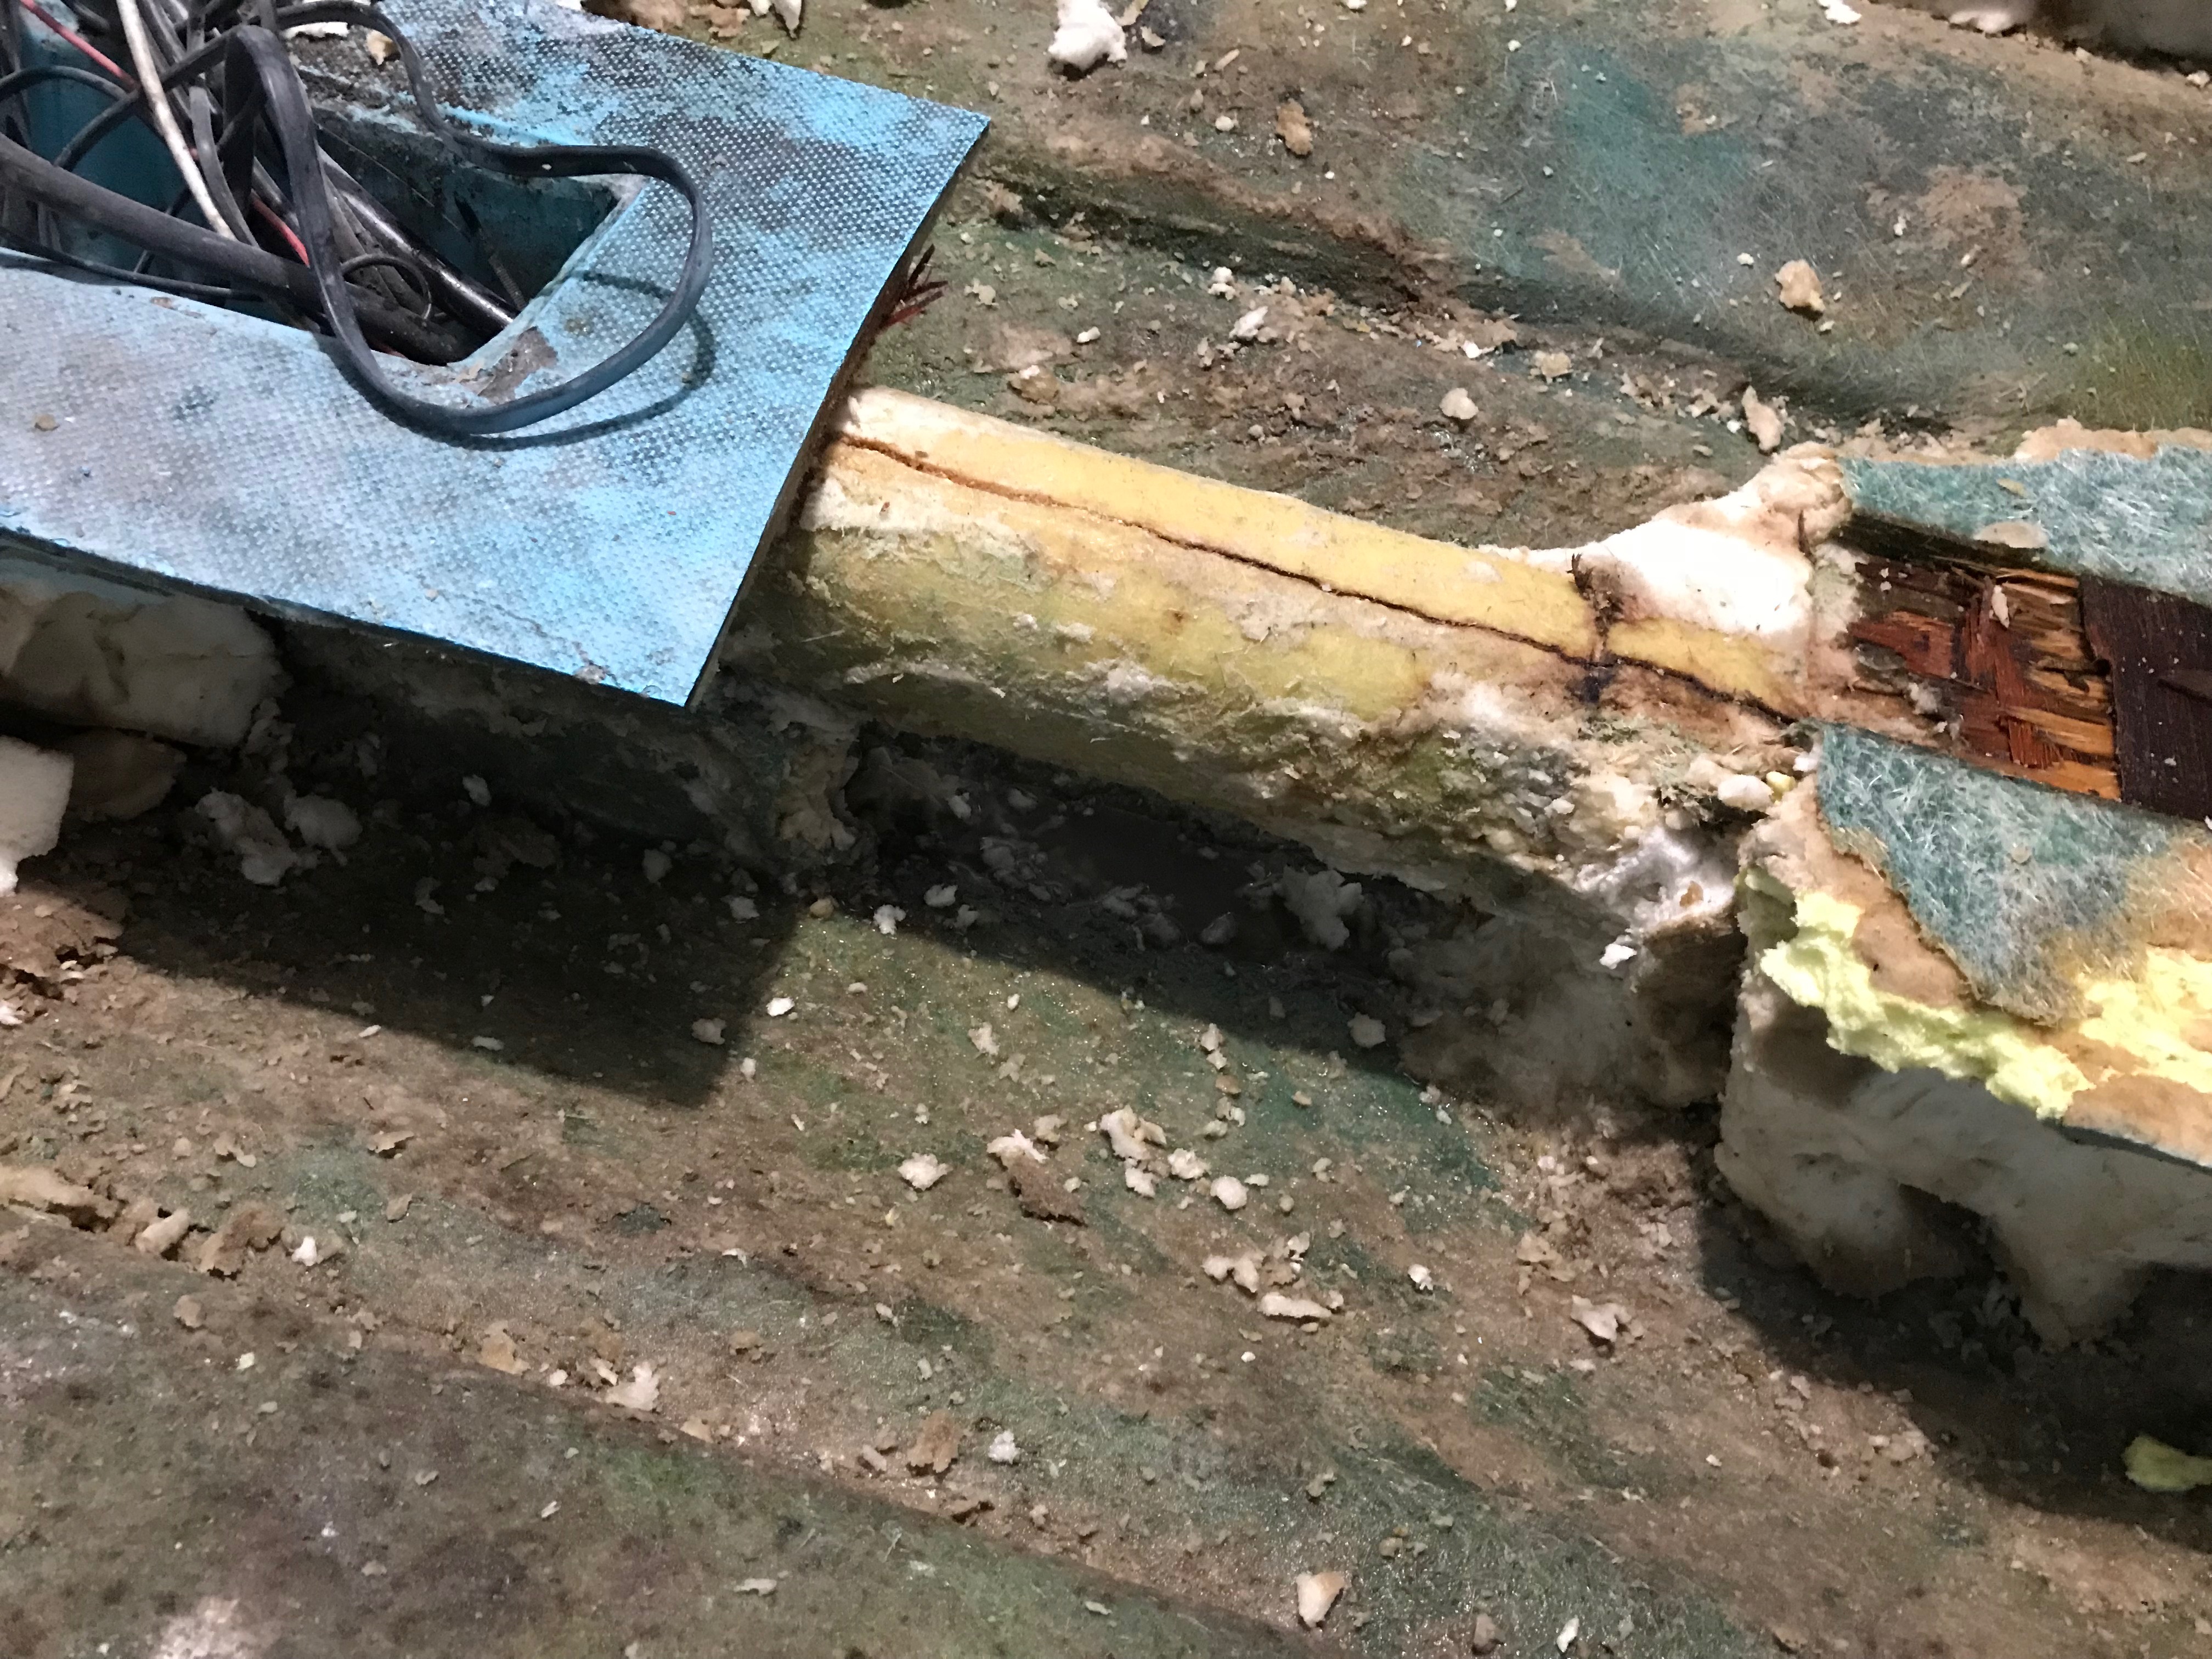
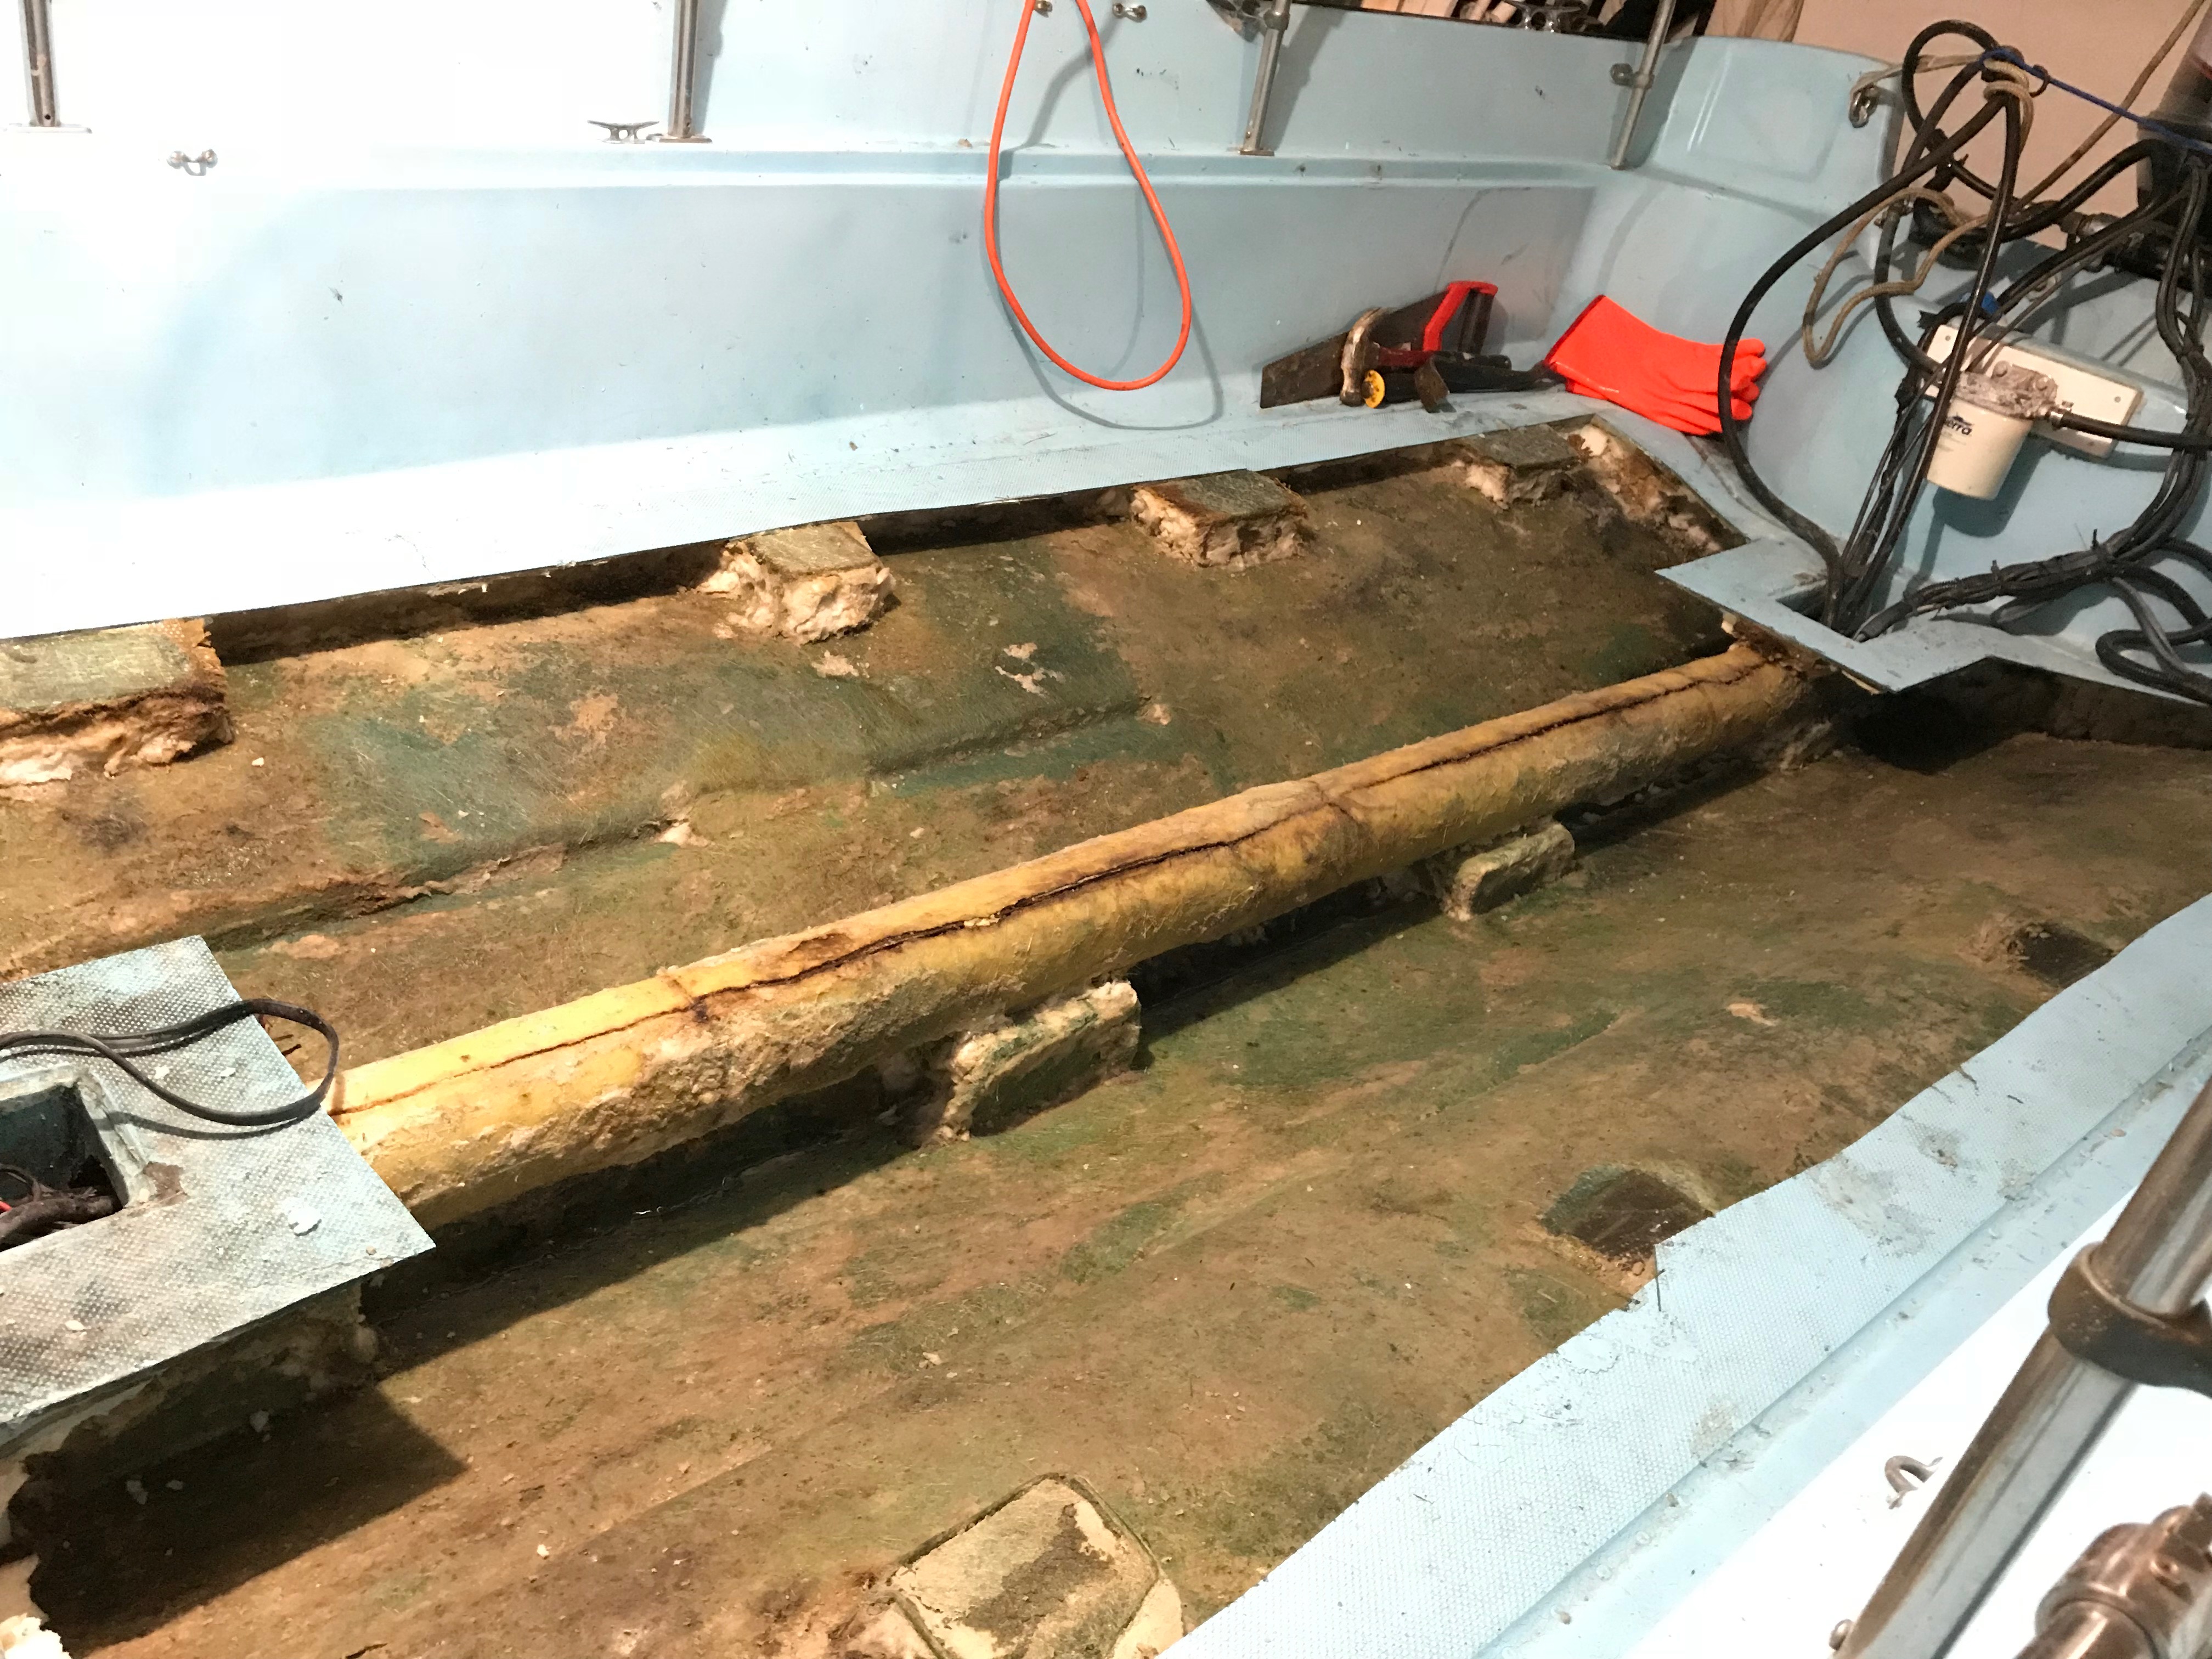
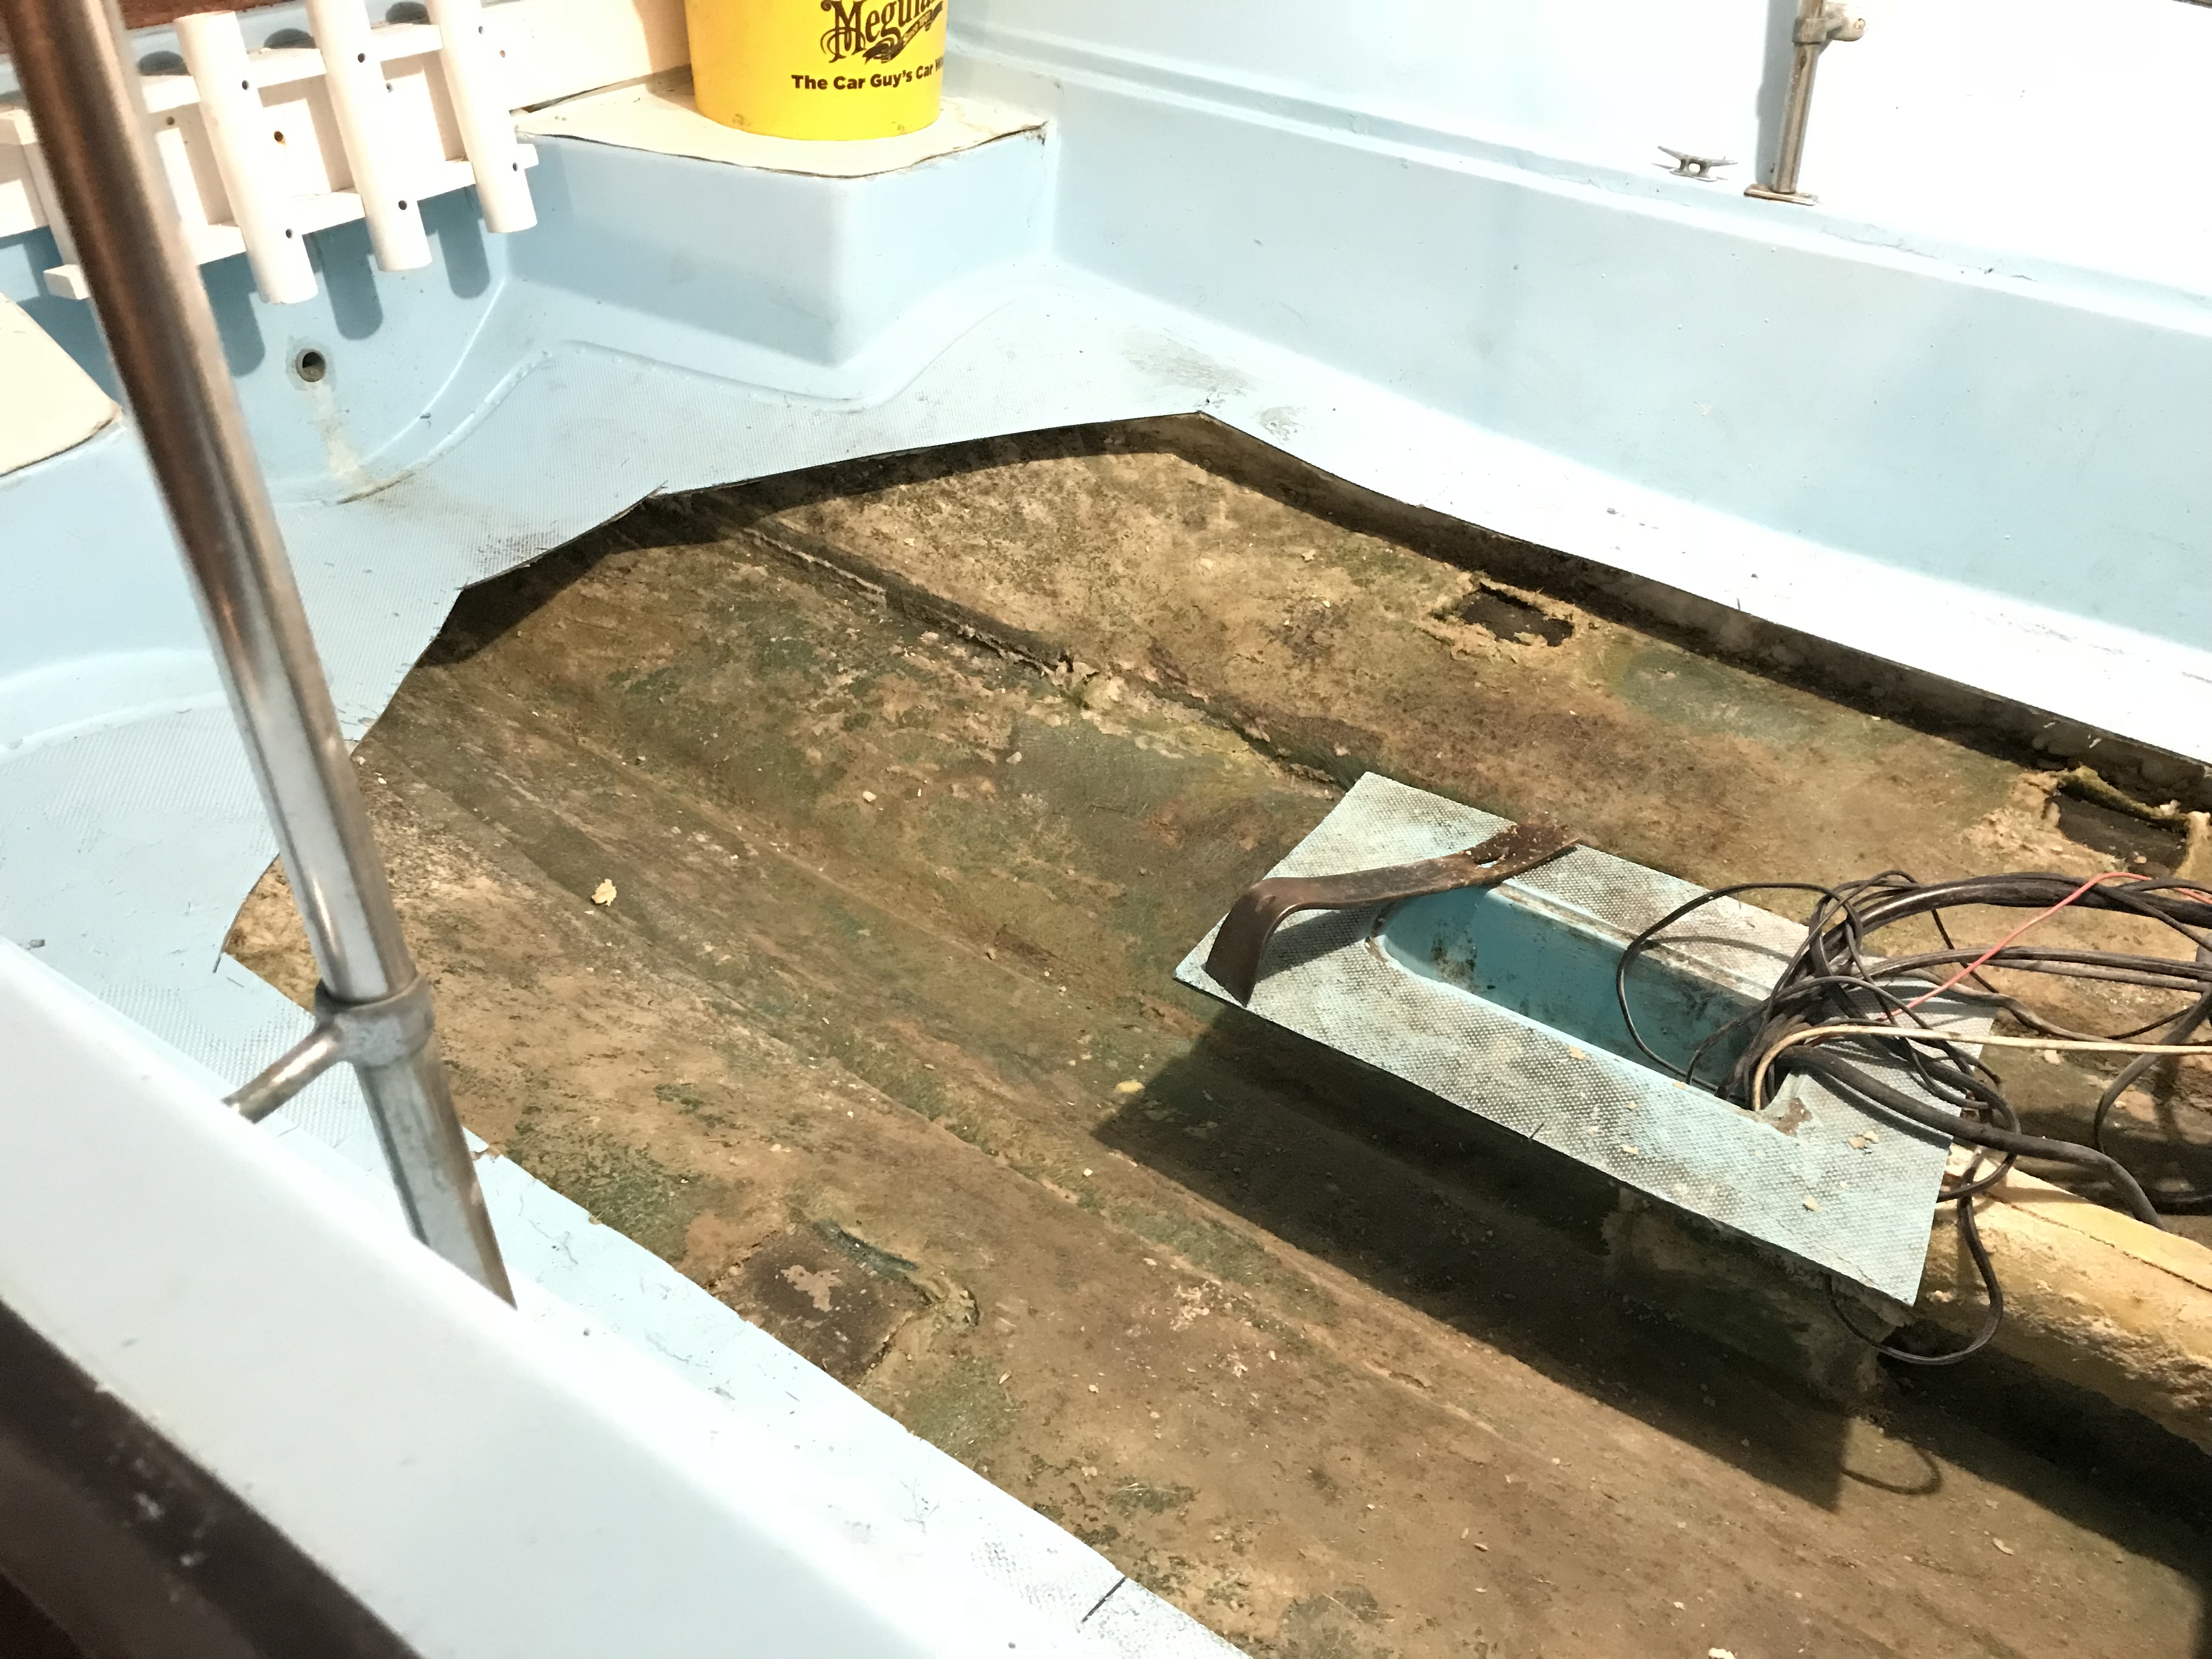
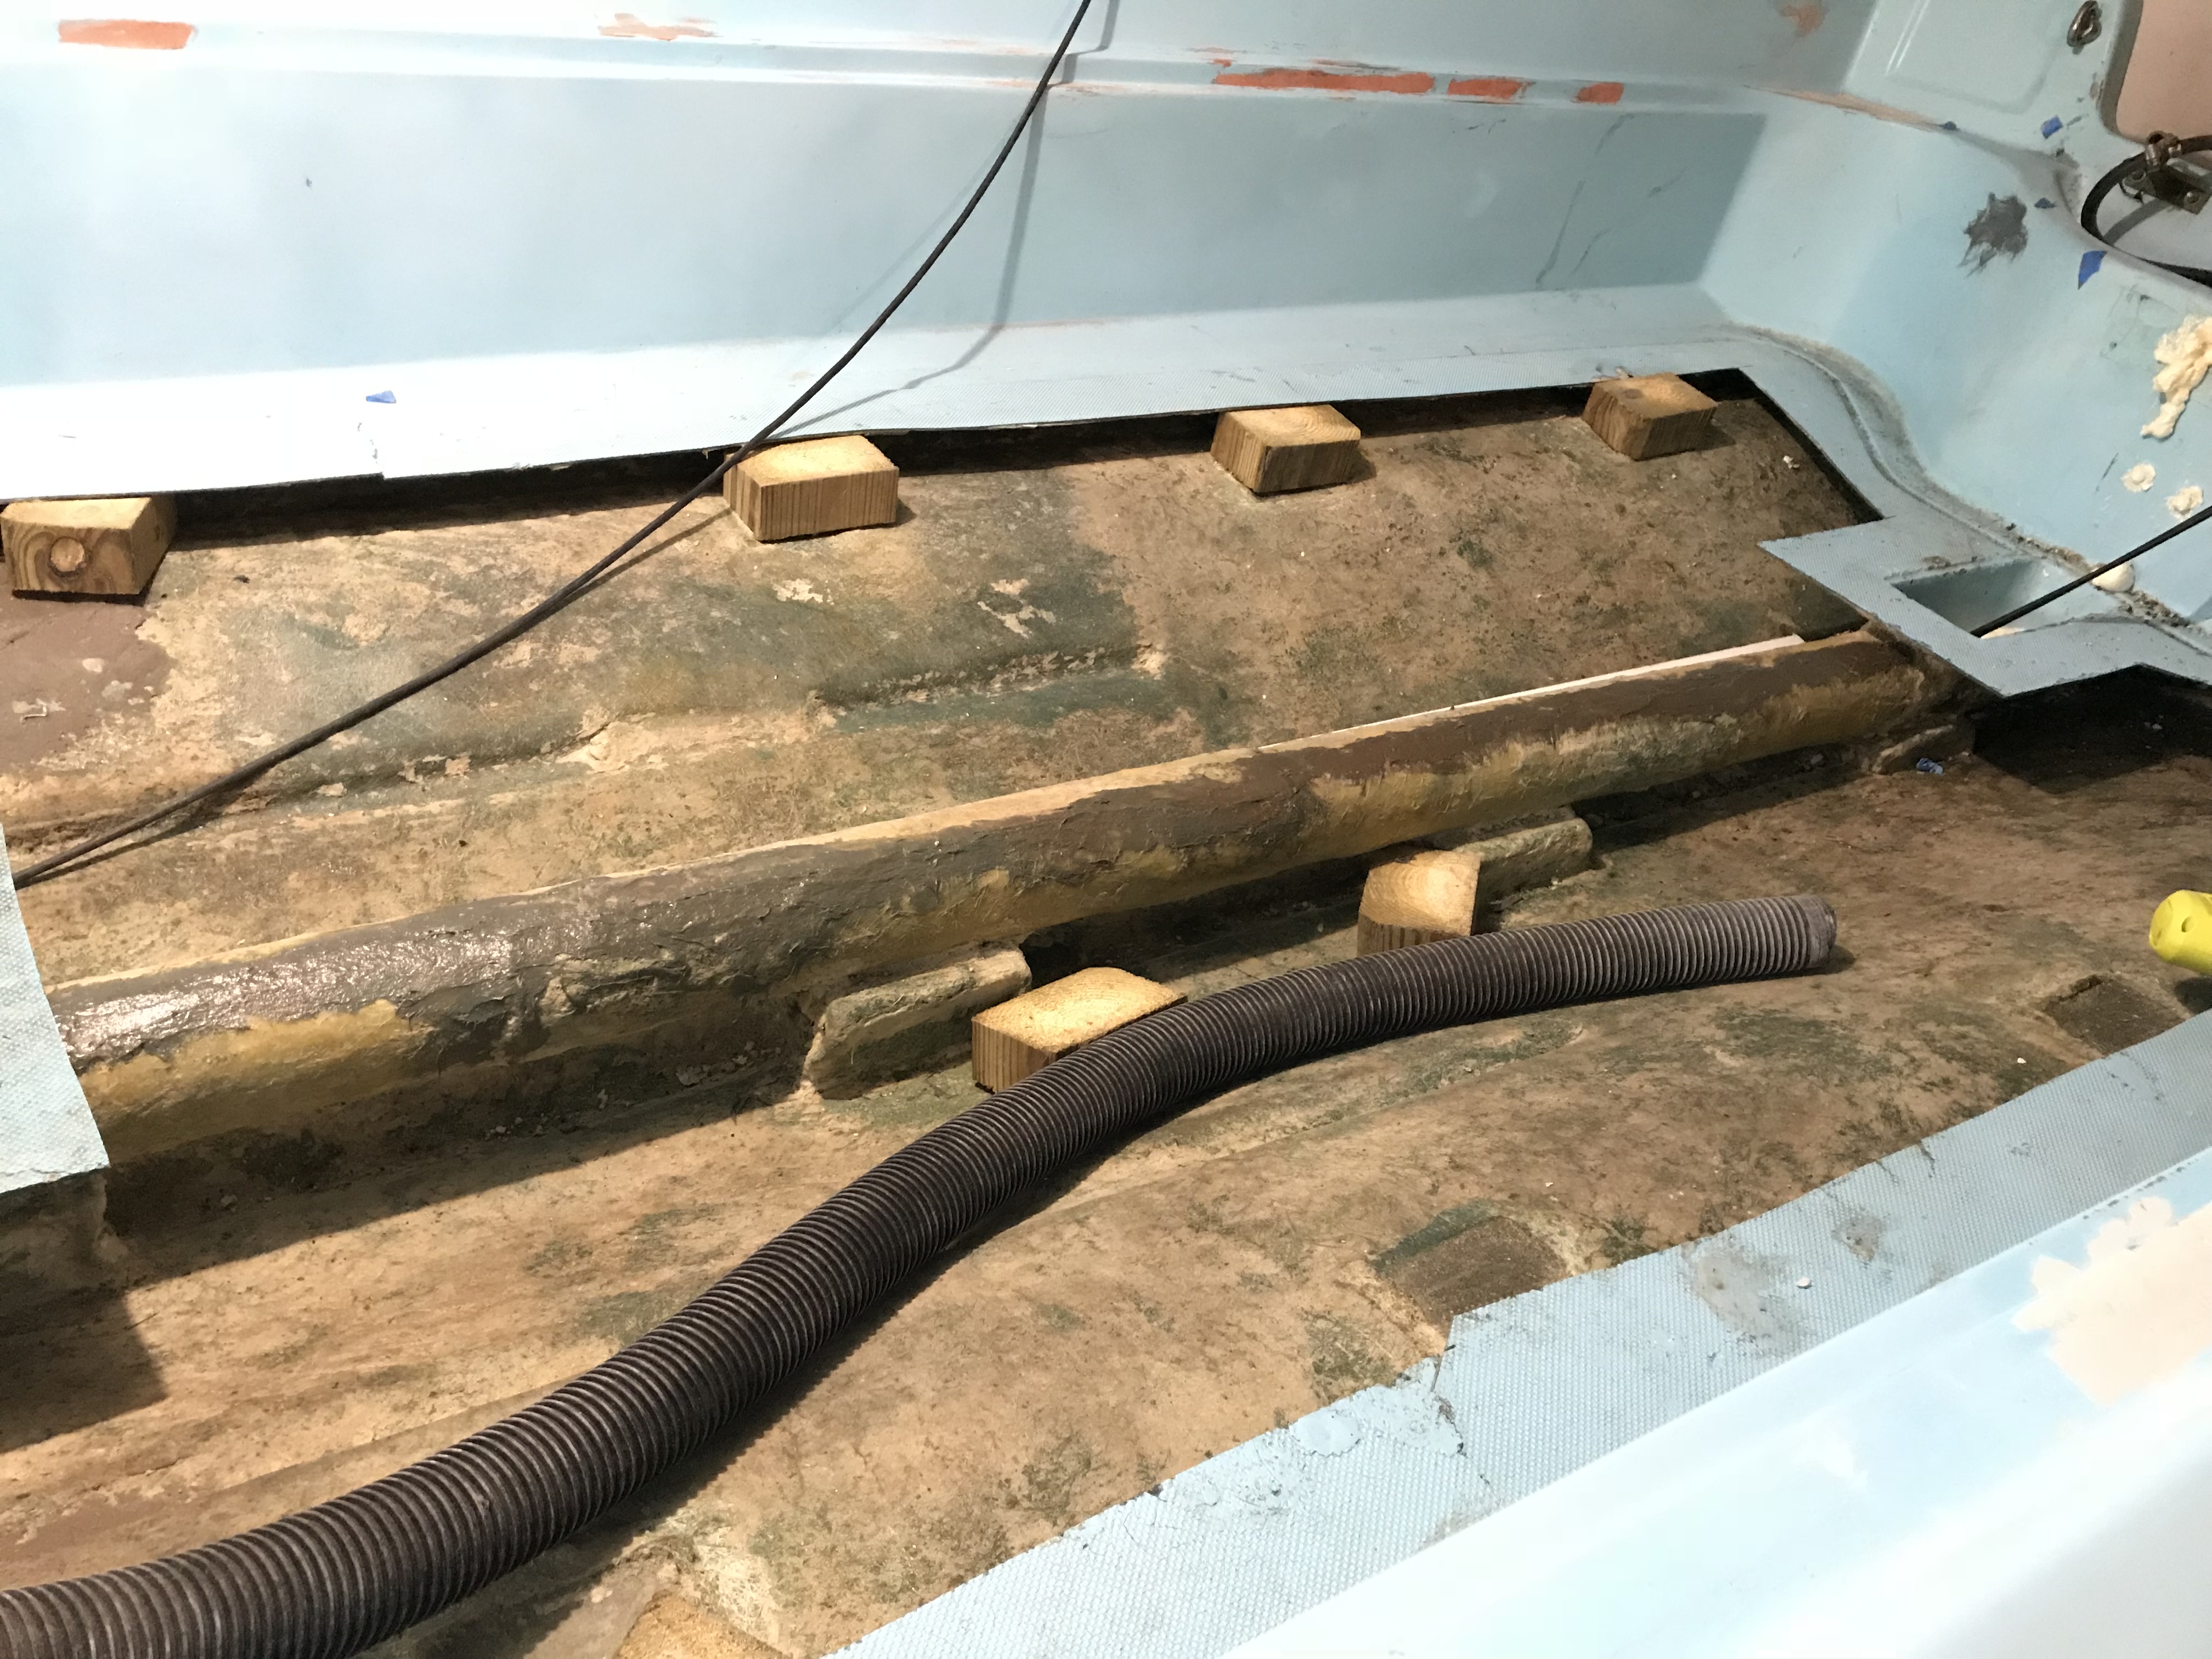
11: Weight Loss Extreme
Another 4 bags of foam, another 200+ lbs. Center tunnel cleaned of foam and tunnel fully exposed. Crack runs the length. Have no idea what the tunnel is made out of. Couple of options here. Re-glass in a new PVC tunnel middle section, leaving the bilge areas as is, or clean tunnel with a dental pick then glass over the crack. Trying not to mess with structure too much. Plenty of time to make a decision.
12: Take A Bow
Lots of woodpecker holes here. Deck was always a bit soft. This is where the original crack was. Over the years I sprayed some foam in to stiffen it up. That worked somewhat but as you can see, just a bandaid. Most if not all of the foam had become delaminated from the deck. The oppositions best argument is that a Whalers structural integrity comes from the foam being sandwiched at high pressure during construction to the deck and hull. Once you cut the deck the structural integrity is gone. Well, well. I’ve been driving this boat for 10 years, hard. Maybe the last few maybe more, the foam came unglued from the deck, therefore the structural integrity has been gone for a long time with no real effects on performance at all. Not like anyone knew or could know. Not saying I’m right, just a pretty damn good example that the foam, deck, structure argument lives on.
13: Hey Some Good News
Foam is wet but not 100% saturated. My best guess is the bulk of the water by gravity and force found its way aft. Probably in another year she would be just as saturated in the bow.
14: Real Good News
Most of the foam removed from bow. Top foam wet, bottom foam saturated, brown and nasty. No hull damaged.
15: All Foam Gone
Foam is gone from bow. Did a couple test drills on platforms, foam was dry. Big relief there. Next task is disconnecting wiring and cables, remove console and start in on chrome. Hull can dry out for a while, then I’ll scrape again and patch with glass if needed.
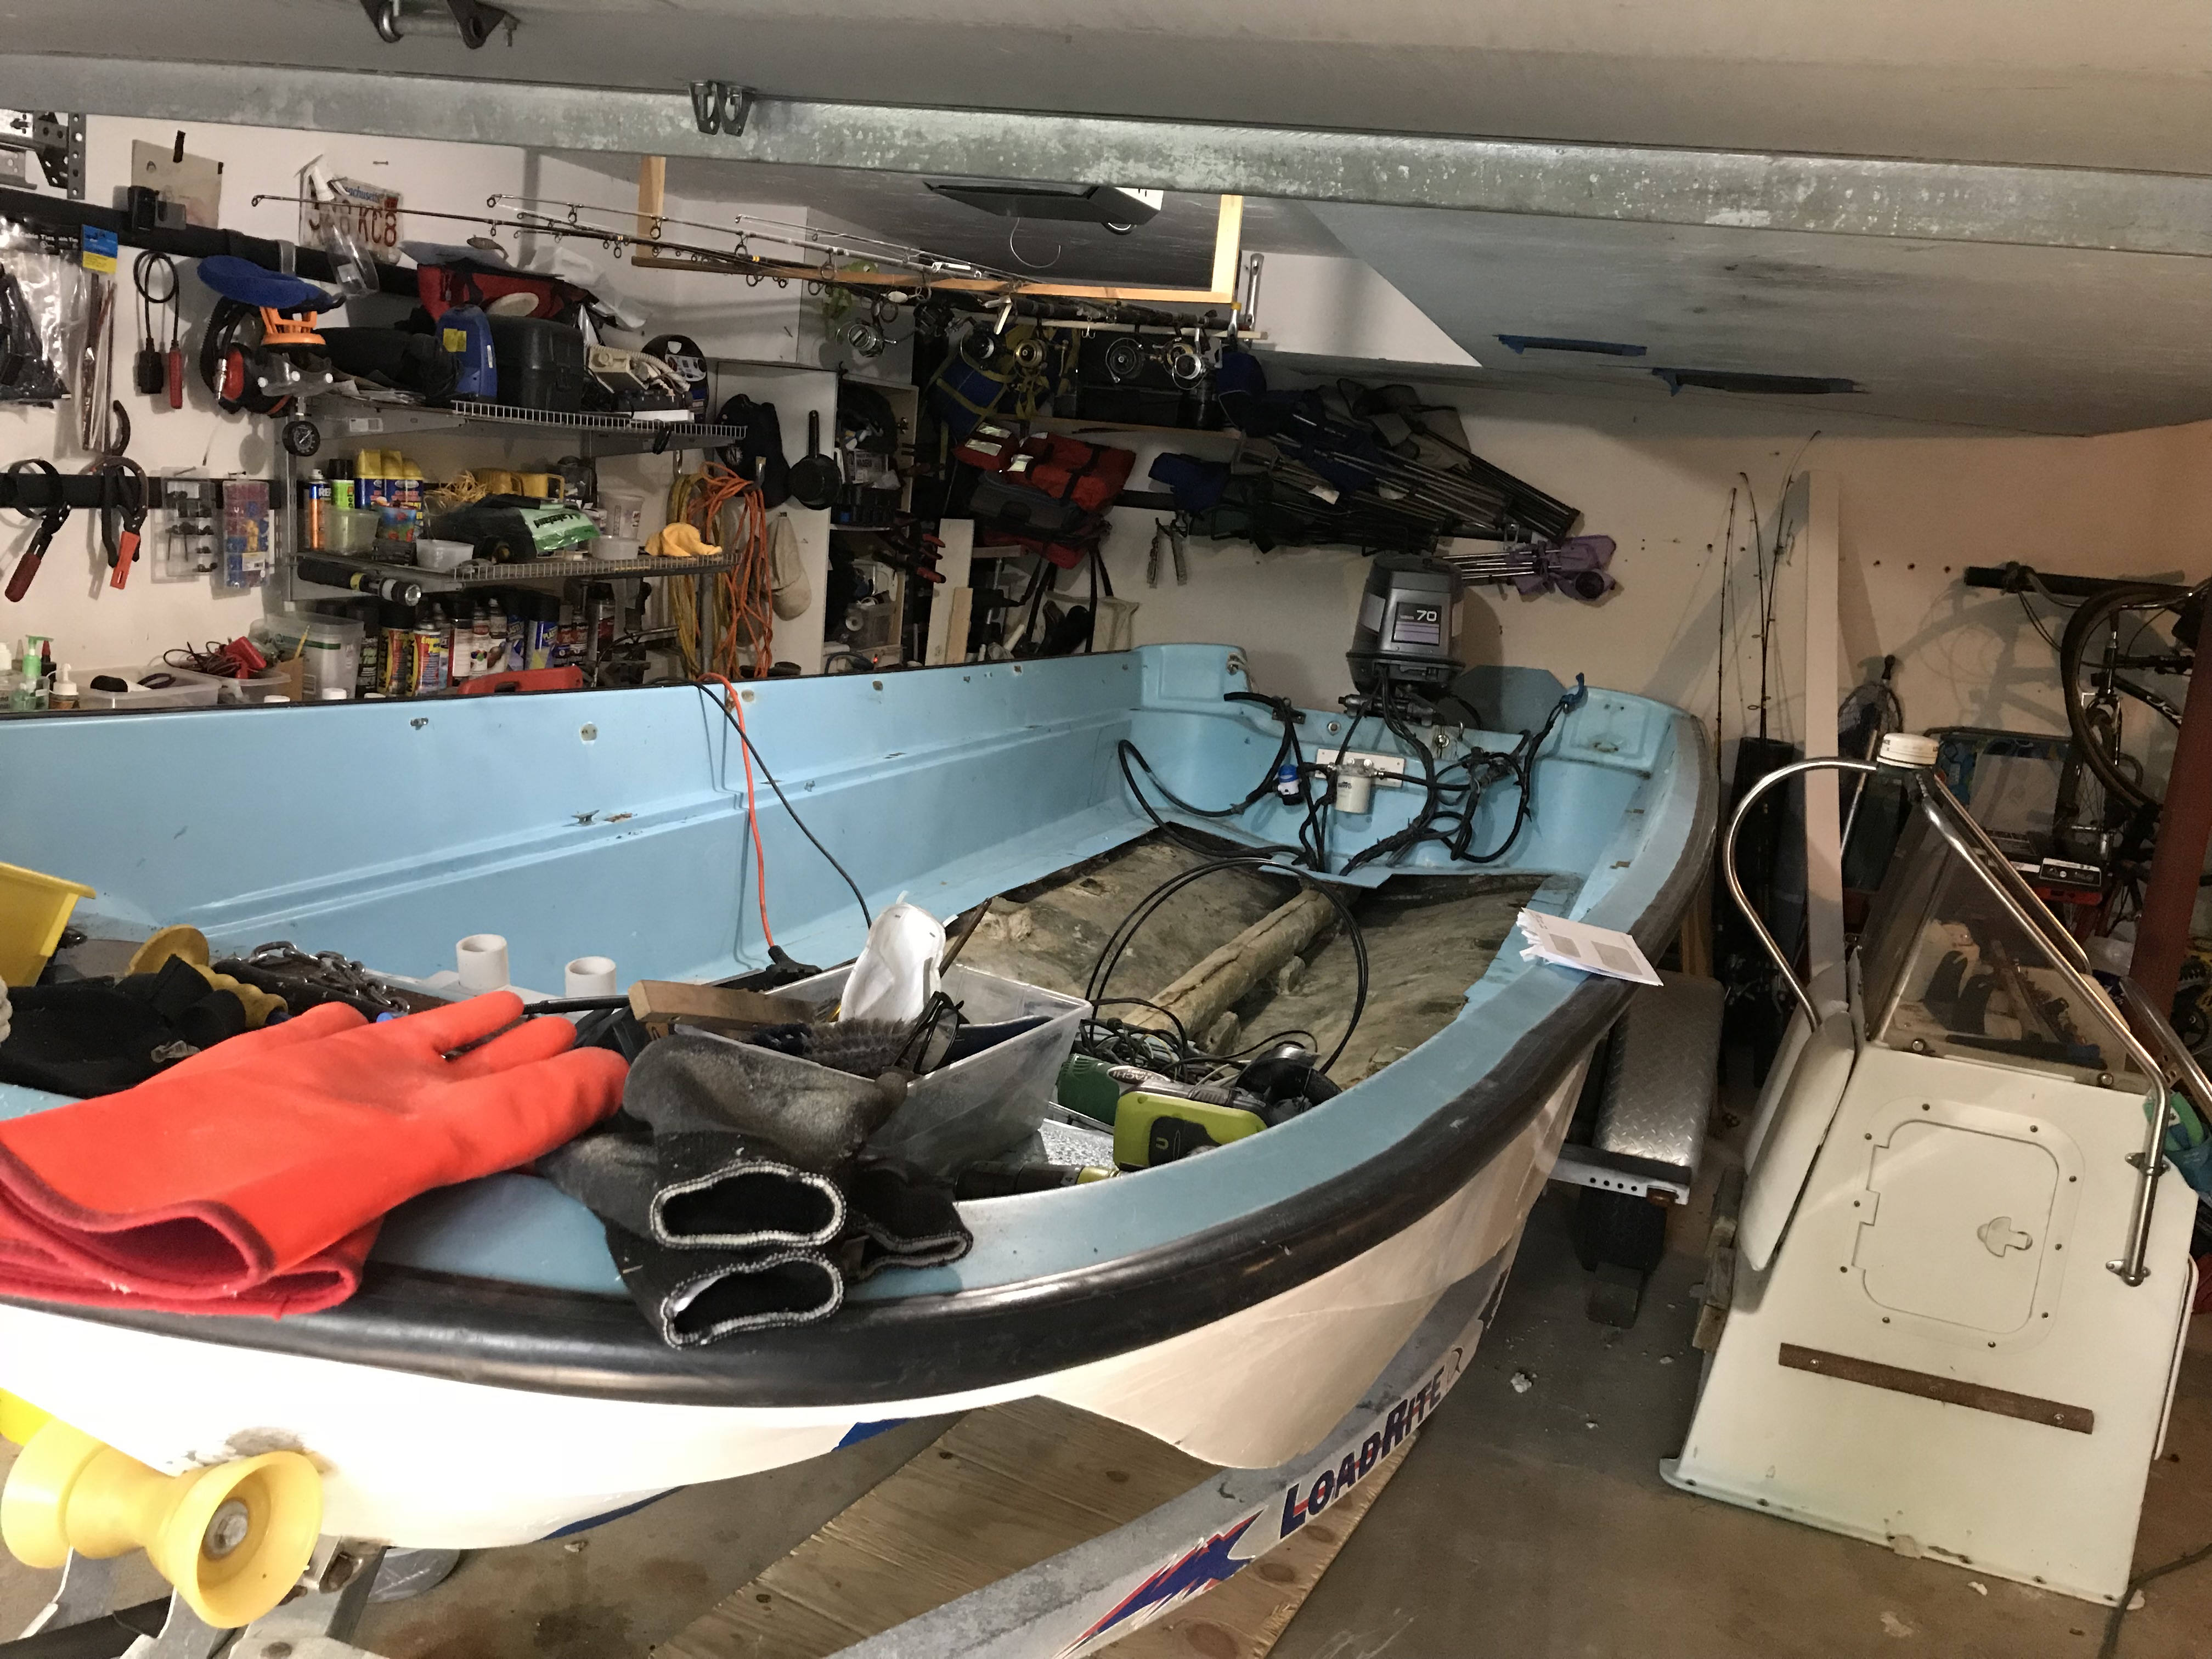
16: Console Removed
Pain in the butt. Everything gets rewired, greased and tightened in the Spring.
17: Open Deck
Now that console has been removed, access is real easy to the hull, deck, etc…
18: Chrome Gone
Chrome is removed. Some weepy holes, not too bad. Intend to sand, fill with epoxy, paint and redrill. Hull is drying out nicely.
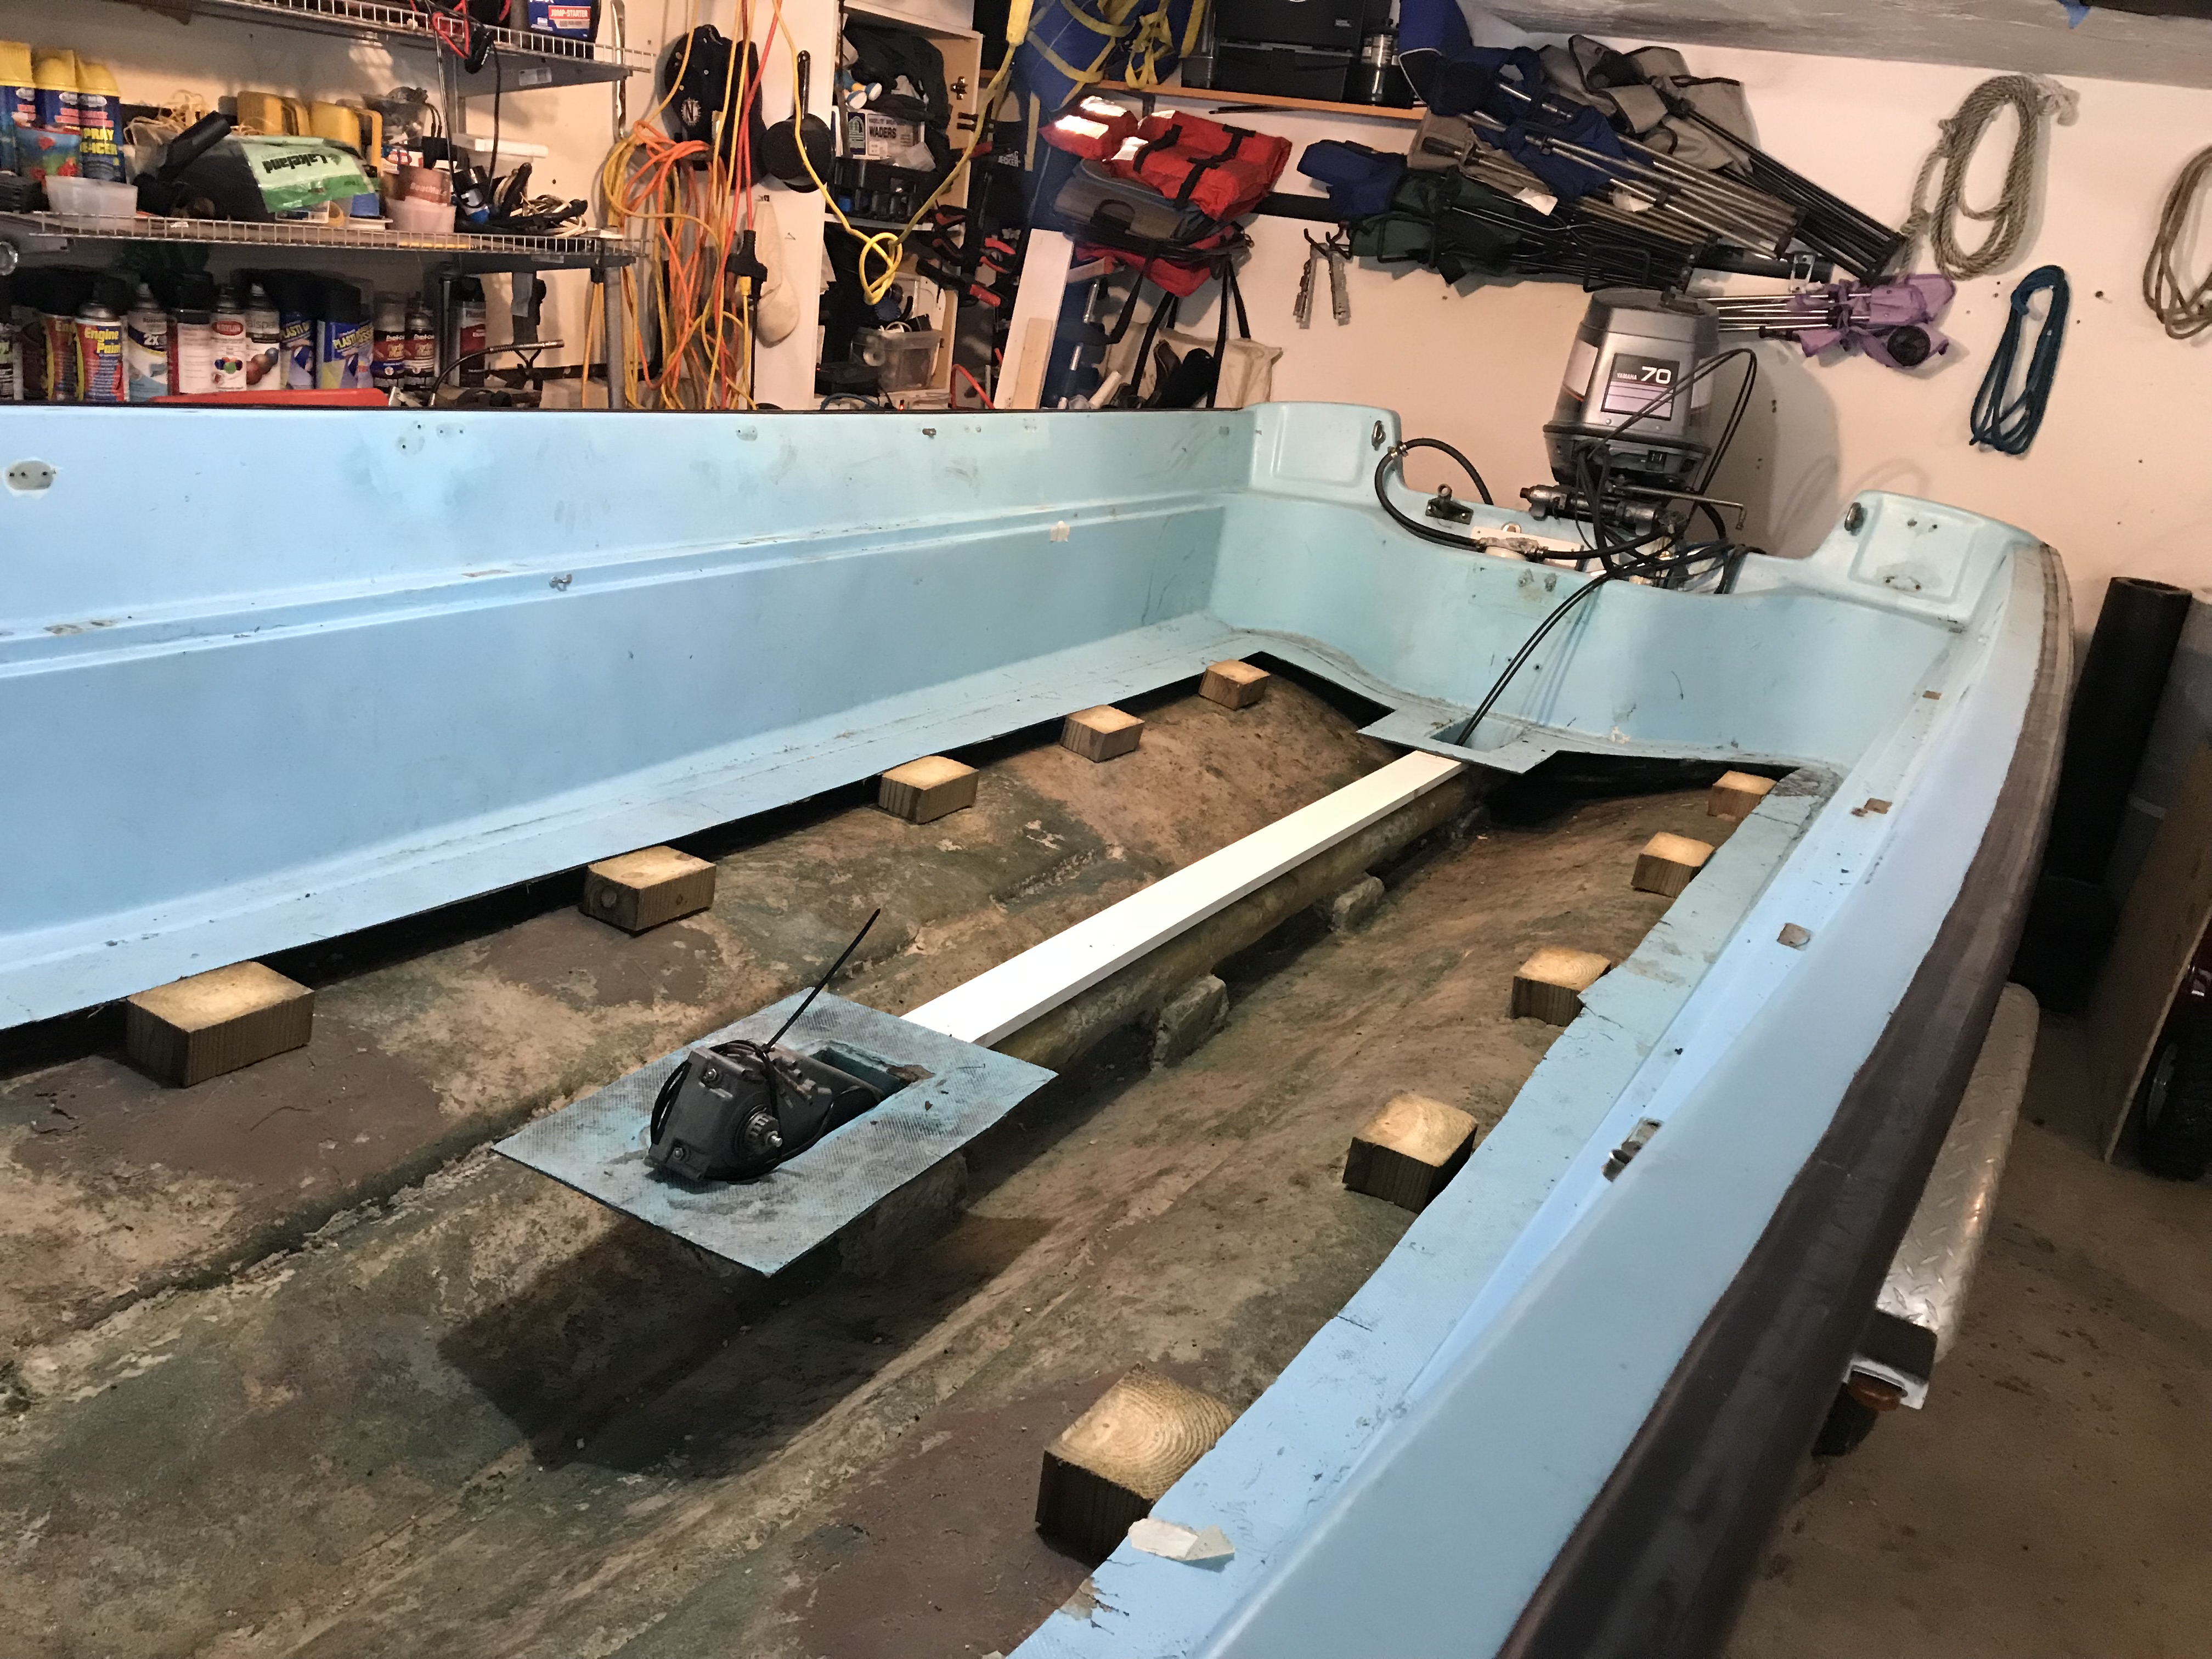
19: Getting Organized
All wiring removed. Experimenting with placement of support blocks. Debating PVC over pressure treated wrapped in glass. Definitely going for PVC on longer support boards – center, left and right.
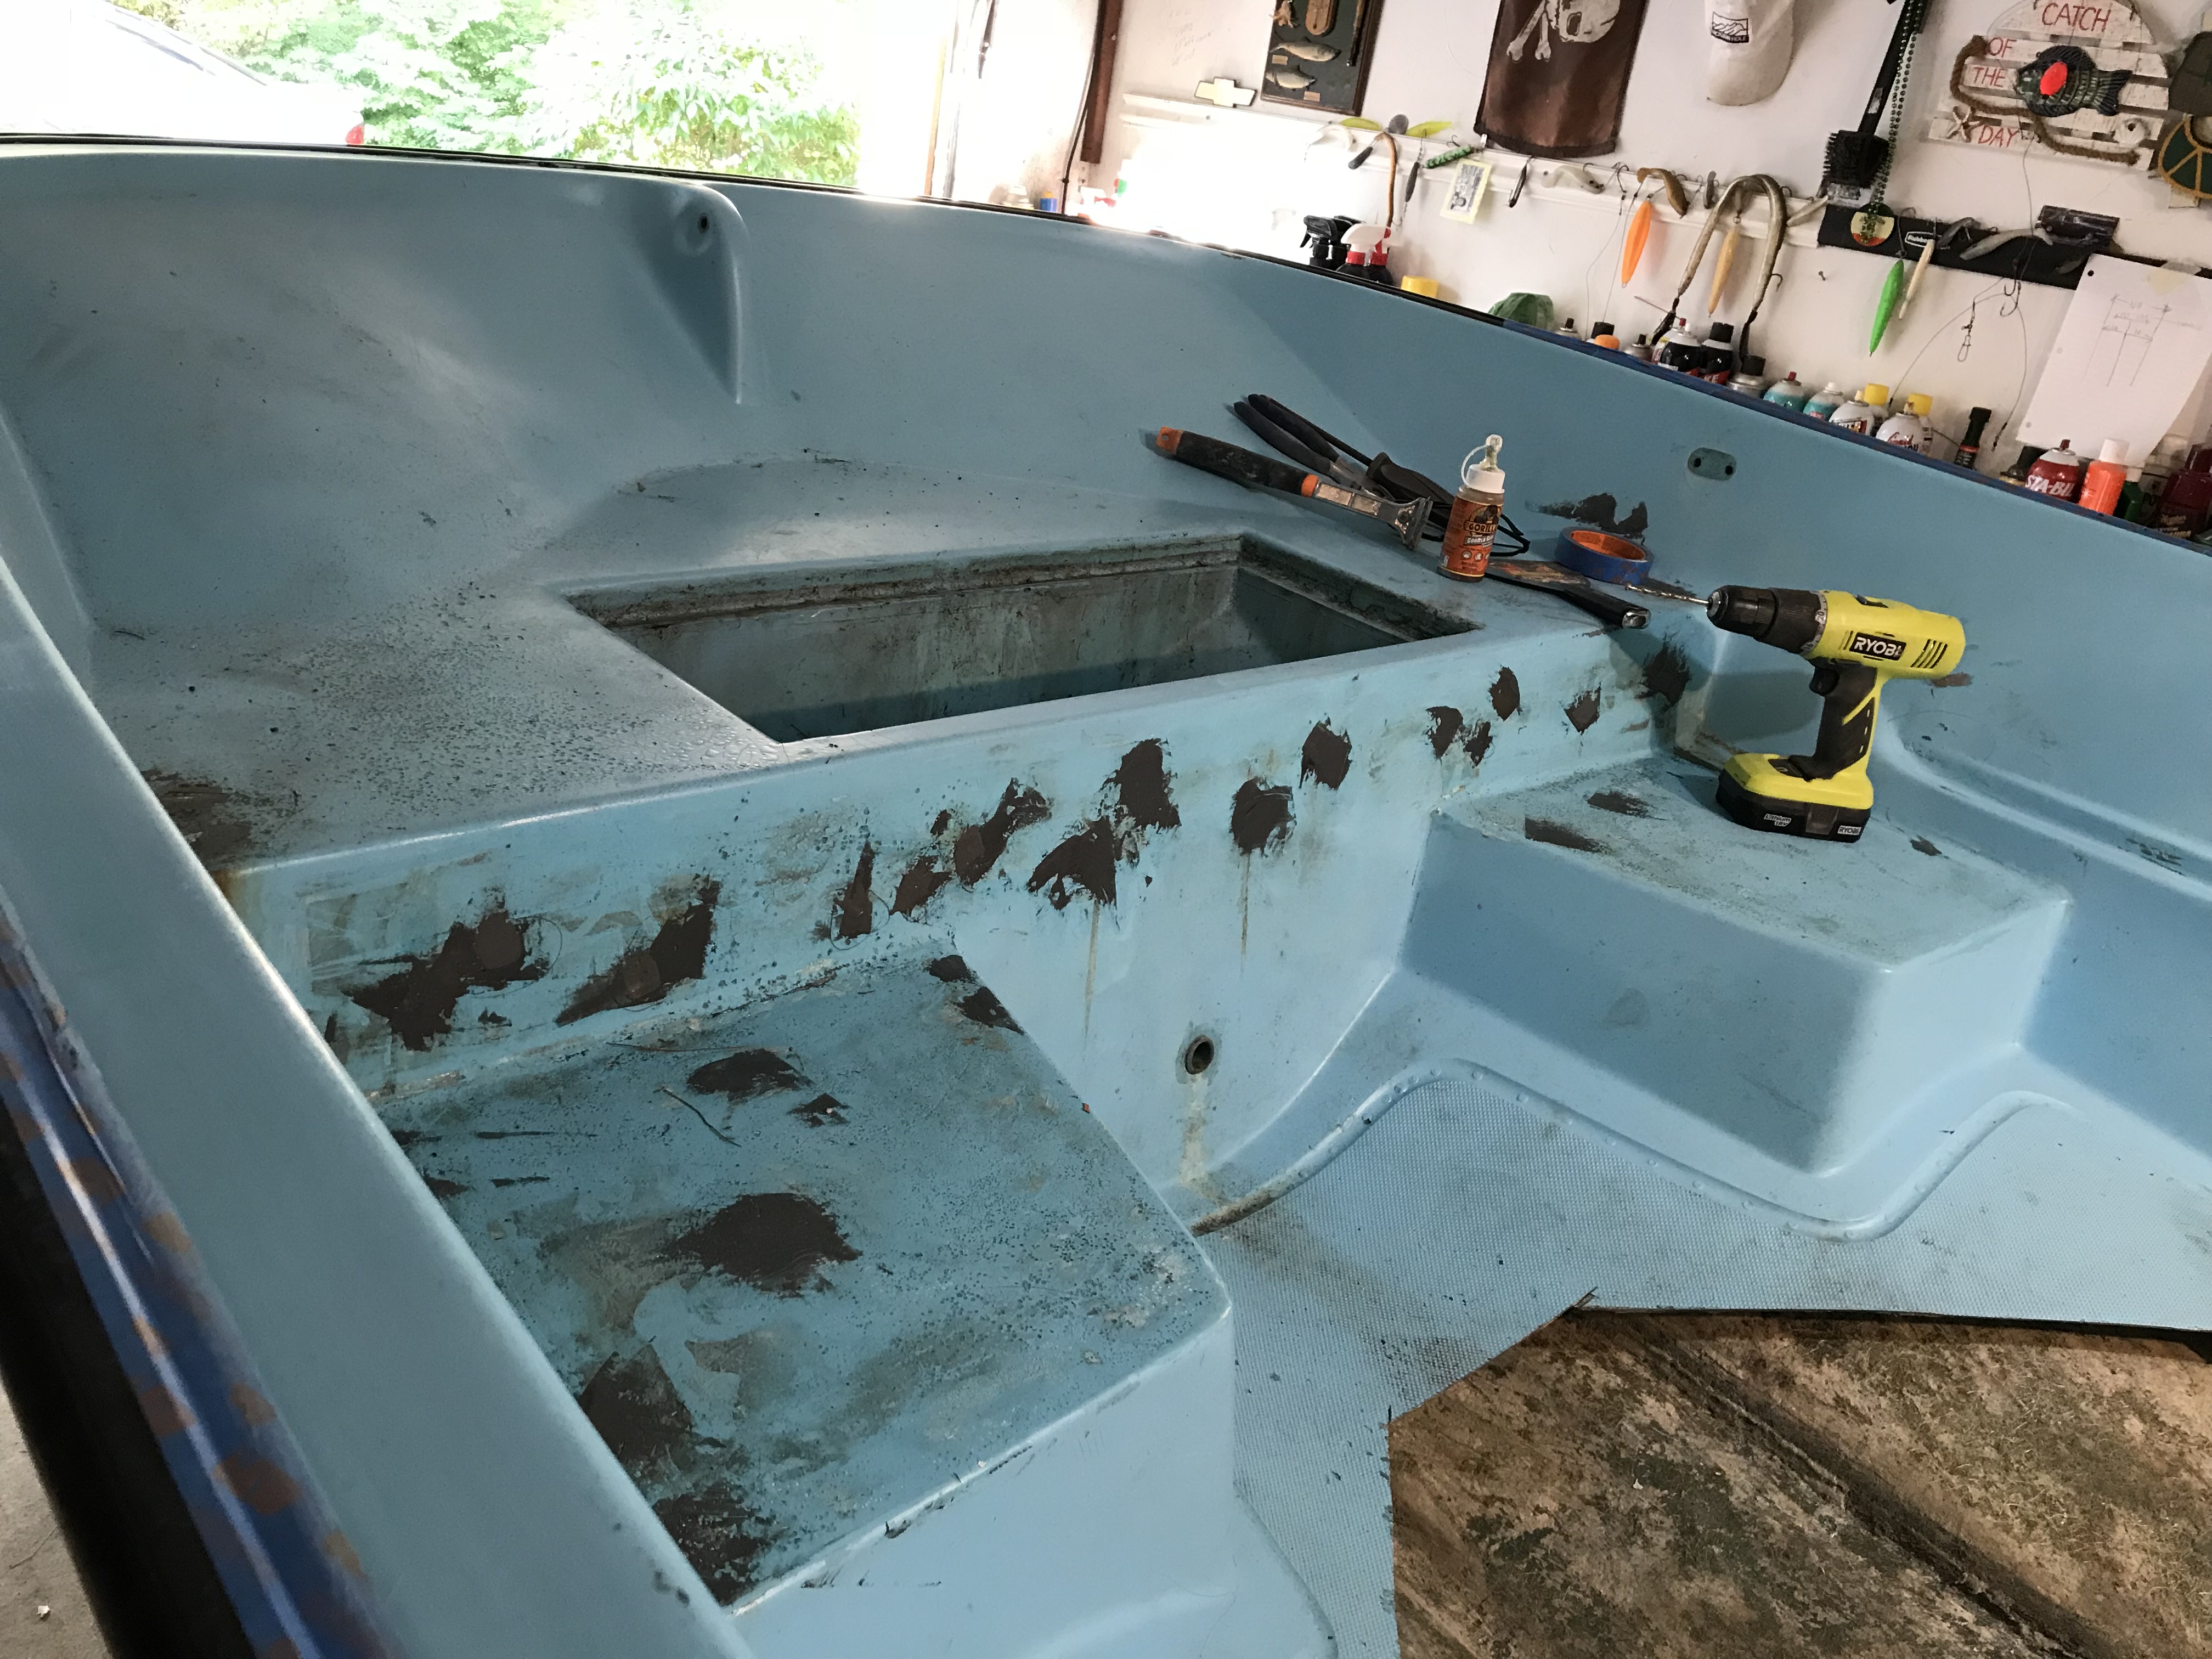
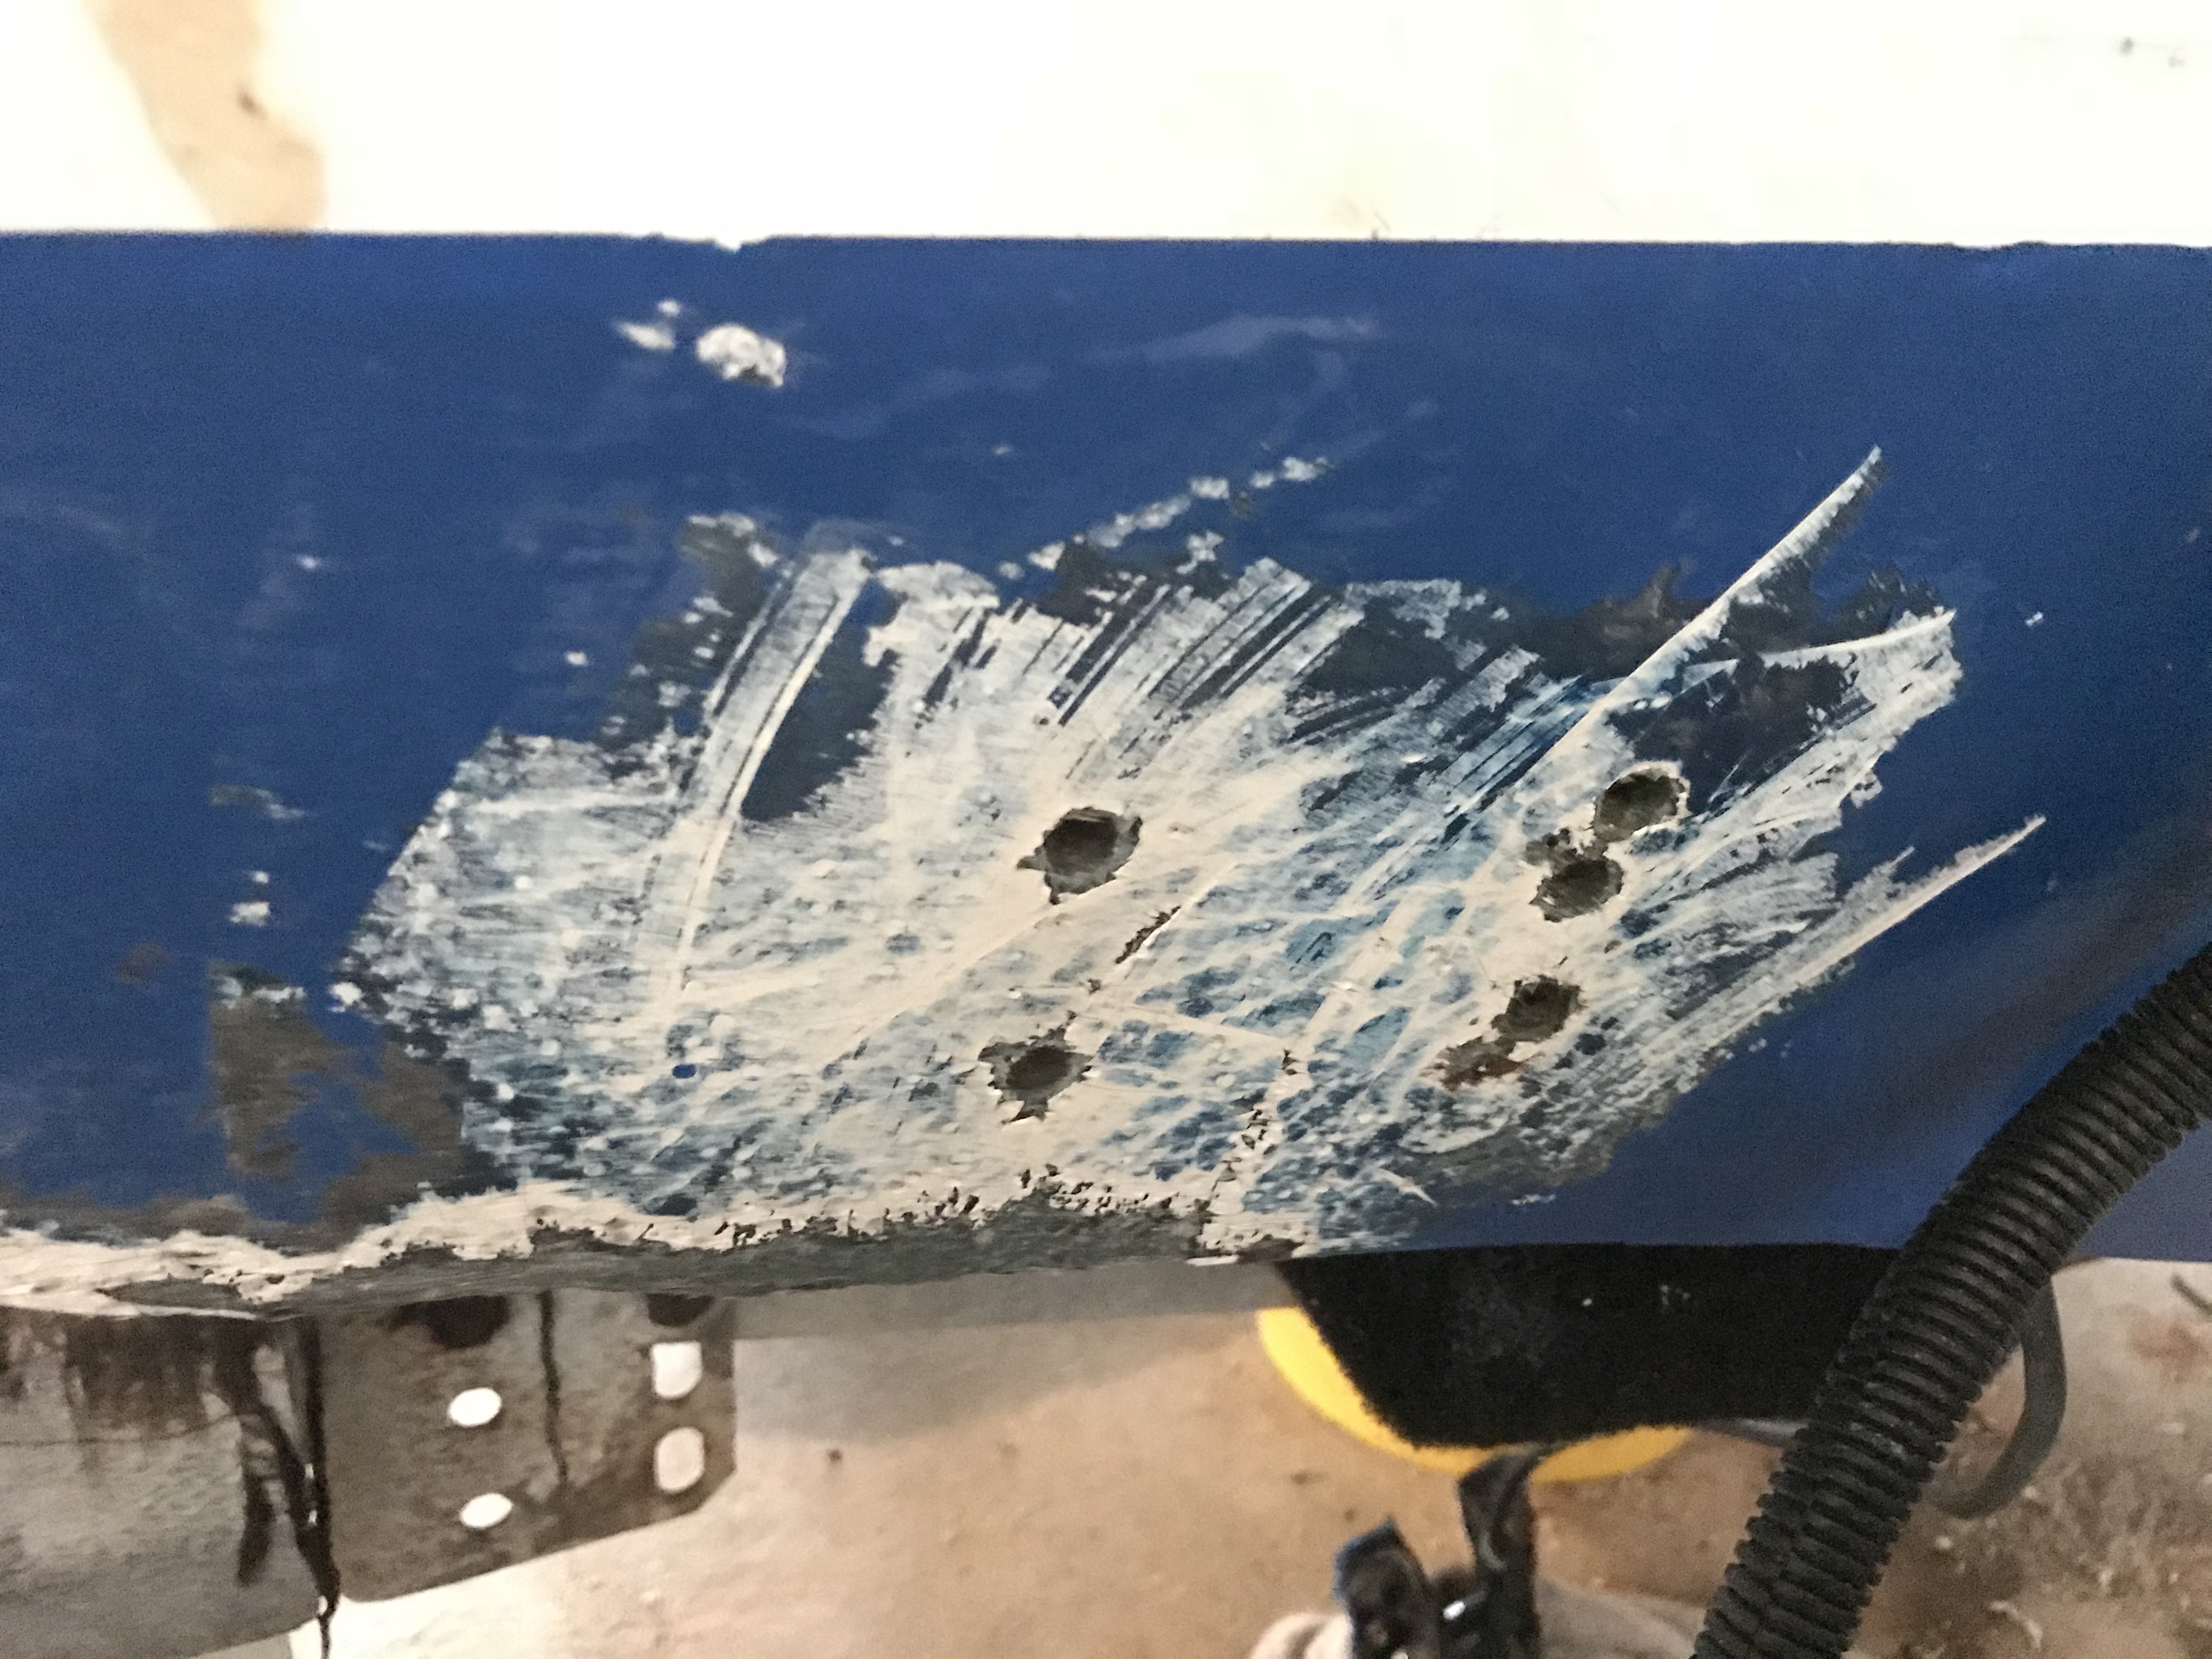
20. Plenty of Holes To Fill
Removed a rod holder from bow. What a mess. Lots of holes to fill. Drill out the holes, blow a small amount of insulation foam in then top of with Gorilla glue. When everything is dry, sand it back, recess the hole a bit and cover with epoxy glass… the rest is sanding and prep for paint. Amazing part is that the foam was bone dry under the platforms and top deck. Lucked out.

21: Sanding, Filling, Sanding and More Sanding
Next few weeks will be all filling, sanding, sanding and more sanding. Got the time, might as well do it right.
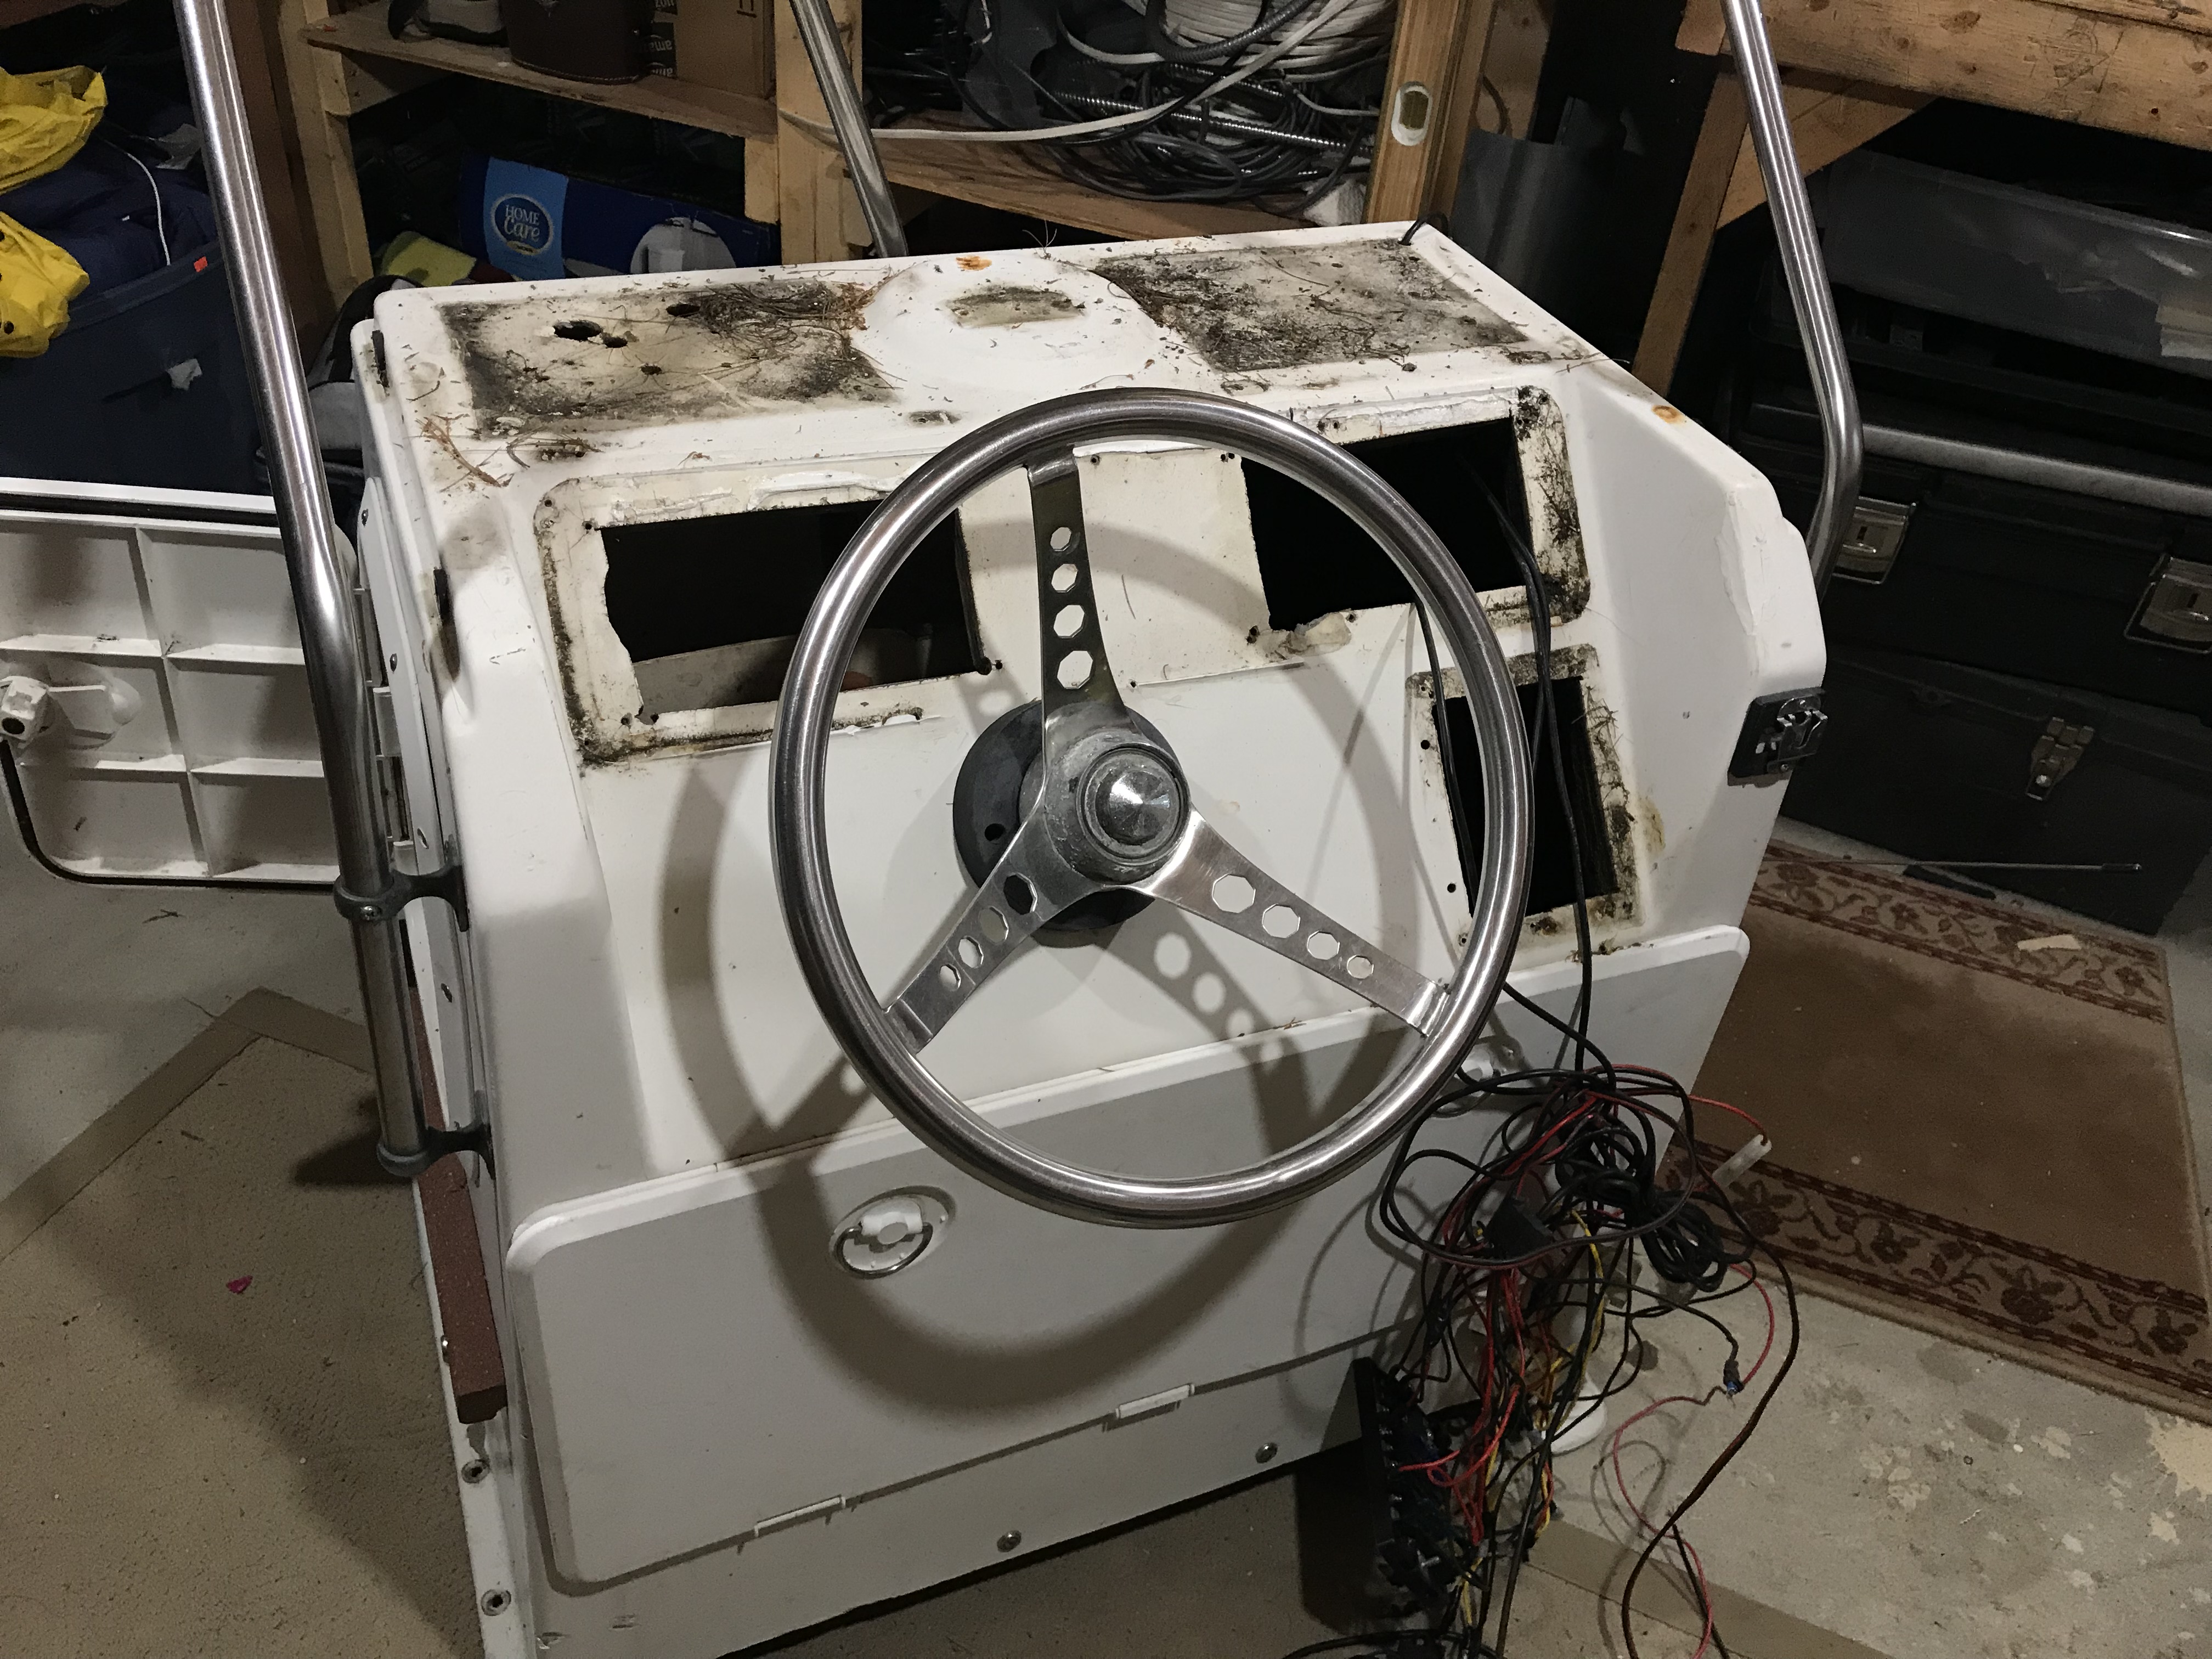
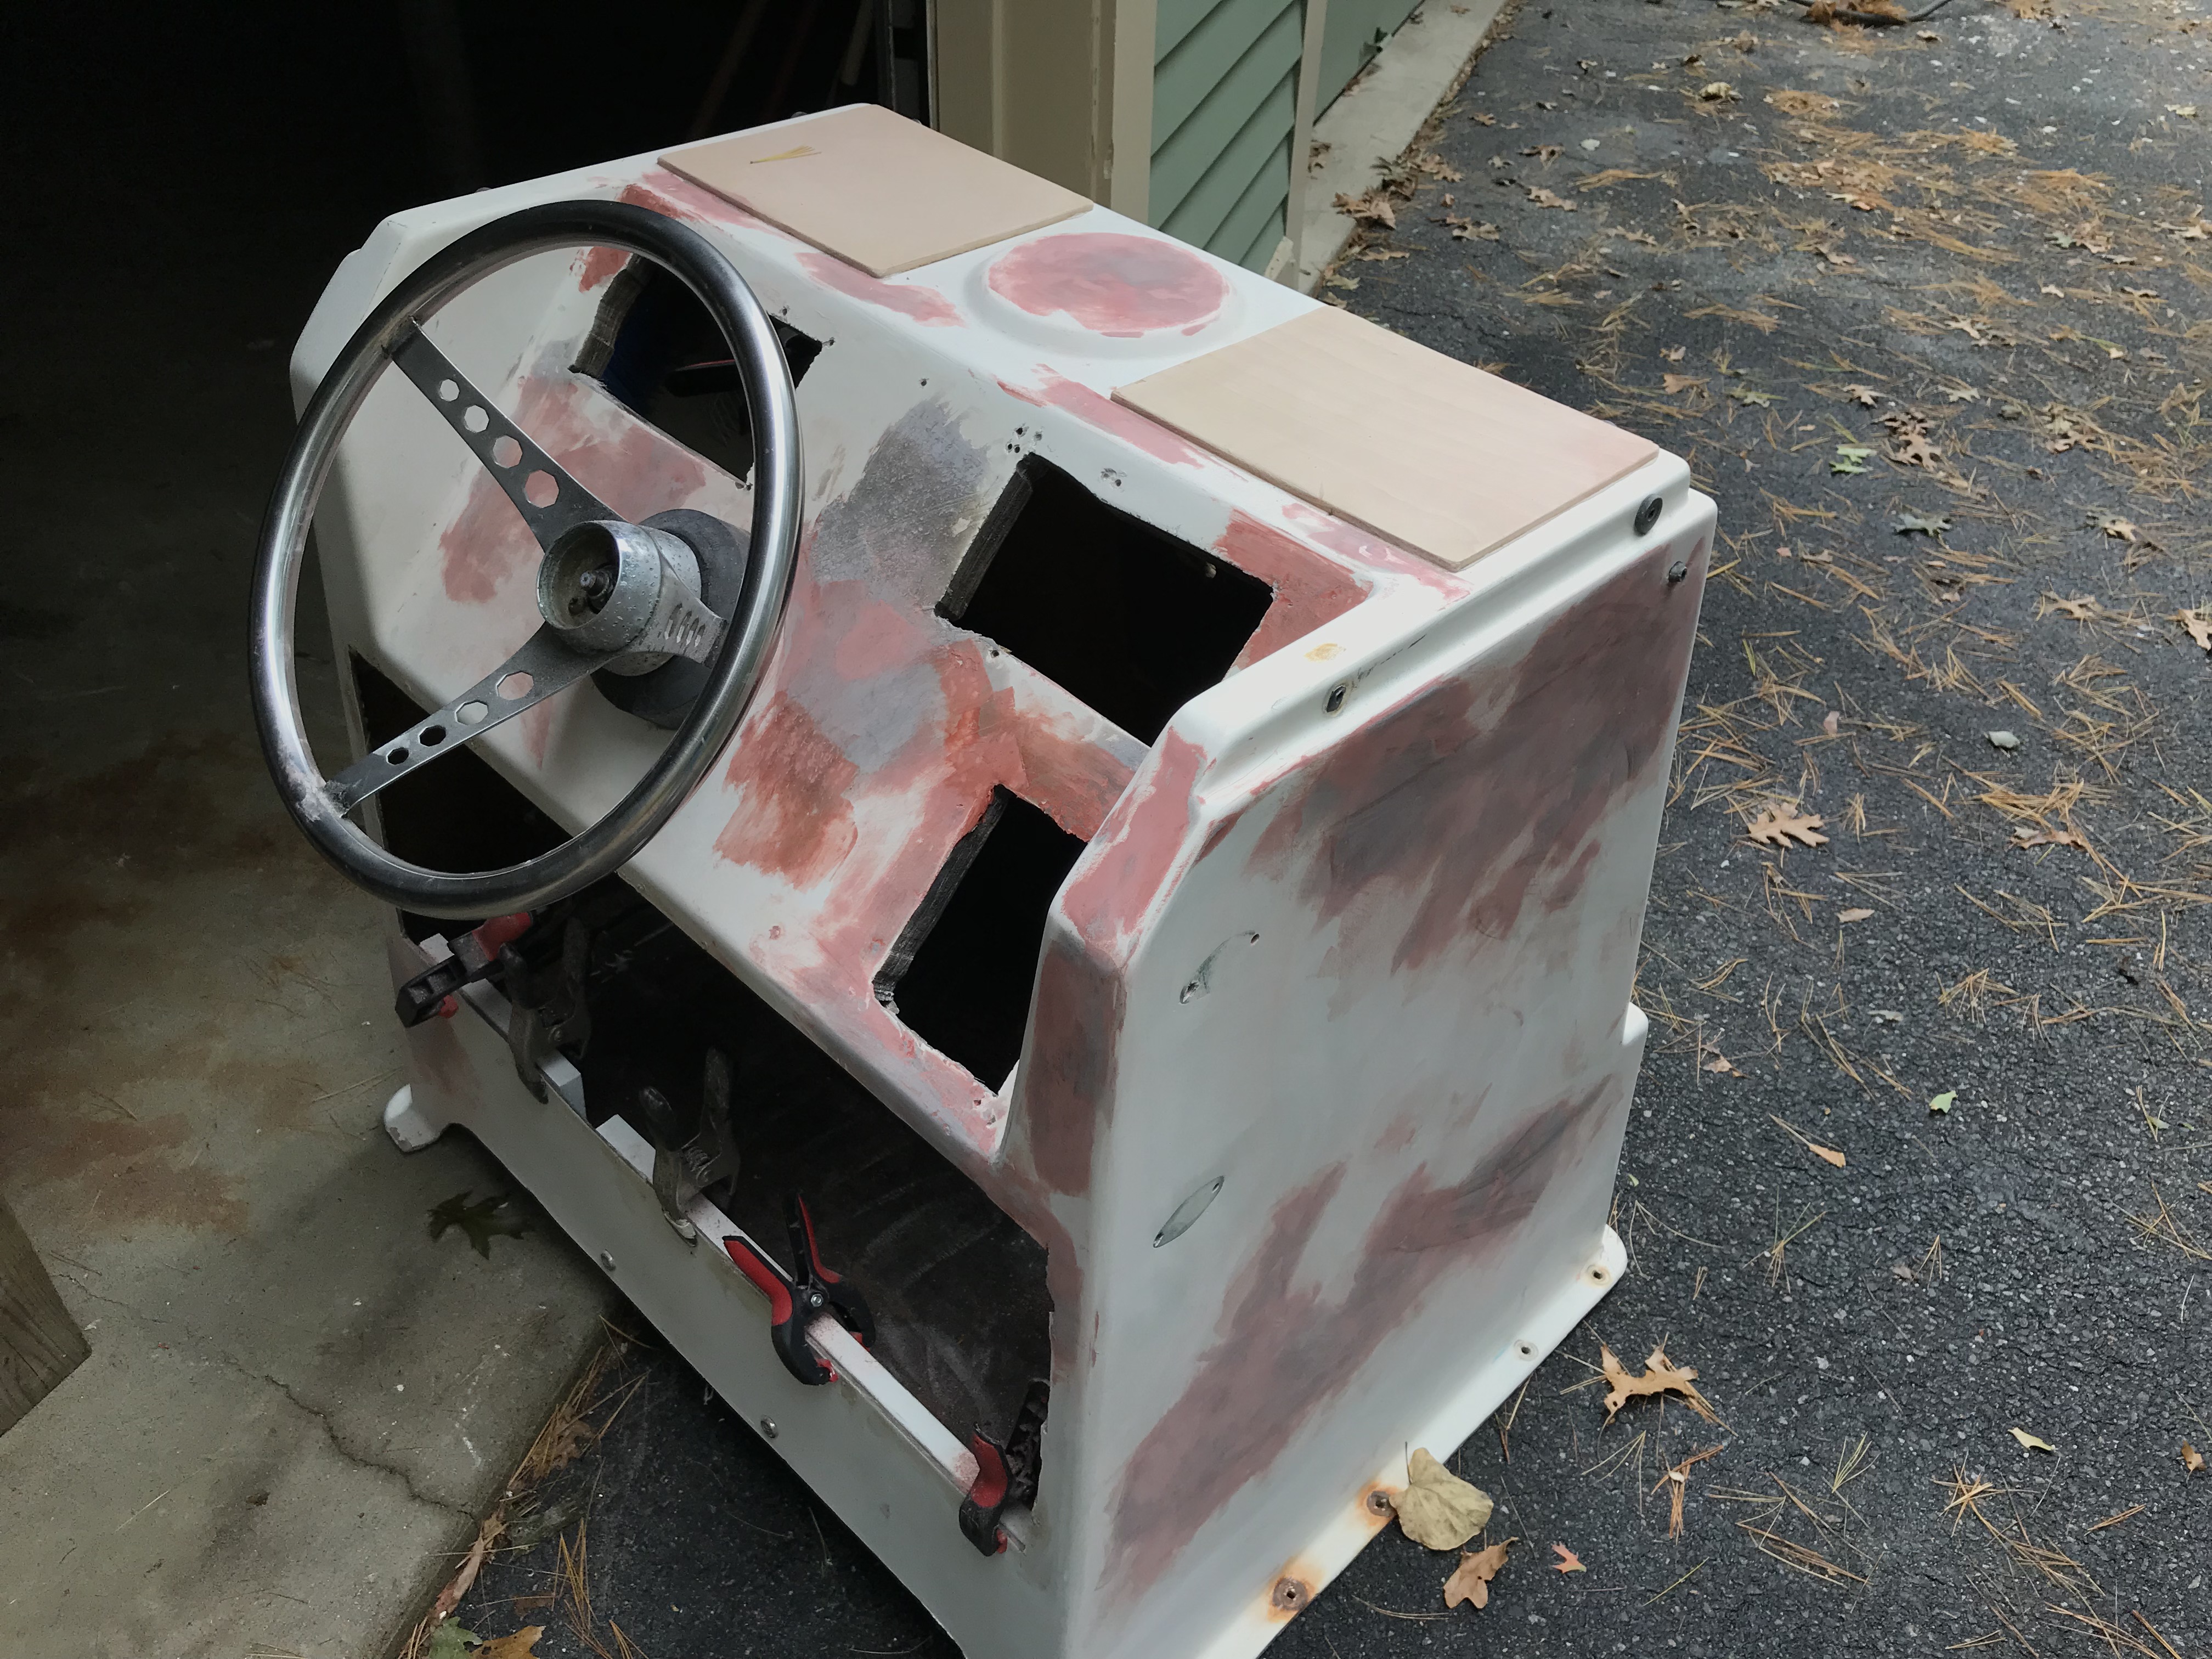
22. Console Exploded
Console is going to get a once over as well. A work in progress. Figuring some filling a nice coat of white epoxy top paint, rewiring…maybe some wood trim. A work in progress.
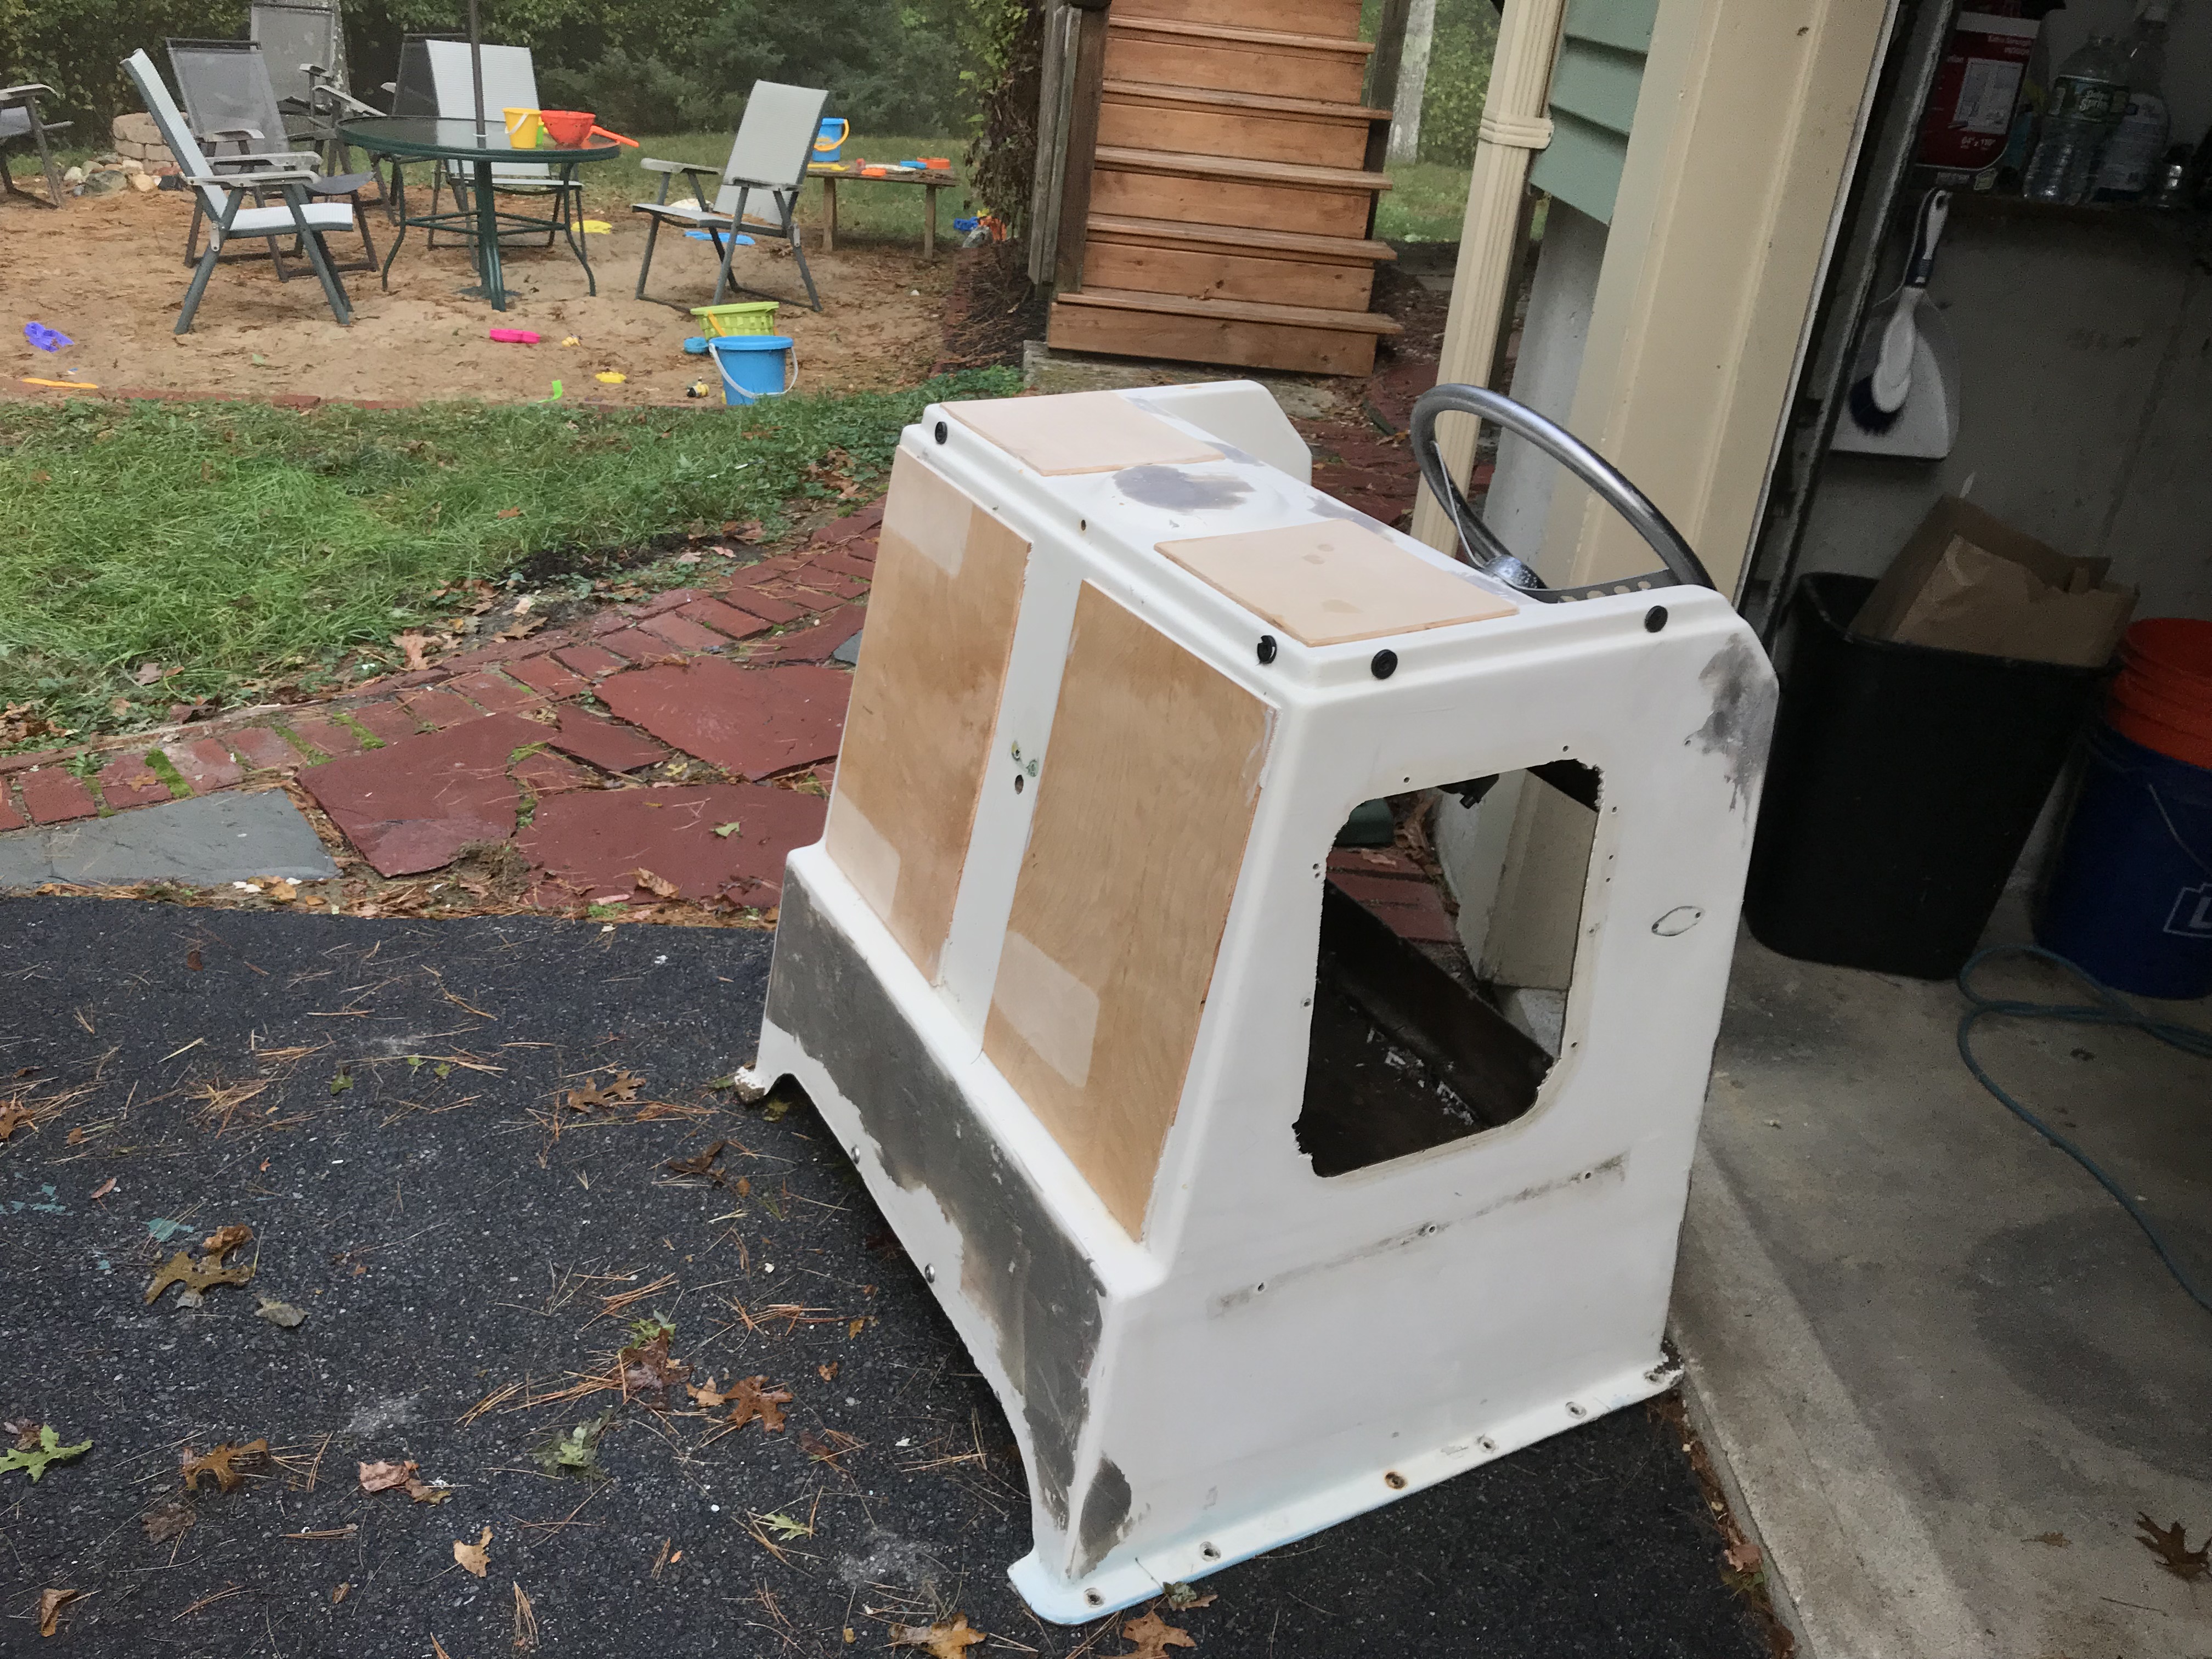
23. Console Rebuild Started
Started to sand and fill with bondo glass. Glued down wood panels to accept GPS, compass, etc… Once complete, 2 coats of topside marine enamel. Have decided – on front side of console, to build in some rod holders behind seat back cushions… similar to a 170 Montauk. Work in progress. Ordered a new LED Excelvan 6 gang aluminum switch panel to control bilge, lights, GPS, etc…
24. Word of the Day: Sanding
Not much to see here other than filling and sanding. Seems every time I look closer I find another knick or hole that needs attention. Since the holes and knicks are relatively small and above the water line… big cost saving secret here is using JB weld steel epoxy filler. Works just like Marine Tex, which would have broken the bank.
25. Console Progress
Lots of sanding, filling, etc… Add.ing some additional supports for access door. Have gauge clusters all ready to go.New block support for busbar, etc… main goal is to make it as water tight as possible. Waiting on toggle panel. Once that gets measured and cut into gauge panel, I’ll glue panel to console and paint. Going to do all wiring inside over the winter and just drop it in come spring.
26. Bow Sanding And Filling
90% done here. Looks bad but really smooth. Step ups will get same non-skid treatment as deck. Going with SoftSand brand.

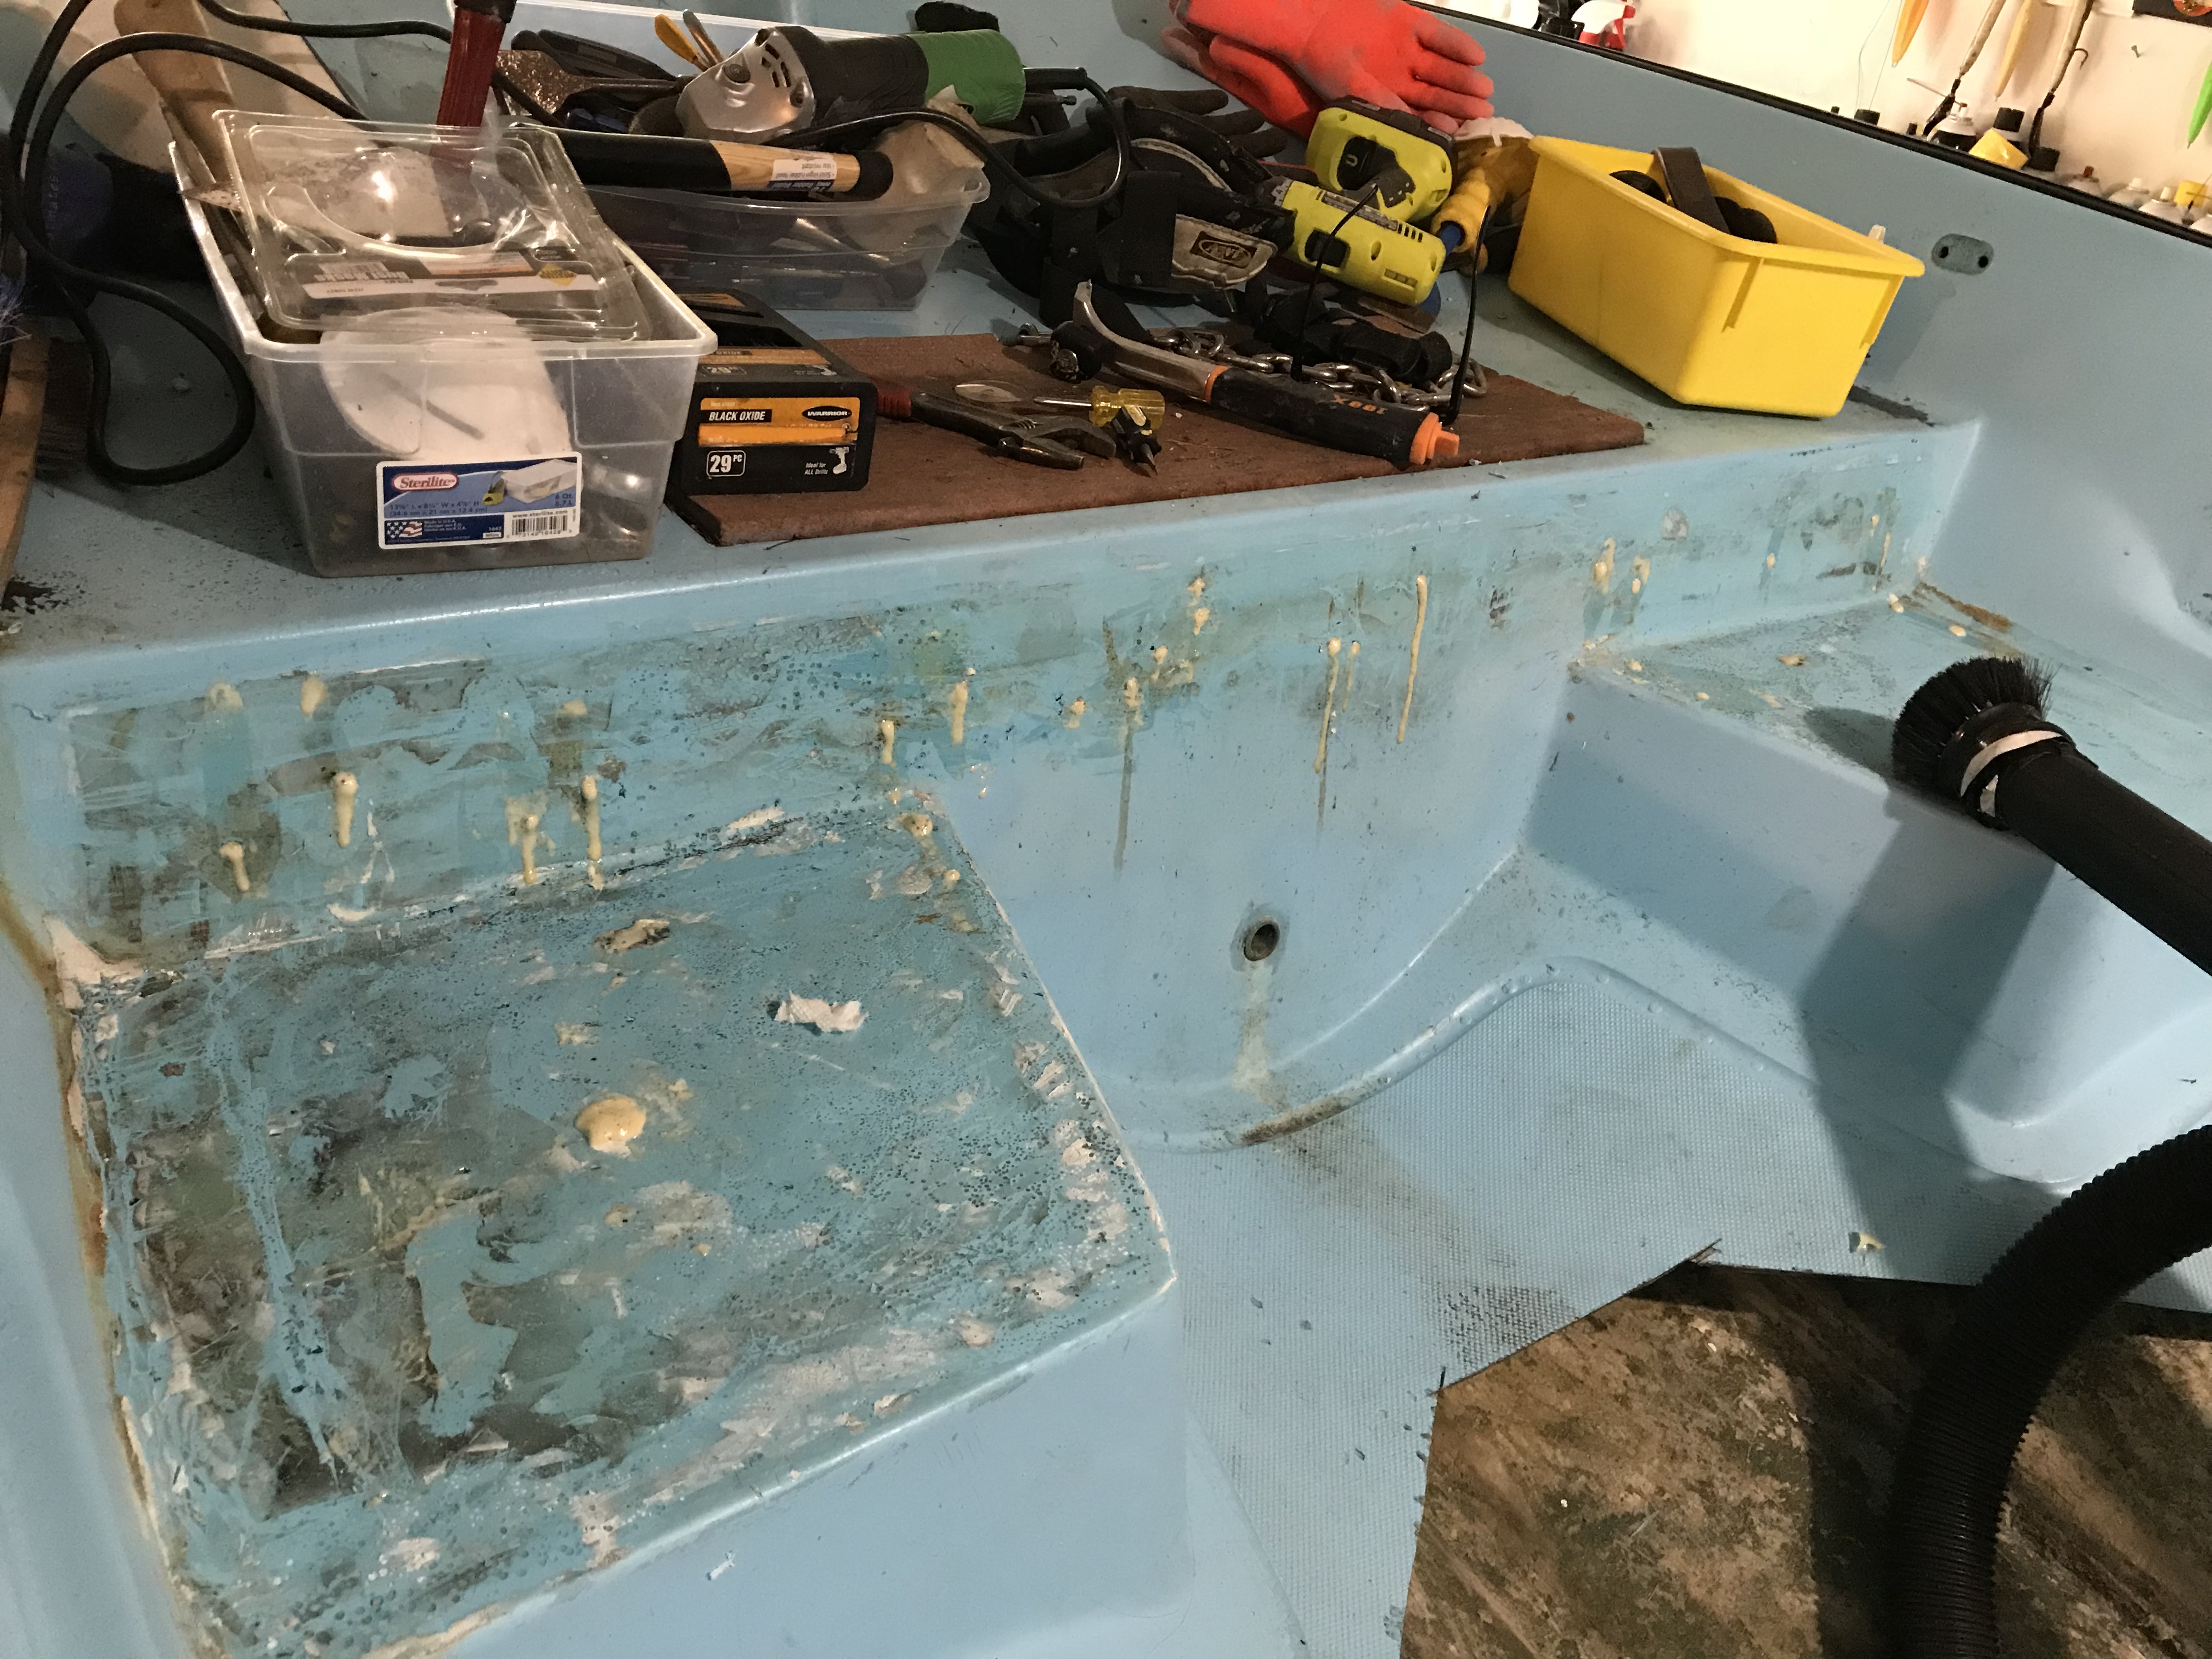
27. Rigging Tunnel
Bondo glass on top crack did the trick.
28. Transponder Removal
Removed transponder and drilled out holes. Looks bad but some glass and filler will bring back the structure. Going to let it dry out for a month or so.
29. More Dang Holes
Again, looks worse than it is. Drilled out mounting holes where gas filter was. Backer plywood was ok and foam was dry. Shot in a bit of insulation foam to fill the gaps. Glass and filler to repair. Probably my last update for October. Starting a large website project for the next month or so.